 Email article
By protecting your document with a password, you can prevent others from viewing what’s inside it. If they can’t view your file, they can’t copy it. So whether you’re working on a new project idea, a research or even a simple homework, you’re confident that no one else would be able to copy your work.
Speaking of which, it’s very easy to add a password to your document in Microsoft Office Word 2007. If you want to learn more about it, just go ahead and follow the steps listed below.
How to add a password to a document in MS (Microsoft Office) Word 2007
- Open MS Office Word from your desktop or list of programs.
- Create a new document and then just type whatever you want.
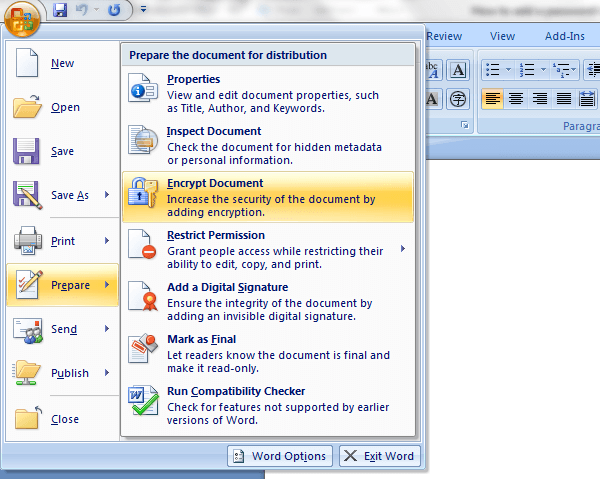
- Once you’re done creating your new document, click the Microsoft Office logo at the top-left corner of your MS Word toolbar.
- From the drop-down menu, select “Prepare” then go to “Encrypt Document”.
- After which, enter the password that you wish to add to your encrypted document. For added security, choose a strong password that doesn’t go any shorter than 8 characters. You should also try mixing up uppercase and lowercase letters with symbols and numbers.
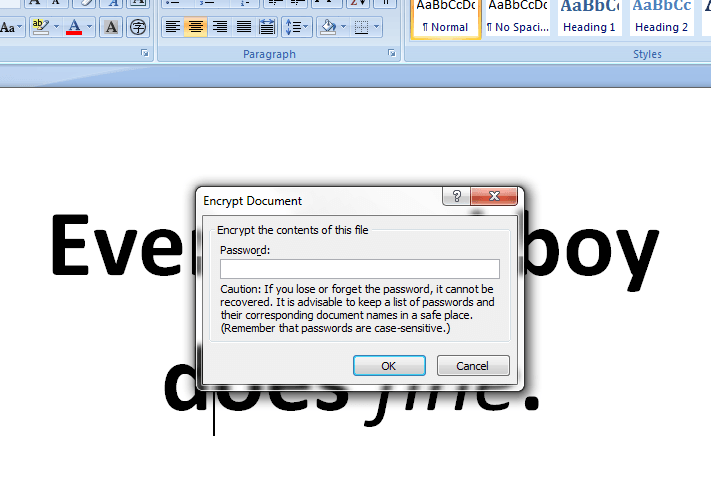
- Click “OK” once you’re done.
- Re-enter your password to confirm.
- Now that you’ve added a password to your document, do not forget to “Save” it. Just enter “Ctrl + S” or “F12” to save your new document.
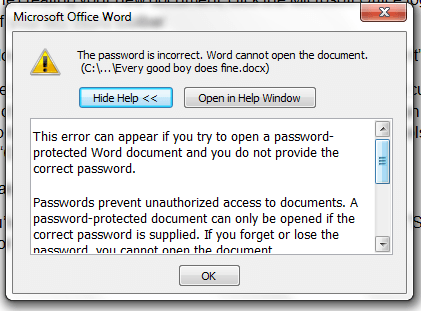
So there you have it. Every time that a user attempts to open or view your encrypted document, he or she will be asked to enter a password. If a user fails to enter the correct password, then he or she won’t be able to view the content of the document that you saved via MS Word.


