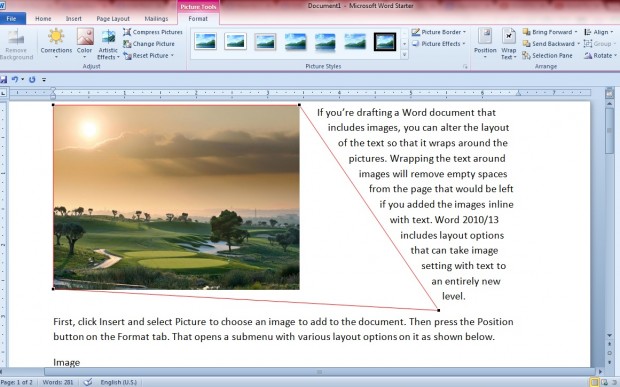
If you’re drafting a Word document that includes images, you can alter the layout of the text so that it wraps around the pictures. Wrapping the text around images will remove empty spaces from the page that would be left if you added the images inline with text. Word 2010/13 includes layout options that can take image setting with text to an entirely new level.
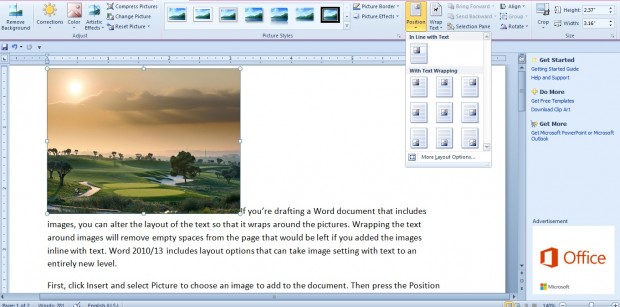
First, click Insert and select Picture to choose an image to add to the document. Then press the Position button on the Format tab. That opens a submenu with various layout options on it as shown below.
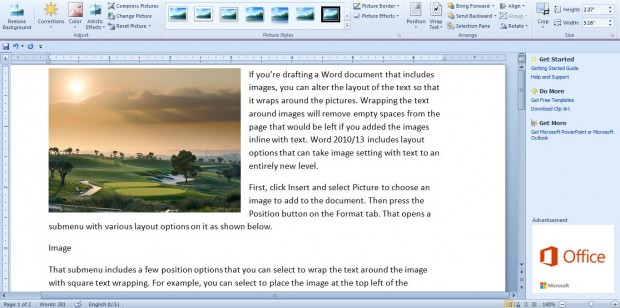
That submenu includes a few position options you can select to wrap the text around the image with square text wrapping. For example, you can select to place the image at the top left of the document as in the shot below.
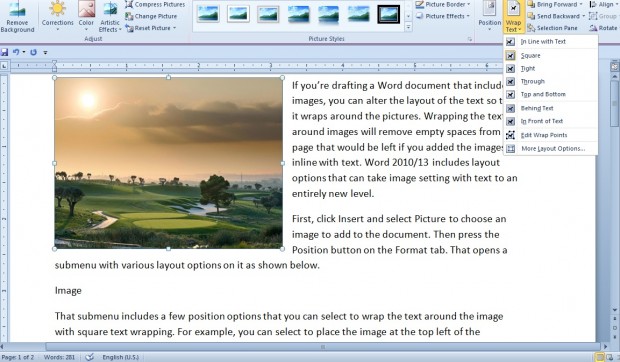
Beside the Position button there is a Wrap Text option. Press that button to open the submenu in the shot below. That includes alternative text wrap options such as Through, Behind Text and Infront of Text.
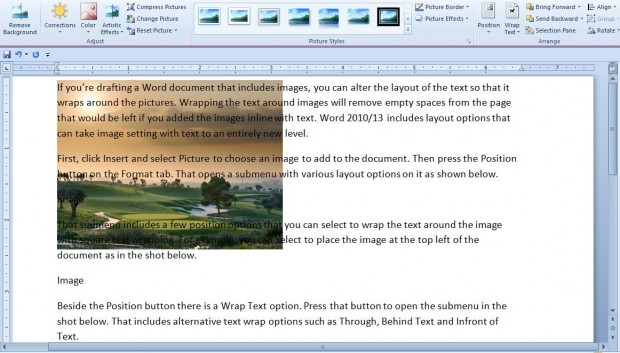
For example, you could select the Behind Text option from that submenu. Then the text overlaps the picture as shown in the shot below.
Alternatively, select Edit Wrap Points from the submenu. With that option you can now edit the text wrapping points. Drag the corners of the orange border around the picture to edit the text wrapping points as below.
So with those Word options you can a wrap text around images in a variety of ways. Check out this YouTube video for a further demonstration of how you can apply text wrapping to your documents.

 Email article
