 Email article
In Google Docs, you are able to create, edit, collaborate and share your documents online. When it comes to sharing documents, you also have the option to share your document via link or email. Now, keep in mind that your document will not be visible to anyone else except those who have the document’s link as well as those who have the permission to directly view your document from their Google accounts.
If you want to make your document public, then you can update the link sharing settings or simply publish it online.
How to publish and unpublish documents in Google Docs
- To publish your Google Docs document, you must first log in to your Google account and then go to Google Drive.
- Open any of your existing documents or simply create a new one.
- Once your document is ready, make sure to set its name first. By default, your document will be named as “Untitled”.
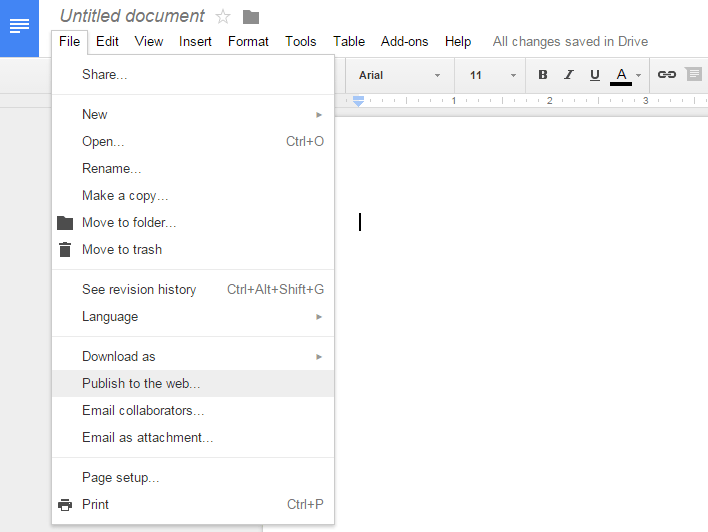
- Now, go ahead and click the “File” tab on the top navigation bar.
- Under the file tab, find and click “Publish to the web”.
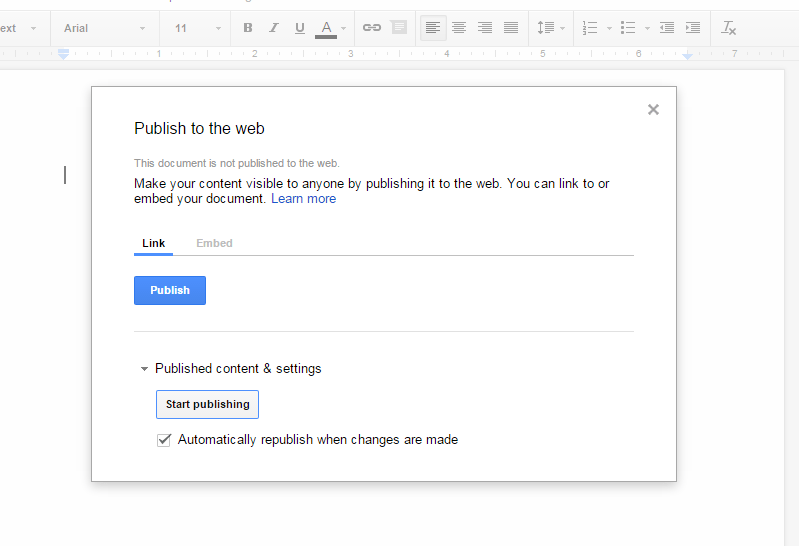
- On the dialog that appears, click the “Published content & settings” and then choose whether to check or uncheck the option for “Automatically republish when changes are made”.
- Click “Start Publishing” to confirm and then click “OK” on the second dialog box.
- That’s it. Once published, you will still be able to share your document via link. You can also use the embed code to include the document in your blog or website.
- That being said, anyone who stumbles upon your published document will be able to view its contents regardless if they’re sign-in to Google Docs or not.
- Now, if you no longer want to make your document accessible to the public, you can just unpublish it. Just go to the “File” tab again and then click “Publish to the web”.
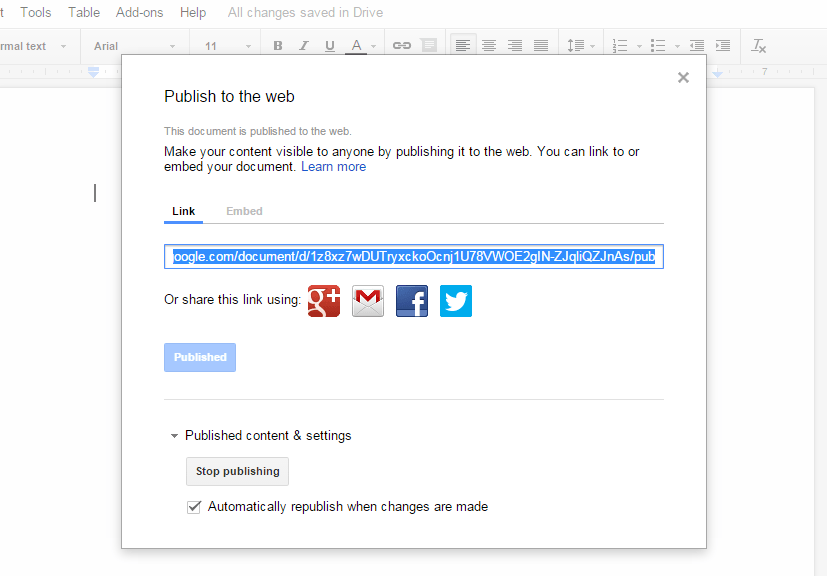
- Under the “Published content & settings” option, click “Stop publishing” and that’s it. You’re done.


