 Email article
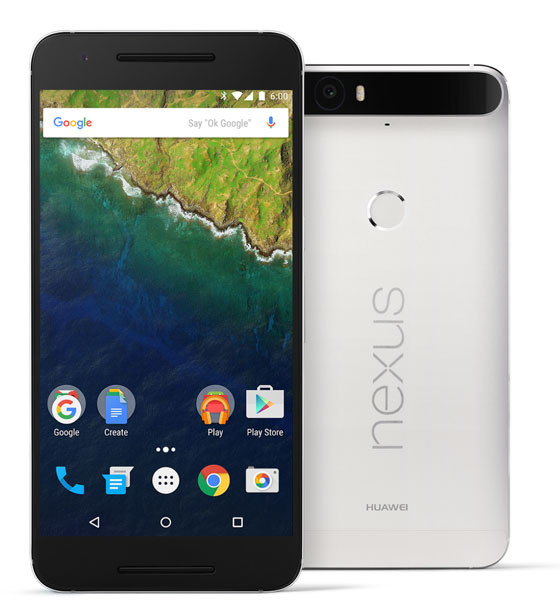 These are the guidelines to install TWRP recovery on Google Nexus 6P. TWRP recovery is the first recovery to come out for the Nexus devices. As such, it’s developed a strong following with those who own Nexus devices. In just a few minutes, you will have successfully installed TWRP recovery on Google Nexus 6P.
REQUIREMENTS
- You need to unlock the bootloader on the Google Nexus 6P before you can install a custom recovery on it like TWRP recovery.
- You can only follow this guide using the Google Nexus 6P. Do not follow this guide on the normal Nexus 6 made by Motorola. The 6P is a new device launched during October of 2015 and is made by Huawei and not Motorola. That’s the easiest way to tell the difference.
BEFORE WE BEGIN
- You should backup the data on your phone before starting the guide on how to install a custom recovery on the Google Nexus 6P. You can use the built-in backup options available on your Nexus device to store most of that data. If you find that difficult to use, try installing apps from the Google Play Store. Helium is popular for those without root access yet and Titanium is popular for those who do have root access. Helium is made by the ClockworkMod developers who most of you would have heard about if you are into custom recoveries and getting root access to Android. While ClockworkMod make this app, it does not need root to work.
- Install the Huawei USB Drivers from this page. Install them on the Windows PC you are using with the guide. That way you will have no worries getting the Nexus 6P talking to the computer.
- Installing a custom recovery voids the warranty on your device. You will need to flash the stock recovery back on your device before you can get the warranty working again.
HOW TO INSTALL TWRP RECOVERY ON GOOGLE NEXUS 6P
- Download Android SDK directly to the computer from this page.
- Follow our guide and learn how to set up ADB and fastboot on a Windows computer.
- Download the TWRP recovery from this page.
- Completely power down your Google Nexus 6P by holding the Power key.
- Reboot it holding the Volume Down + Power keys together so you get in the bootloader mode.
- Connect the Google Nexus 6P to the computer using the USB cable.
- Open the folder where you have ADB and fastboot.
- Hold the shift key on the keyboard and right-click the mouse on an empty white space where there is no file within the folder.
- Choose to open the command prompt window from the menu.
- Type the command: ‘fastboot flash recovery nameofyourrecoveryfile.img’ — change where it says ‘name of your recovery’ to the real name of your recovery file.
- After you press the Enter key on the keyboard, you should see the fastboot menu from the Google Nexus 6P display.
- Choose the recovery option from the fastboot menu to enter the recovery.
- Now that you are in the TWRP recovery, you can learn how to root the Google Nexus 6P on Android 6.0 Marshmallow if you want to have root access to go with your custom recovery.


