 Email article
Many of you might have been around yesterday and watched the launch of the new Windows 10 S version of operating system that is going to be available on the new range of Microsoft Surface laptops. The new Microsoft Surface laptops sure do look amazing, but because they run on Windows 10 S, it isn’t a laptop I’m interested in because many of the how-to guides that I write about online require access to the Local Group Policy Editor and other features that won’t be available in Windows 10 S.
Understanding what is on offer with the different versions of Windows 10 operating system is the first thing you need to do to make sure that you are buying the right operating system and the right device.
The new range of Microsoft Surface laptops is intended for students and for giving all the things students need. Students don’t typically need anything that professionals need in an operating system, and that’s why you won’t find things like “gpedit.msc” available as a Run command. (Not to be confused with the Educational version of Windows which is available to meet the needs of students and professionals.)
Once you know what version of Windows 10 operating system is it that you want to have running on a computer—, i.e., Windows 10 Home, Pro, Education, or the new S—you then get the chance to keep getting updates for those versions of Windows after you have them installed. For example, everyone who has Windows 10 Home and Windows 10 Pro will have already had the chance to install two major updates from the original Windows 10 that came out: the Windows 10 Anniversary Update and the more recently released Creators Update.
If you want to be one of the people who gets the first dibs in these kinds of incremental updates in Windows 10, then you need to sign up to become a “Windows Insider.” While there are probably quite a few technical differences between the two, I like to refer to the Windows Insider program as a similar thing on offer to Mac users with the Apple Developer program: you get access to versions of the OS as swiftly as possible, and the idea behind it is to try out the new features and give feedback. Doing this allows the developers to fix issues quicker than if they were to be using it just by themselves.
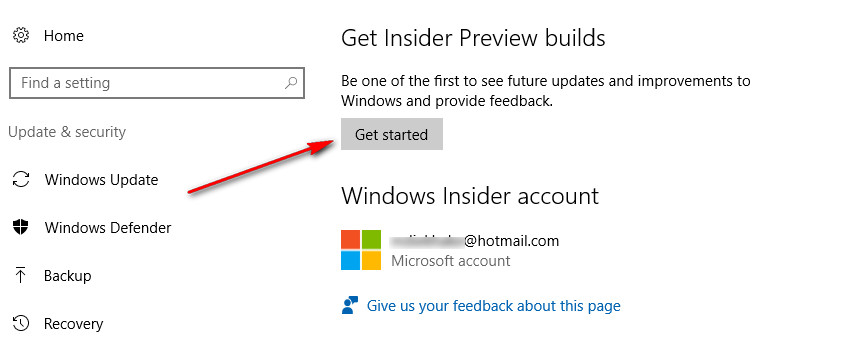
To get started with the sign-up process to become a Windows Insider, head to the Start menu > Settings > Update & security > Windows Insider program and then click on the “Get started” button from the right side pane.
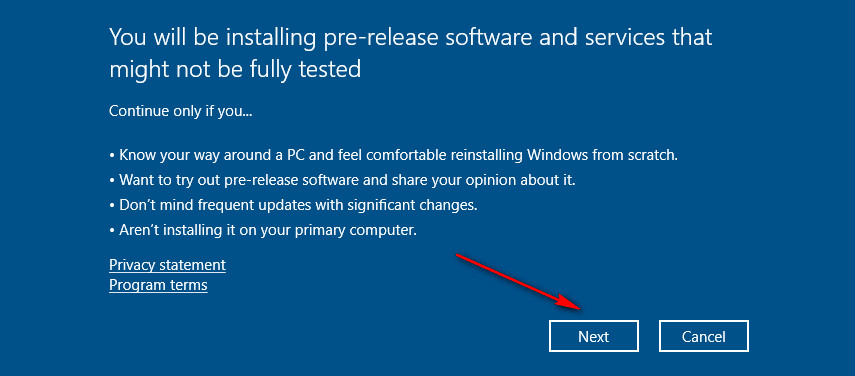
Since a lot can go wrong with the Windows Insider updates if you are not an advanced Microsoft Windows user, you should read carefully everything that Microsoft offers over the next few screenshots.
Click on the “Next” button when you want to continue.
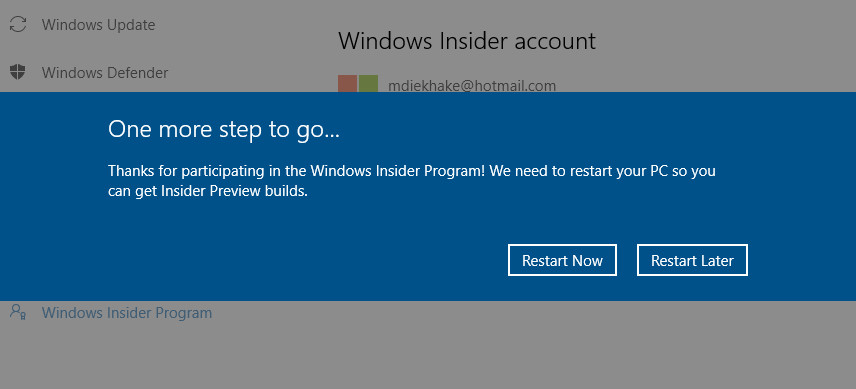
Click on the “Restart Now” option if you have all of your worked saved and are ready to become an insider or choose the “Restart Later” option if you want to continue with becoming a Windows Insider later. (It can’t advance you to being a Windows Insider until it reboots the computer.)
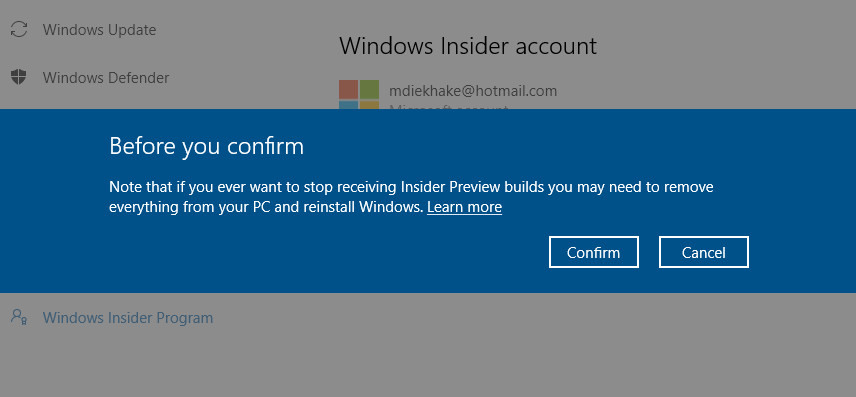
Here is an interesting one: “you may need to remove everything from your PC and reinstall Windows” to stop receiving Insider Preview builds. If you are wondering how serious of a threat this is, I can tell you that it isn’t likely to happen. I continually turn on and off my Windows Insider Preview builds and I never have to do anything other than a reboot. Still, if you aren’t prepared to have to do this, then you shouldn’t be looking to run Insider Preview builds.
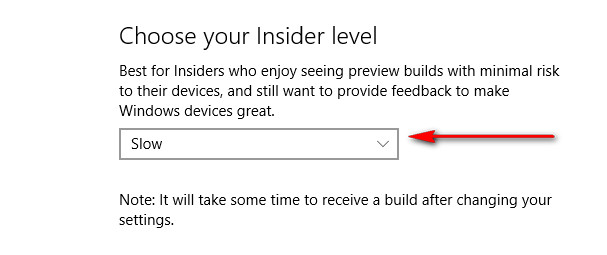
After the computer reboots, you can choose what kind of a Windows Insider you would like to be: Slow, Release Preview or Fast. The “Slow” setting from the drop-down menu means you run the least amount of risk of finding issues with the operating system, but it also rolls out to you the slowest.
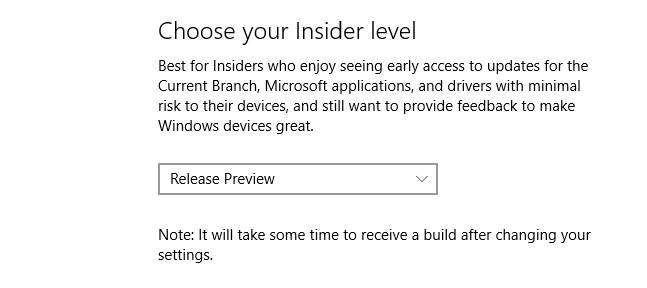
The “Release Preview” is the middle ground of the three settings, and means you still get pretty quick updates and don’t run much risk of having trouble with the operating system.
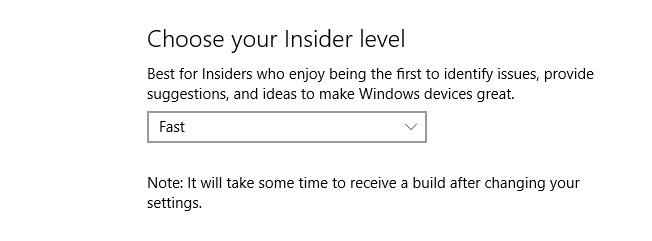
 The “Fast” option from the drop-down menu is going to give you the updates the quickest, but it also means you are more likely to be witnessing the issues with the operating system.
Note: you don’t actually need to be a developer to sign up to be a Windows Insider, and you don’t need to let Microsoft know of any issues you are facing with your Insider updates when you get them. Most people signing up to be a Windows Insider do so because they want to try the latest versions of Windows. That said, if you are someone who prefers stability over unwrapping new presents, then you probably would be better off not becoming a Windows Insider at all. Instead, try the next solution.
In Windows 10, the Windows Update feature plays a larger role than ever before. Now with Windows updates rolling out several times in a year, you are subject to update more or less the same way you would be with over the air updates that come into your smartphones—like accepting Android OTA’s or IOS updates, for example.
The Windows Update feature in Windows 10 initially worked by peer-to-peer downloads much like when you download torrents. Some considered that a cheeky move by Microsoft, but it’s hard to complain when the update is coming your way continually free of charge. For unknown reasons, (potentially negative backlash), more recent versions of Windows 10 no longer automatically use PCs over the internet to download updates; these updates are now coming from Microsoft directly. However, it is possible to change that and start accepting downloads for Windows updates and app updates from PCs on the internet.
The Windows Update feature only updated the overall operating system itself and not any of the applications and programs that you have installed. Any apps and programs that have been installed from the Microsoft Windows Store will be updated through that same Windows Store when the updates are available.
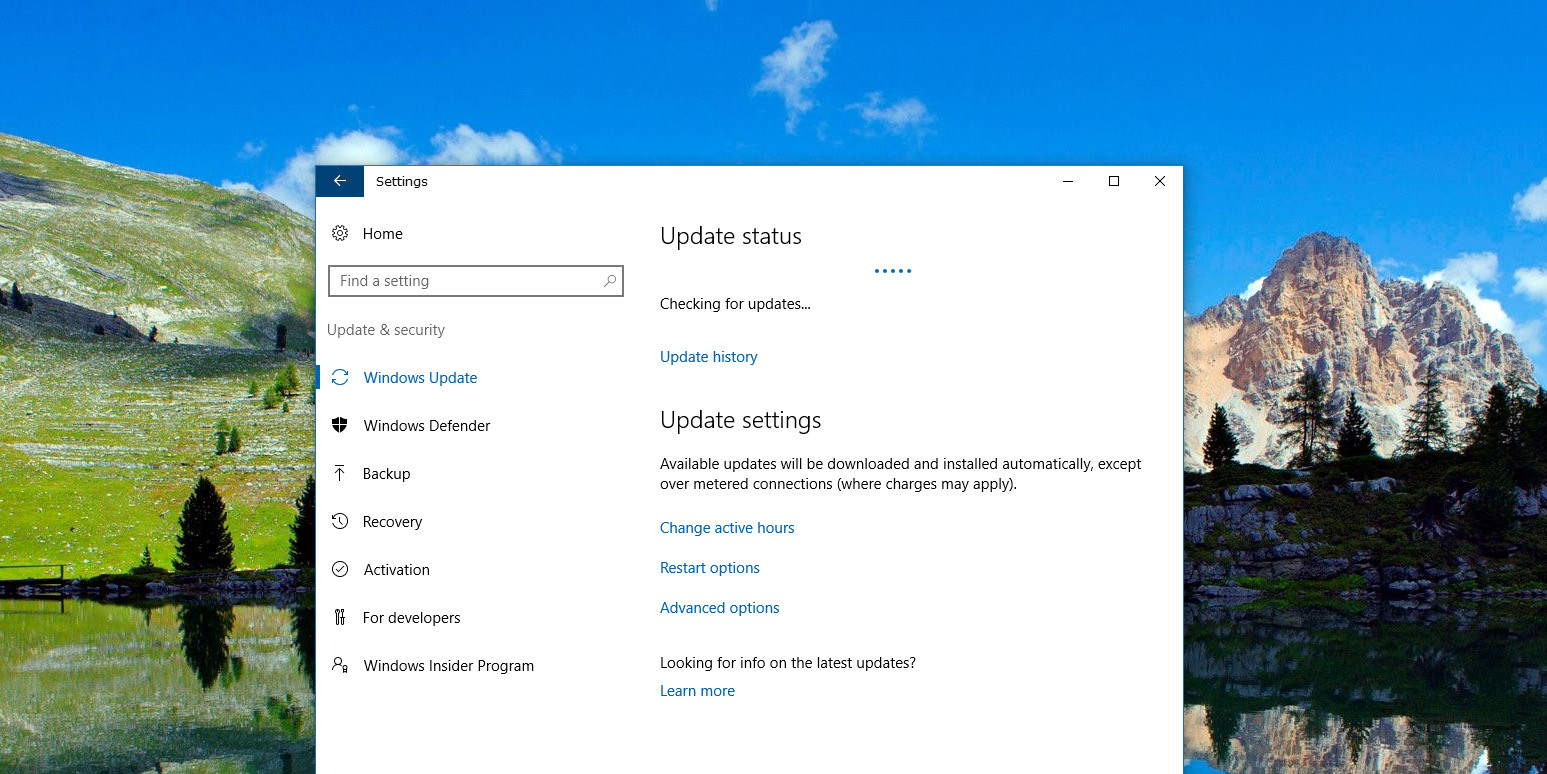
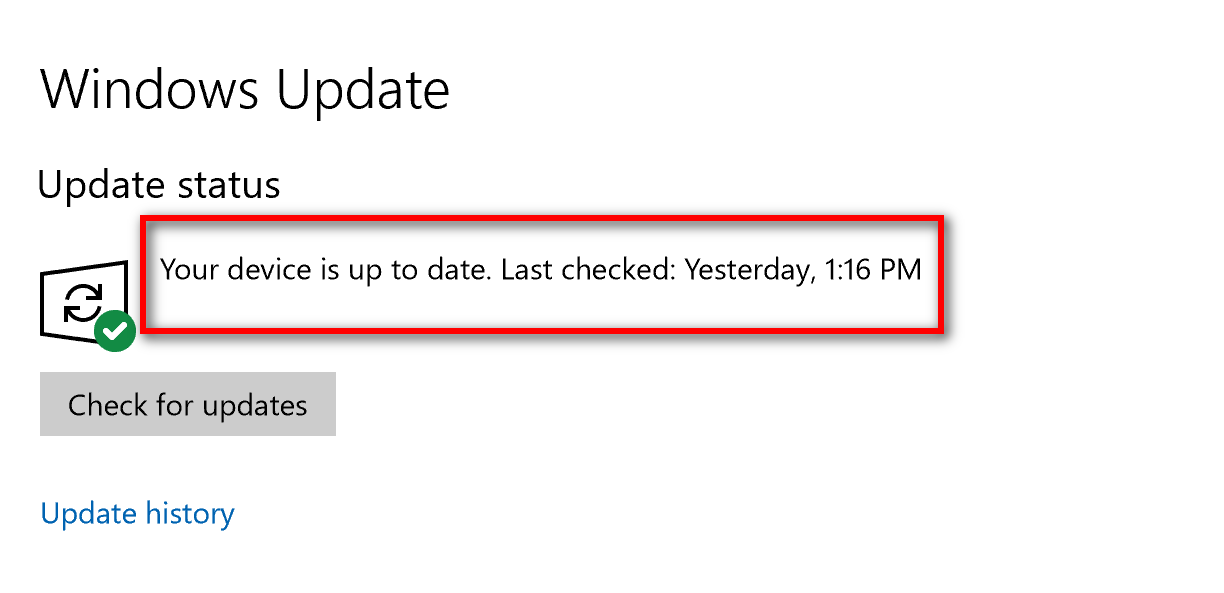
You can visit the Windows Update user interface from the Windows Settings by heading to the Start menu > Settings > Update & security > Windows Update. When there, you’ll have a message letting you know what’s happening with your updates. For the most part, you don’t need to do anything manually with Windows 10 updates because this Windows Update feature is designed to download and install the updates for you—and no, you can’t choose which updates to skip or anything of that nature.
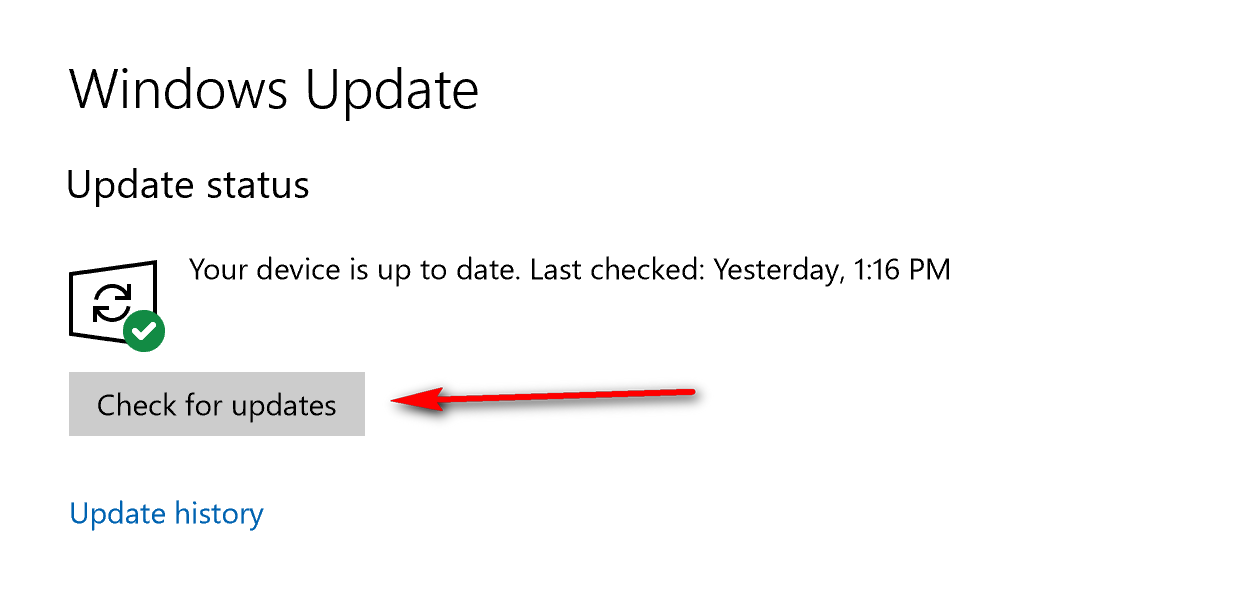
Still, just because Windows says the Windows Update feature is going to handle all of your updates, doesn’t mean that in reality, that’s what it actually does. There are plenty of times when you may visit the Windows Update user interface and click on the “Check for updates” button, and an update is there ready for you to install. When it does give you feedback that an update is there to install, you can go ahead and install it. (These updates typically require a restart of the computer, so make sure you have saved your work before going ahead with any updates.)
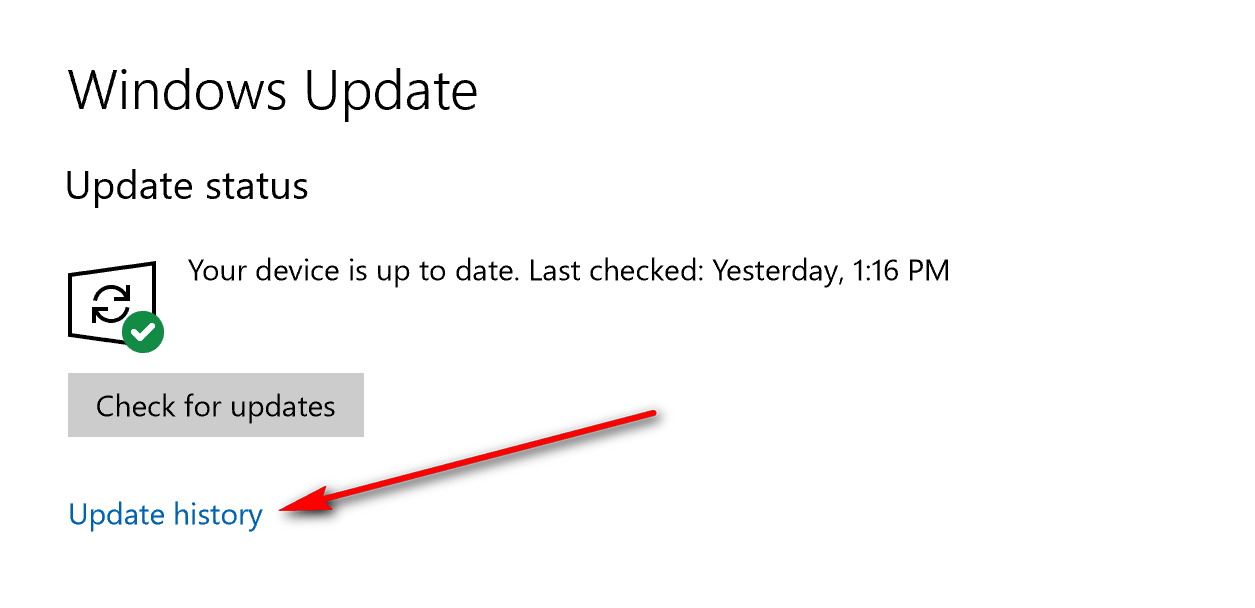
All versions of Windows 10 come with an “Update History’ section that allows you to check what version of Windows 10 you are currently running and what versions of Windows 10 you have been running before.
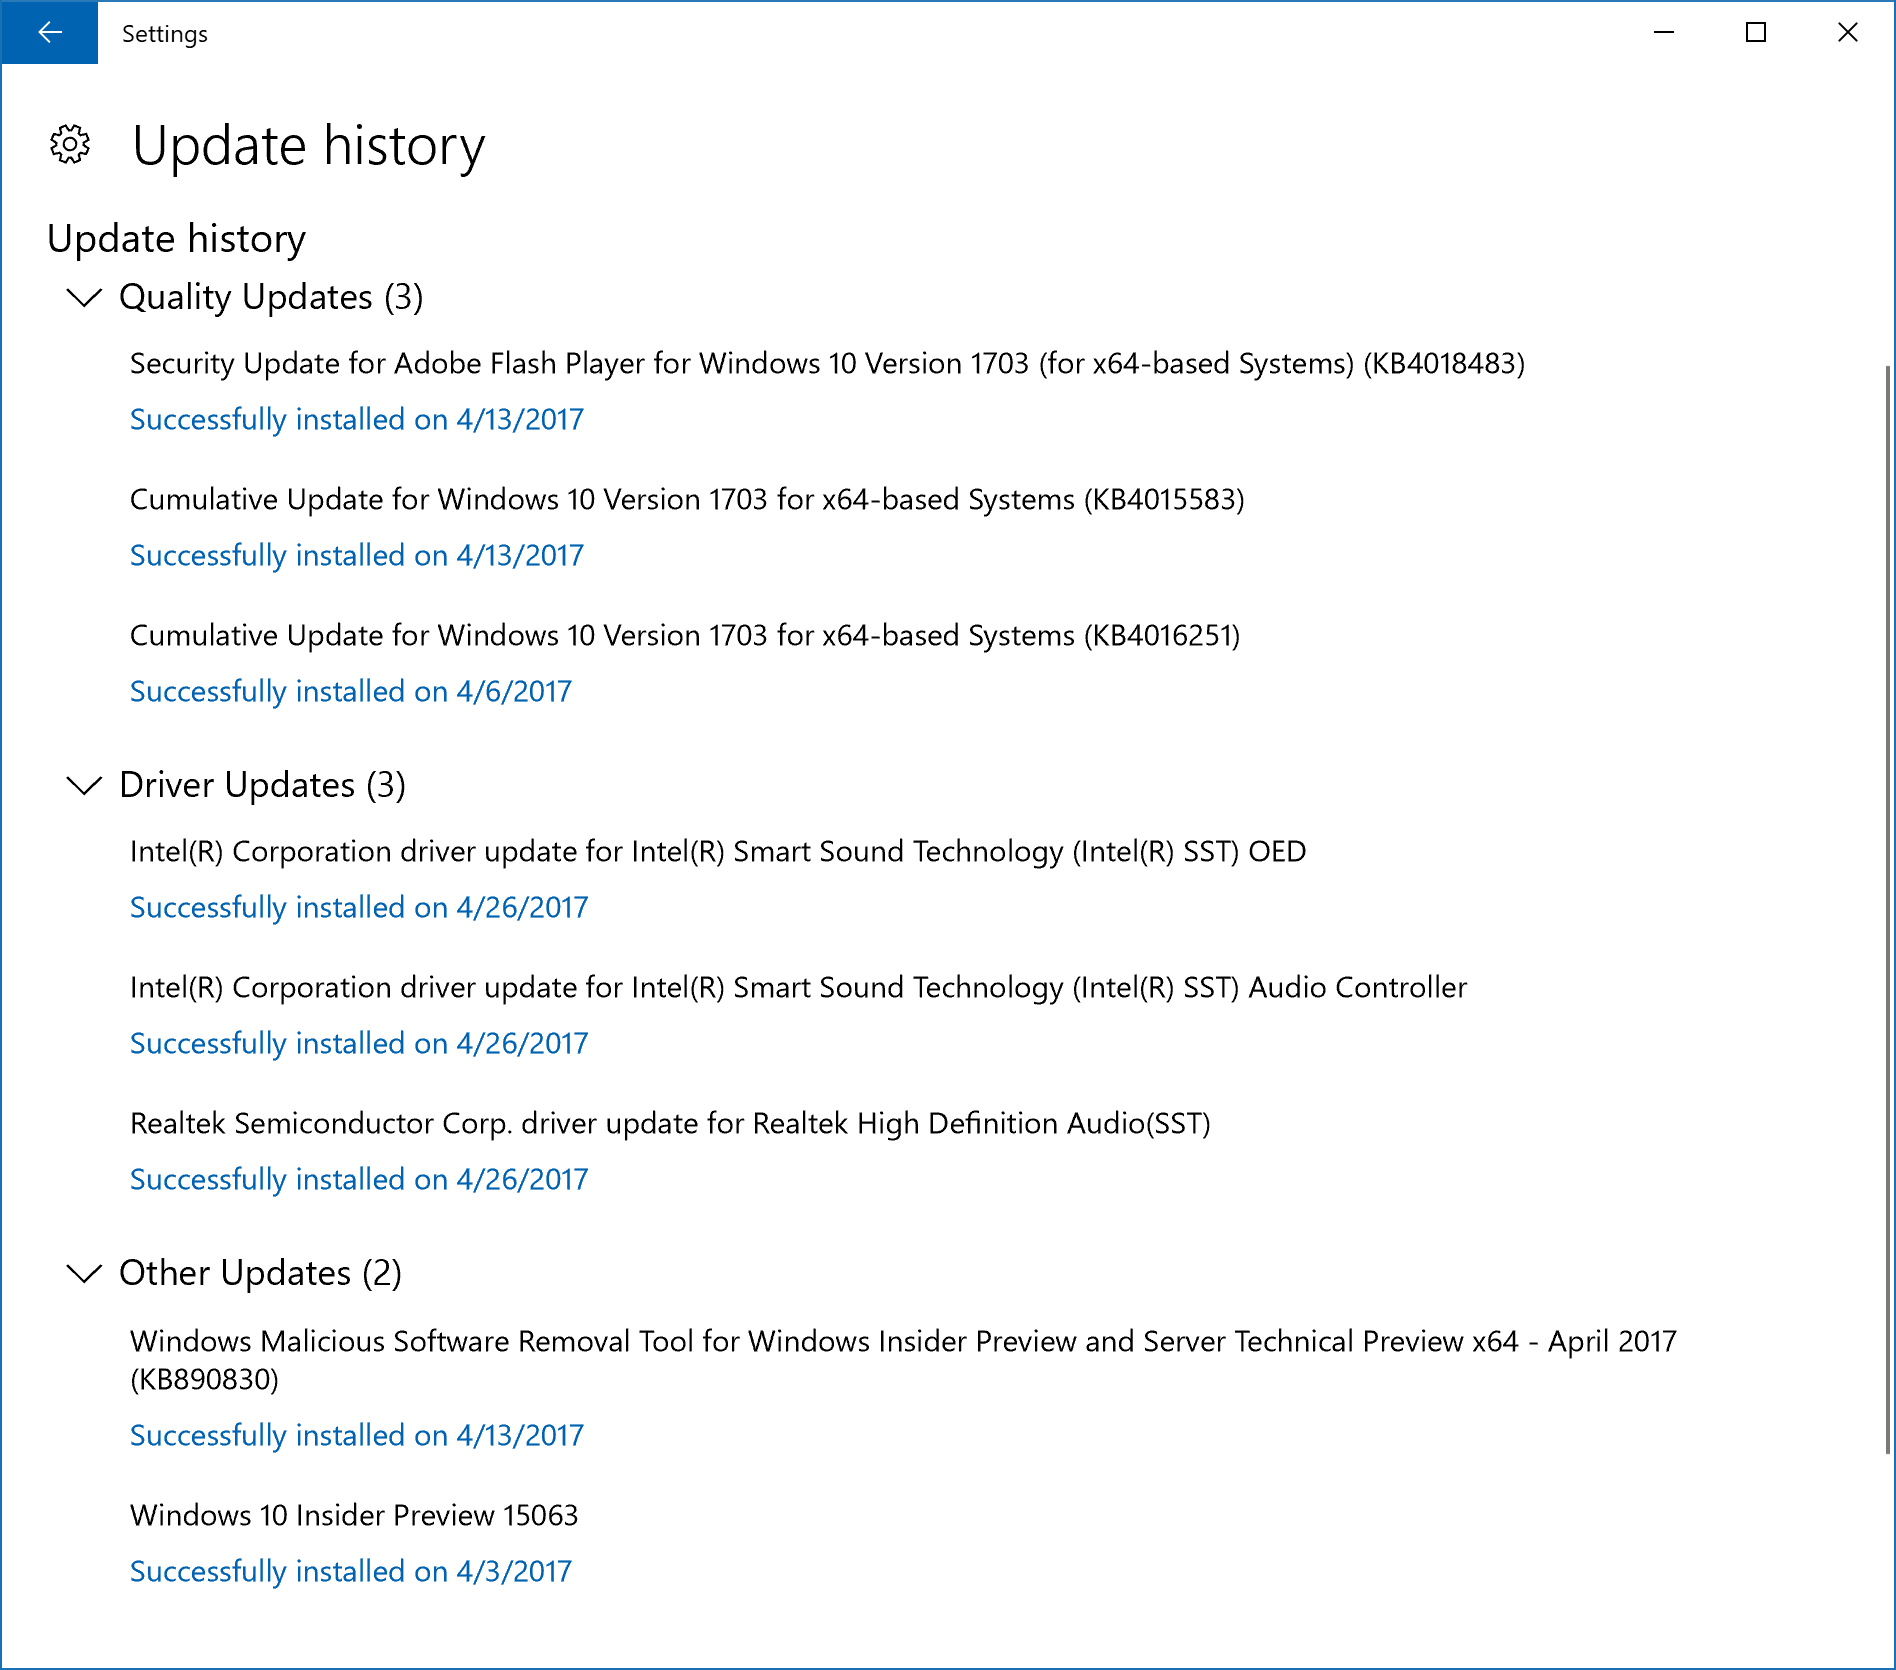
One of the new features that the Creators Update has is separate headings for updates that were “Quality updates” for the operating system itself, “Driver Updates” for anything that was to do with the drivers and “Other Updates” for everything else. In earlier versions of Windows such as the Anniversary Update, none of these updates were given under headings, and they were just listed in order of the most recent update being at the top of the list and the first update you ever had at the bottom. The new feature offers a less cluttered way of seeing how your update history looks.
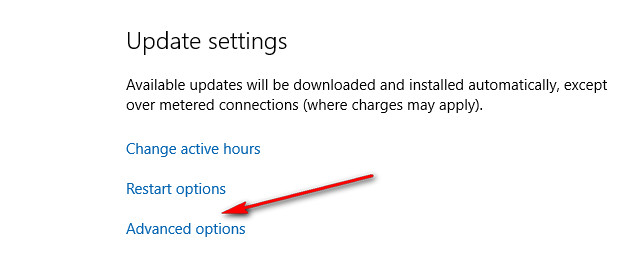
The way peer-to-peer Windows 10 downloads work in current versions of Windows is different to how they originally worked when Windows 10 first arrived. By default, there is no more peer-to-peer option set, but you can get access to the “Advanced options” from the Windows Update and turn on the toggle switch for “Windows Update Delivery Optimization” which will involve other PCs over the Internet and help speed up your downloads for app updates and operating system updates.
To do that, click on the “Advanced options” link from the “Update Status” page found in the same Windows Update area.
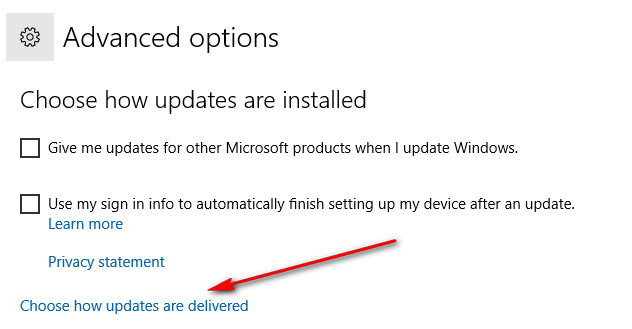
Click on the “Choose how updates are delivered” link.
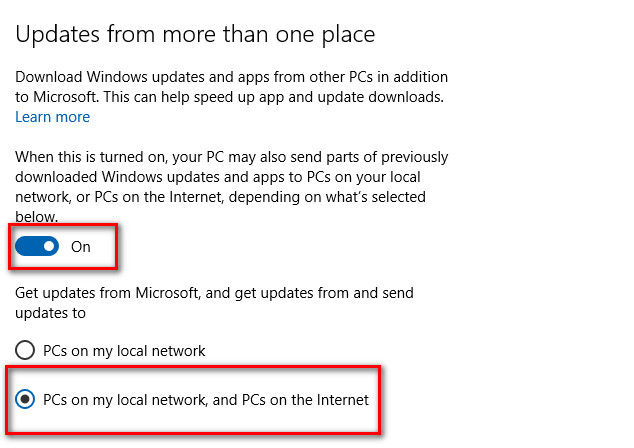
Toggle on the switch under the first couple of paragraphs that describes the feature and then put a checkmark in the bottom checkbox that says “PCs on my local network, and PCs on the internet.”
In short, the Windows Update feature is going to install Windows updates on your computer automatically, and there is nothing you can do to choose which updates you get. However, the Windows Update feature isn’t always keeping you as up to date as it could be because it only checks for and installs new updates periodically. That means there might be updates available that are ready to be installed but haven’t been. To update to those, you need to head to the Windows Update from the Settings and then click on the “Check for updates” button and then install any of the updates that are now prepared for you. Users also have the chance of being a “Windows Insider” which opens up the doorways of getting in on the “Windows Insider Preview” builds. These are Windows operating system updates you will get before they are ready to be rolled out to everyone with the Windows Update feature. But they also come with an added risk of bugs which is why the primary purpose of these builds is to send feedback regarding the bugs to Microsoft so they can fix them and prepare the updates to be released to the general public outside of the Windows Insider program.


