 Email article
Your Mac will automatically go into sleep mode if it is left inactive for a specified period of time . If you’r a new Mac user or don’t know how to do so enable sleep mode then follow the short tutorial below on how to enable auto sleep mode on your Mac .
HOW TO ENABLE AUTO SLEEP MODE ON MAC
Step 1 : Open System Preferences located in the dock or click the apple icon located top left and select “System Preferences”

Step 2 : Once System Preferences window opens , scroll to the “Hardware” section and click “Energy Saver” indicated by a light bulb icon

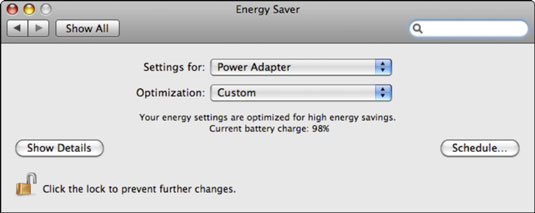
Step 3 : Click on “Show Details” in the energy saver window . The window expands to include more options .
Step 4 : Drag the slider for “Put the Computer to Sleep When It Is Inactive For :” and the “Put the Display to Sleep When the Computer Is Inactive For : ” slider to any value you want between 1 minute – 3 hours . If you ever wish to turn auto sleep off then drag both the sliders to never .
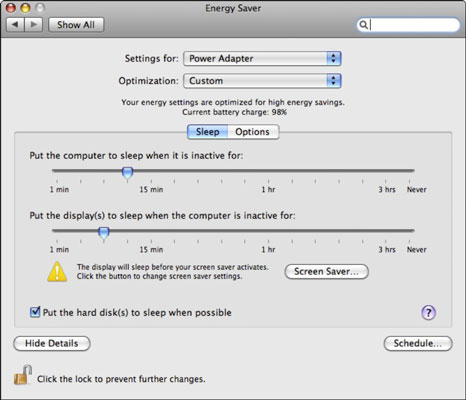
Step 5 : Tick or untick the “Put the Hard Disk(s) to Sleep When Possible” check box . For additional options , click the “Option” tab located right above the sliders .
Step 6 : Close the “System Preferences” windows to save your changes .
CONCLUSION
Upon following the above steps , your Mac will enter a sleep mode after it is left inactive for the amount of time you specified . Sleep mode helps reduce the power consumption of Mac and the microprocessor enters low-voltage mode during sleep mode .


