 Email article
If you have to change multiple cell cases in an Excel spreadsheet it’s not essential to delete and re-enter their content. Excel has three functions with which you can change the case of text. With those you can enter a function which converts text in one cell to an alternative case in another cell.
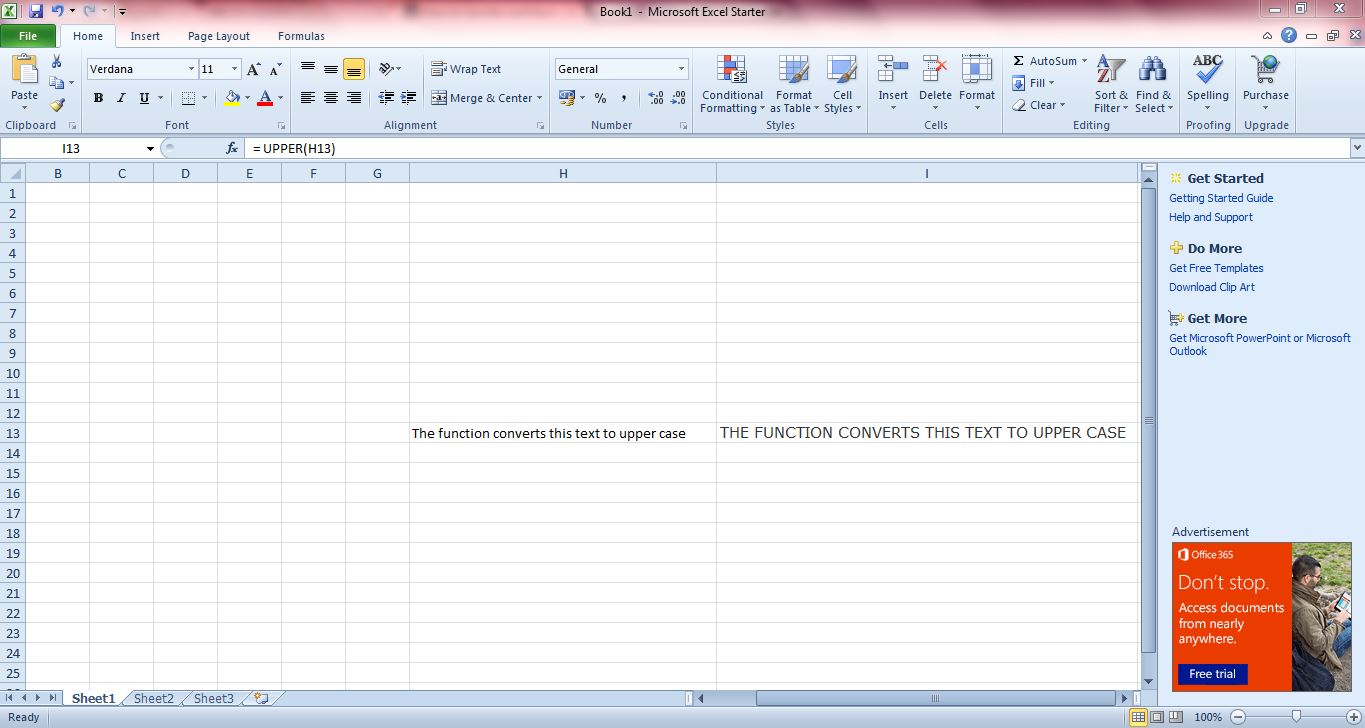
To convert text to all upper text, open an Excel spreadsheet and select a suitable cell to input the function. Then copy and paste the following into the function bar: = Upper (). You should add a cell reference, such as H13, in the function’s brackets. The cell reference should include the text you’re going to convert to upper case as below.
Alternatively, you can convert text to lower case instead. To do that you should select a suitable cell for the function, and input = Lower () in its function bar. Add the cell reference to the function brackets, and the text should switch to lower case in the selected cell as below.
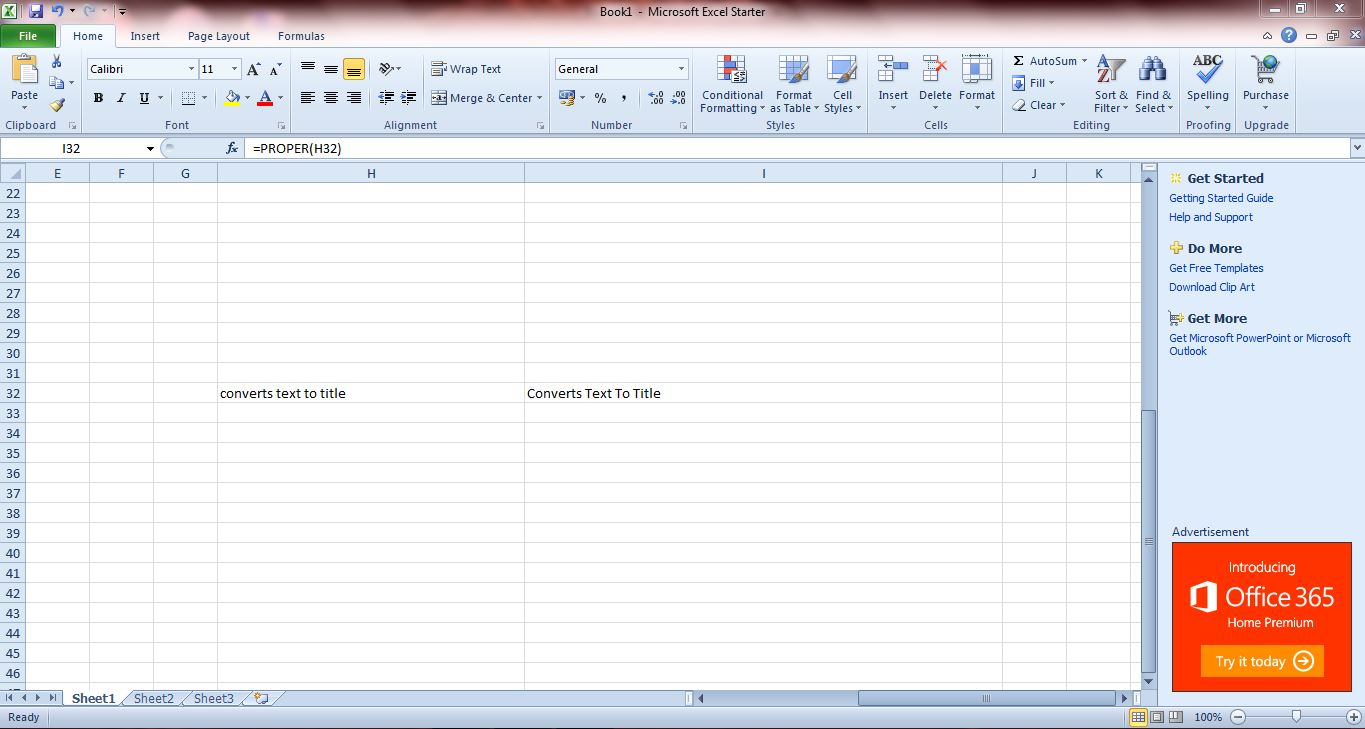
The third Excel function converts text to title case with capitalized words. The function for that is = Proper(). Add that function to the spreadsheet much the same as the other two, and it should convert the text to title case as below.
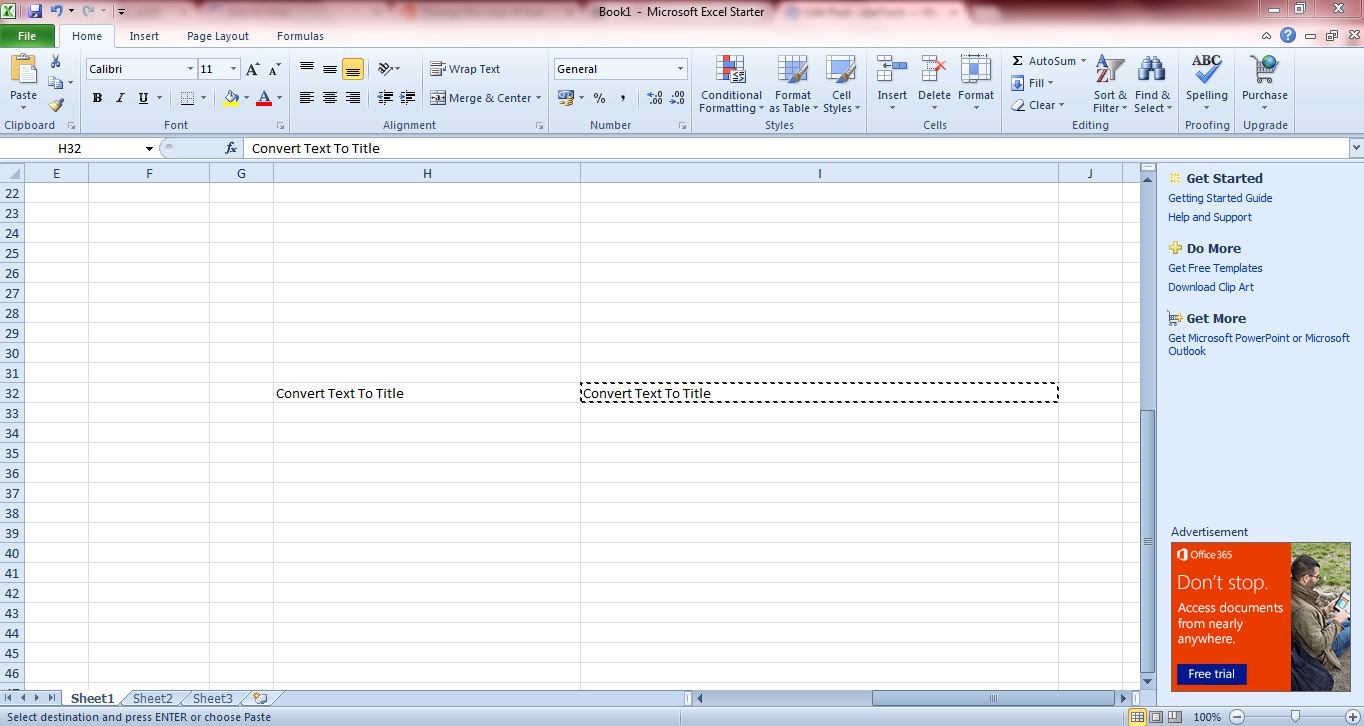
Of course, it would be better to have just the one cell with the new text case it without a reference cell. You can paste over the reference cells with the new text, and then delete the other cells with the functions in them. Select the cell, or cells, with the function in them; and press Ctrl + C to copy. Right-click the reference cell, select Paste and Values. That pastes just the cell values and not the underlying function. Then go ahead and delete the cell which include the original functions.
Those are the three Excel functions that convert text cases to other alternatives. With them you can tidy up your spreadsheet’s text.


