Website designers always try to ensure that all the headings on their pages are displayed in the correct size and font. However, they cannot be sure that fonts will be displayed correctly on each system unless they add the headings to the page as images. Of course, you can always set up text image files with a graphic application; but the TextImages tool is a better alternative.
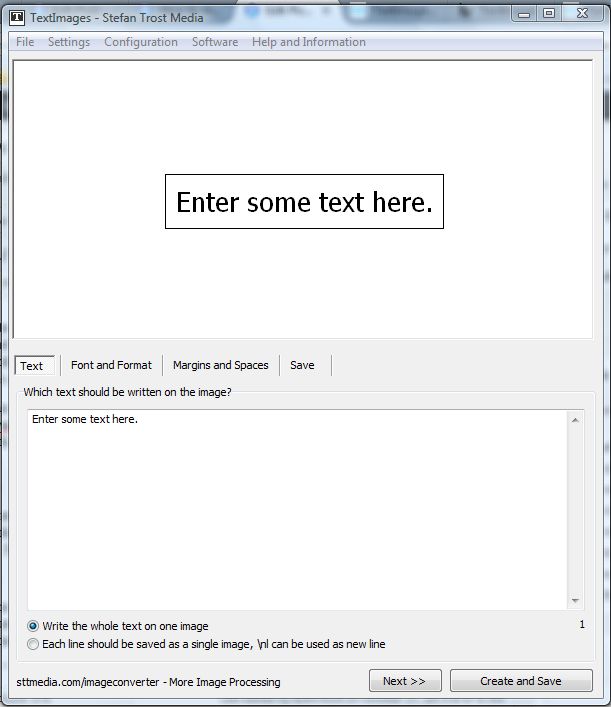
You can add TextImages to Windows XP, Vista or 7 from the publisher’s website. Click TextImagesEn.zip at the bottom of the linked page to save the Zip file. Then extract the TextImages Zip file with a freeware utility such as 7-Zip, and open the software’s window below from the extracted folder.
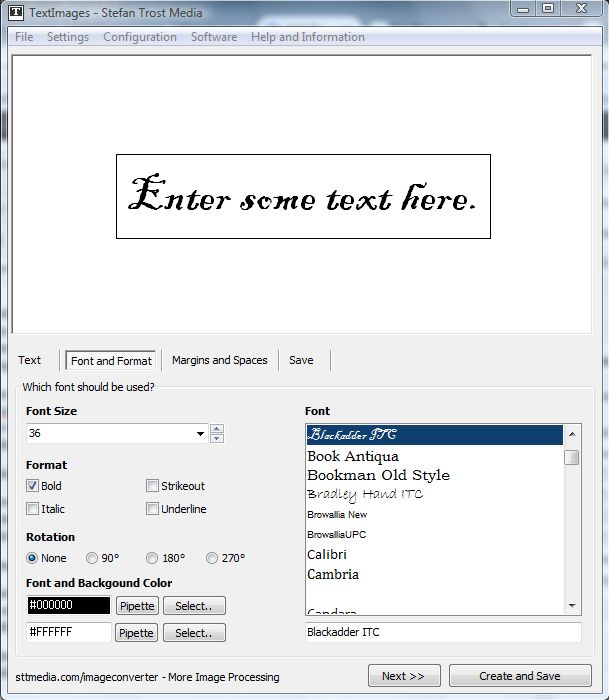
Now press the Text tab to enter some text to convert to an image. You can select from a variety of formatting options such as Bold, Italic and Underline by selecting the Font and Format tab as in the shot below. To rotate the text, click the Rotation radio buttons on that tab. Click the Select buttons to choose alternative font and background colors.
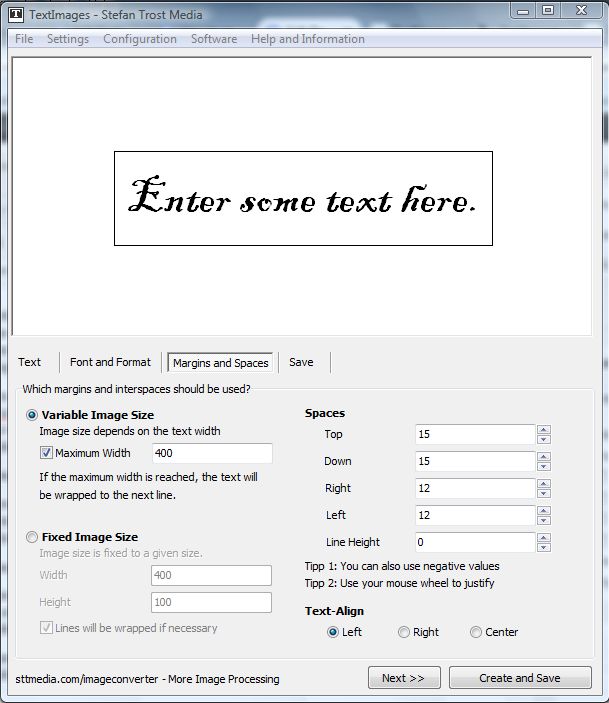
Margins and Spaces is another tab on the software’s window Enter alternative values in the Spaces boxes to adjust the image margins. There you can also adjust the image size by clicking the Fixed Image Size radio button and entering alternative values in the Width and Height text boxes.
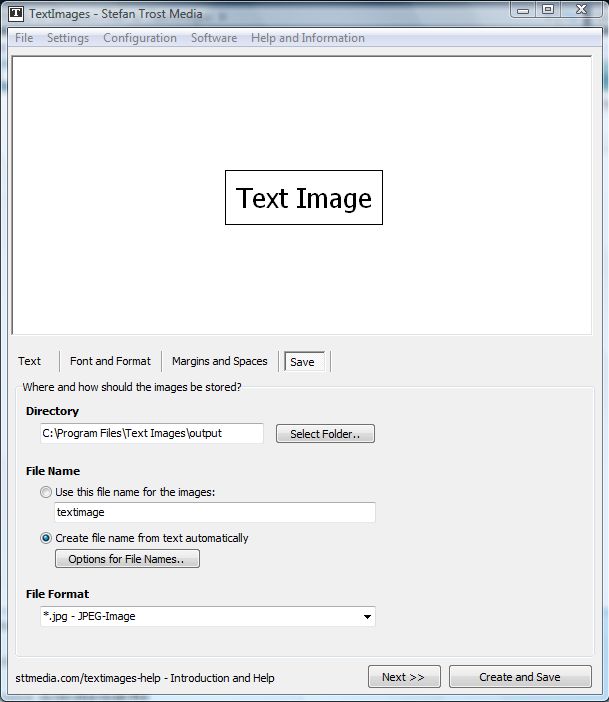
Then click the Save tab to save the text image. Press the Select Folder button to choose an alternative path for the image. At the bottom of the window there is a File Format drop-down list that you can select a variety of alternative file formats for the image from. Press the Create and Save button to save the image.
With TextImages you can now quickly set up text images for your website pages. Then you can add the image to your website to ensure the text is displayed exactly as it should be.

 Email article


