 Email article
Short documents usually don’t need a table of contents but what if you’re dealing with books and research papers? What if you have a document with over a hundred pages and it doesn’t even have its own table of contents? If you’re viewing that document in Google Docs, then you don’t need to fret. In this post, you will learn how to automatically create a table of contents for your lengthy documents in Google Docs.
How to automatically create a table of contents in Google Docs
- First, go to Google Docs. To use Google Docs, you must have a Google account. If you already have one, just open this link using Chrome, Firefox, Opera or any other web browser.
- Open the document that you want to view.
- On the document tab, click “Add-ons” from the navigation menu then select “Get add-ons”.
- On the add-ons collections page, search for “Table of contents” in the search bar and then press “Enter”.
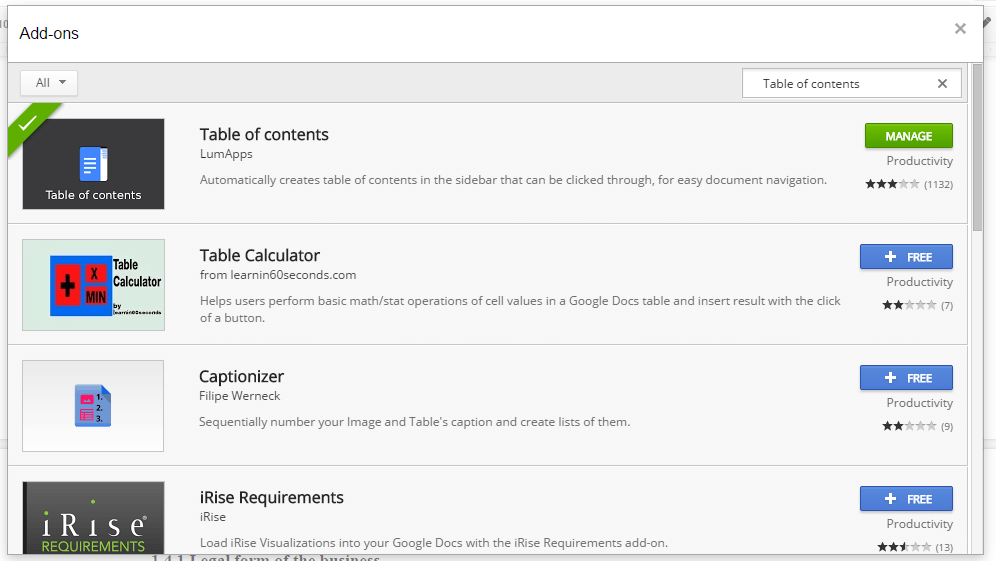
- On the list of results, select “Table of Contents” then click the “+ Free” button next to it.
- Click “Accept” once you see the Request for Permission window.
- Once the add-on has been successfully installed, it will automatically generate a table of contents for your document.
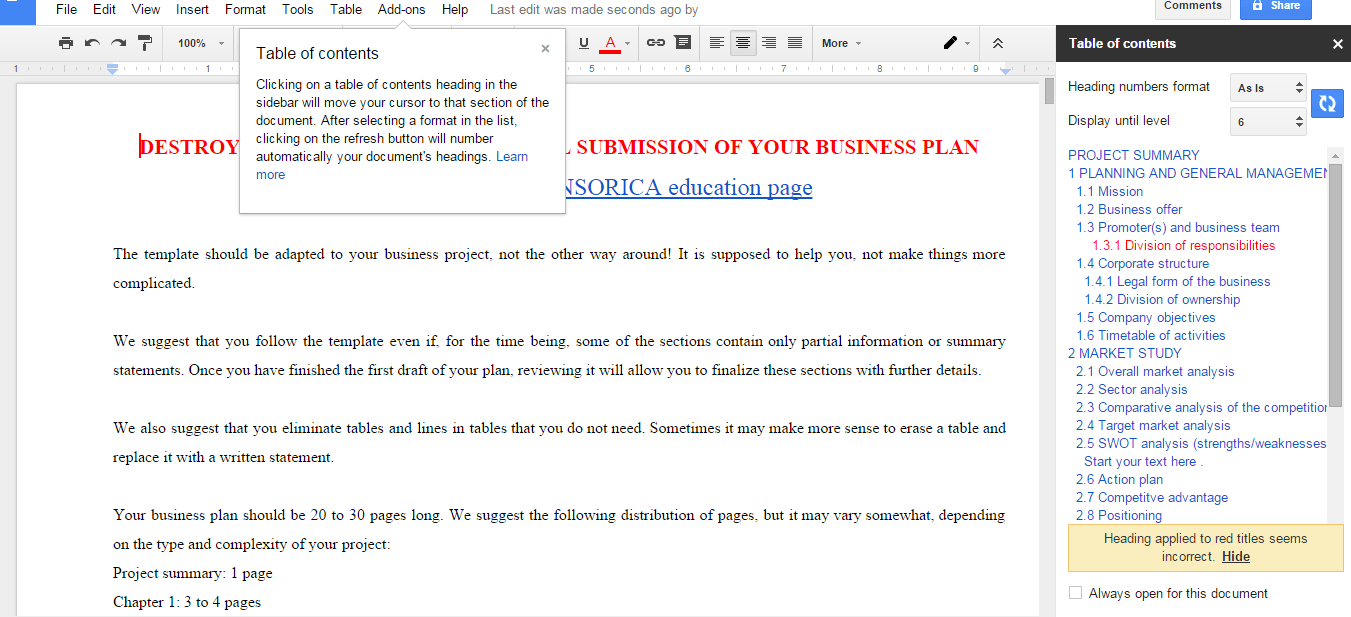
- The “Table of contents” section will be placed on the right side of your document so whenever you need to go to a certain chapter or section, just click any of the titles and that’s it. You will be automatically moved to the page or section that you want.
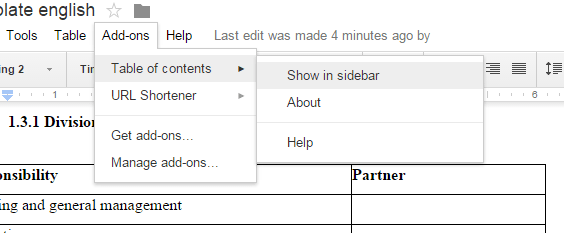
- If you want to hide the table of contents, just click the “X” button from its top menu. If you want to restore it, just go to “Add-ons” > “Table of contents”. On the sub-menu, select “Show in sidebar”.
That’s it. You’re done.


