 Email article
When you want to install a package such as .exe , you can right click and choose “Run as Administrator” . However when you right click an MSI package , you’ll find out that “Run as administrator” option is not available . Follow our guide below on how to install an MSI package as administrator .
How to install or run MSI files as Administrator in Windows 8 and 8.1
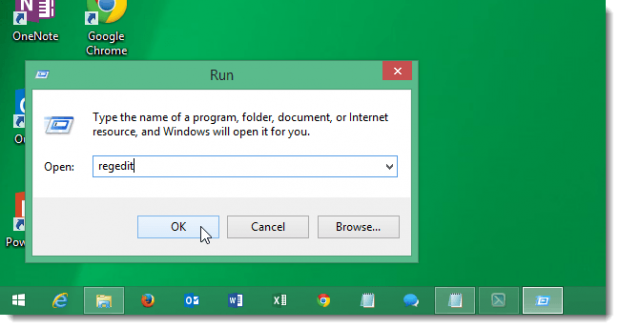
Step 1 : Right click on start menu and select Run from the pop up menu that appears.
Step 2 : The Run dialog box appears . Type regedit into the box and click Ok . If a User Account Control dialog box appears , click Yes.
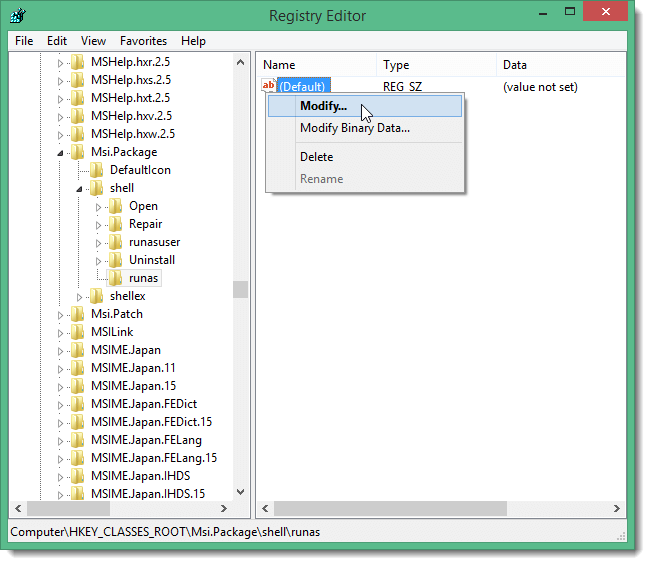
Step 3 : The Registry Editor windows opens . Now go to the following directory :
HKEY_CLASSES_ROOT\Msi.Package\shell
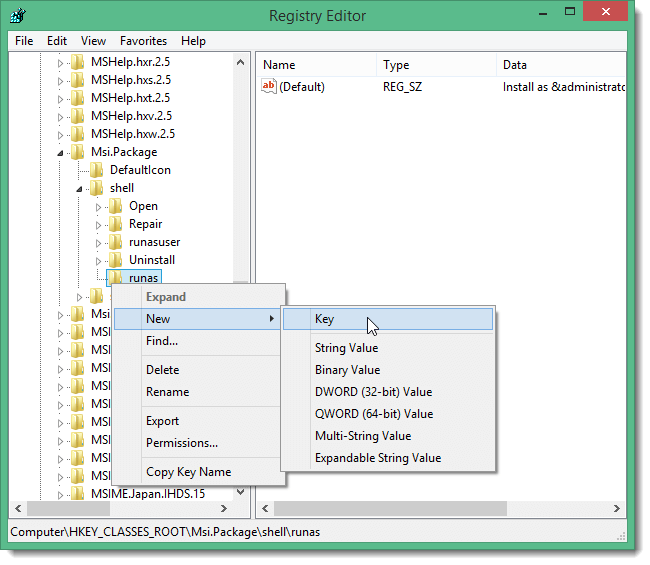
Step 4 : Right click on shell and click New -> Key

Step 5 : The new key is added under shell . Rename it to runas.
Step 6 : Right click on (Default) in the right pane of runas and select Modify from the menu that appears.
Step 7 : An Edit String dialox box appears . Type Install as &Administrator in the value data box.
Step 8 : Right click on runas you created earlier and select New -> Key and rename it to command.
Step 9 : Click command and from the right pane , right click on default and type in the following into Edit String box :
msiexec /i “%1”
Step 10 : Click Ok and close the Registry Editor windows. You’re done!
CONCLUSION
MSI packages can’t be installed as administrator by default . However by making changes to the Registry Editor , you will be able to install it as administry . After following the above tutorial , you will be able to install an MSI package as administrator. When you right click on an MSI package , you’ll see an option named “Install as Administrator” .


