There are many among us who use screenshots every day, and before Windows Vista there wasn’t a built-in function on Microsoft systems to automate this procedure. Windows Vista introduced Snipping Tool, Windows 7 built upon it, and now Windows 8 offers a bit more native screenshot taking features.
Today I’m going to show you how to do it and you will see it’s easier and more convenient than copying your captured screen to the clipboard and then having to paste it into Paint or another software.
HOW TO TAKE A SCREENSHOT IN WINDOWS 8 WITHOUT THIRD-PARTY SOFTWARE
First locate in any application or window you want to capture (whether it is a native Windows 8 app or just a classic Windows program).
To take a screenshot of your current screen, hold down the Windows key and then press the PrntScrn button (Print Screen)
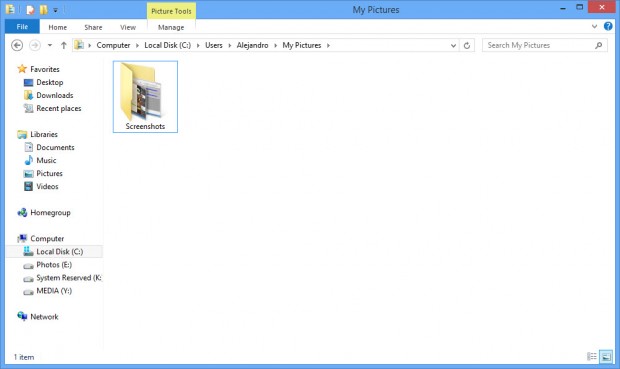
Your screen will flash and that means your screenshot is already saved. To see the image, navigate to your Pictures library or My Pictures folder in your C: drive with Windows Explorer. You can open Explorer by pressing Windows key + E.
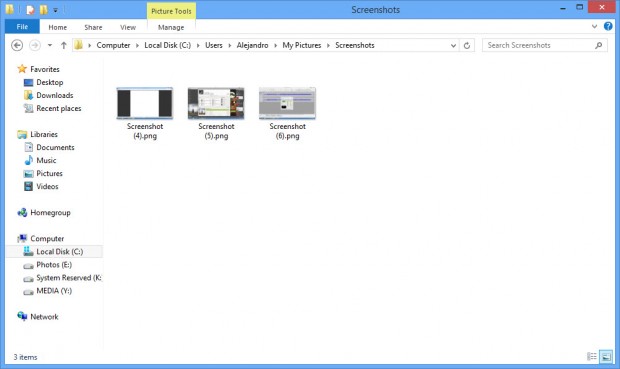
You’ll see all the screenshots you’ve taken with this method in chronological order using the pattern “Screenshot (x)” as shown in the picture below.
Screenshots will be saved as .png files.
CONCLUSION
This is great little trick for Windows 8 to help you get the most out of your time when handling screenshots. Maybe not everybody will find it that useful but if you work with a lot of them maybe you’ll finally thank Microsoft for something they’ve done.
Also, check out a tutorial by Ashraf on how to take a screenshot of only an active window or program.
[via HowToGeek]

 Email article


