The Windows desktop remains largely flat and two-dimensional. Even though 3D graphic hardware is enhanced in leaps and bounds, Microsoft haven’t added a great deal more than Flip 3D to Windows Vista, 7 or 8. However, there are software packages that turn the desktop 3D. Among them is Real Desktop 2.0, which works on Windows XP, Vista, 7, and 8 (32-bit and 64-bit).
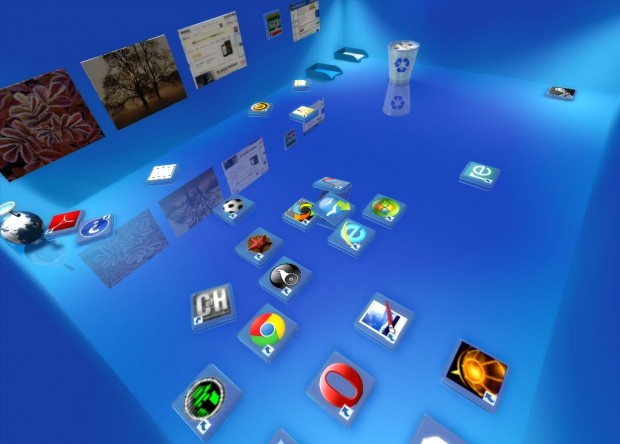
Real Desktop 2.0 is a software package that makes the most of Microsoft DirectX 3D to turn the Windows desktop into a real 3D alternative. It turns the desktop into 3D rooms with walls, dustbins, pictures, lamp shades and more besides. Real Desktop also has a freeware edition that you can install to Windows from this website. (NOTE: Real Desktop comes bundled with Somoto crapware/bloatware during install – be careful.)
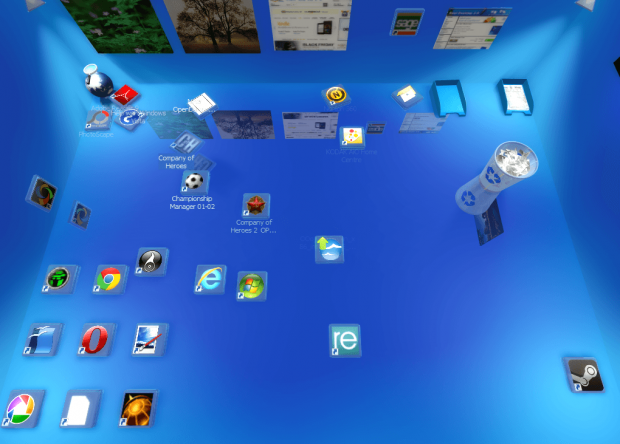
Once you have installed the freeware edition to Windows open the software. A blue 3D room will then replace the standard Windows desktop. To rotate the camera angle of the room, select the Camera option; and then Down right or Down left to alter the camera position as below. Click Default to return to the original angle.
The software icons can be dragged to alternative positions on the 3D desktop by selecting them and left-clicking. You can also lift the icons up by holding both the mouse buttons down with the cursor over the icon. An icon can be moved to one of the walls by dragging it to the wall, and then right-clicking the mouse. Click on the pin here option to add it to the wall.
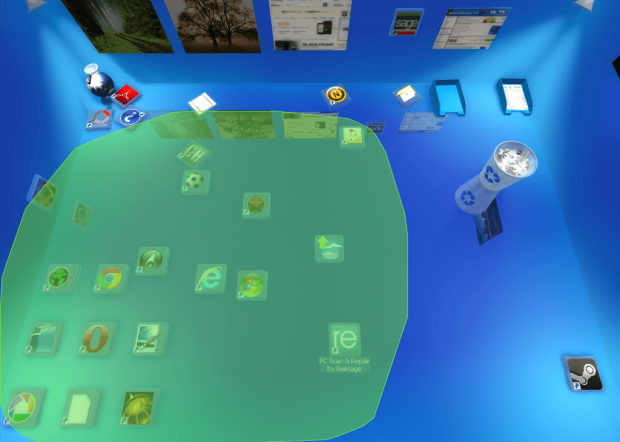
The icons can also be organized by left-clicking the desktop, and dragging a green shape over them as in the image below. That selects all the icons within the green area. Right-click on an alternative position on the desktop to move the icons, and then select Tile here. Then you can organize them by name, type, size etc.
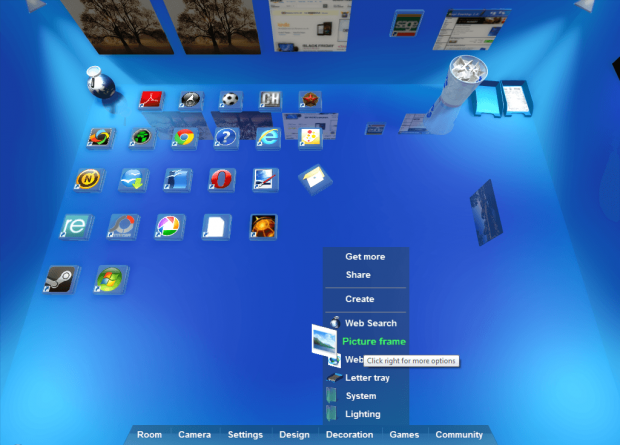
The 3D desktop also includes pictures on the walls that you can move much the same as the icons. To add new picture frames to the wall select the Decorations’ option. From there you can add a number of additional objects to the room such as letter trays and picture frames. Click picture frame, and then select a suitable photo to include within the frame. To enlarge the pictures, right-click over them and select + Scale up.
You can also pile up desktop shortcuts. Select a group of desktop icons, and then right-click an alternative position on the desktop. Select the pile here option. The selected icons are moved into a pile as in the image below. The icon pile can also be lifted and stacked in some of the filing trays included on the 3D desktop. Double left-click the pile to select one of its desktop icons.
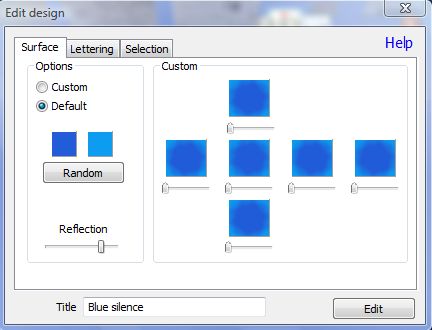
You cannot make many changes to the room’s design with the freeware edition, but there are a still a few editing options available for selection. Click on the Design option and Edit. That should open the window below.
Selecting the Random option will change the desktop’s color scheme. If you select the Custom option you can add your own images to the walls and flooring. Drag the Reflection bar to the left and right to reduce or increase the icon and object reflections. Click on Edit to add the changes.
Once you have customized the 3D desktop right-click on its icon in the Window system tray. Click Settings and the General tab. From there select the Autostart with Windows option to add it to the startup software.
Conclusion
You can add up to eight decorations to the 3D desktop with the freeware edition, but with Real Desktop Pro plenty more objects and rooms can be added from the software’s website. Real Desktop provides a tantalizing glimpse of what a 3D Windows OS could be like.

 Email article
