 Email article
When a file or folder is created or downloaded, Windows automatically assigns ownership access of a file or folder to the user account that creates or downloads it. And the owner has the rights to allow or deny permission to other non-administrator users. From time to time, a Windows user with admin access may need to take ownership of a system file, or a file created by another user. Typically this is a long-winded process that involves jumping through quite a few hoops in the GUI, or for the geekier folks, shooting up a command prompt.
Well, if you ever happen to be in such a situation, here’s a cool registry hack which eliminates the need to go through all of the painful steps, and adds a Take Ownership shortcut to the context menu (right-click menu) in Windows. Here’s how you can do this. This tricks works on both Vist and Windows 7, 32-bit and 64-bit, and may work on Windows 8.
How To Add Take Ownership Shortcut To Right-Click Menu in Windows
- Download this file – Take Ownership Win 7
- Extract the zip file to your desktop. You should get a folder with two .reg files in it
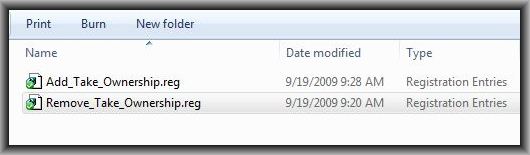
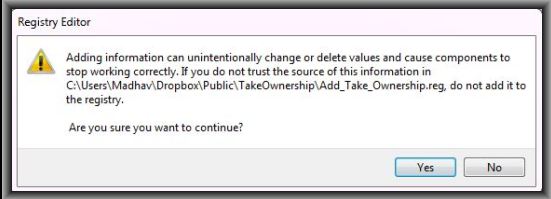
- Double click the Add_Take_Ownership.reg file to install the registry entry
- Click Yes to the ensuing prompts
- You should get a confirmation dialog telling you that the Take Ownership Shortcut registry entry has been added

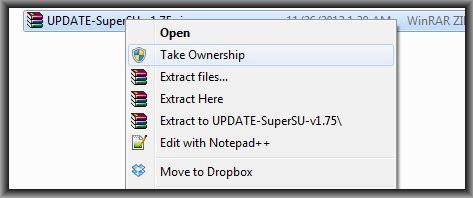
- Right-click on the file or folder you wish to take ownership of
- You should now see a Take Ownership shortcut in the context menu.
- In case you want to remove this shortcut in the future, simply double click the Remove_Take_Ownership.reg file from the folder you extracted in Step 2, and click through the prompts. Reboot is not required.


