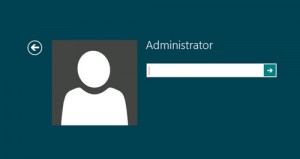
 The built-in administrator account is hidden and is disabled by default in Windows 8 . This account has complete unrestricted control of your computer system and is therefore the main account targeted by users . That is why this account is disable and hidden to increase security of your system . In order to enable the built in administrator account , you must login with an account with administrator privileges . Follow the guide below on how to enable or disable the built in administrator account .
BEFORE WE BEGIN
- We do not recommend that you enable the built in administrator account as it can be a security risk
- You need to login in with an account with administrator privileges to be able to enable the built-in admin account
HOW TO ENABLE BUILT-IN ADMINISTRATOR ACCOUNT ON WINDOWS 8
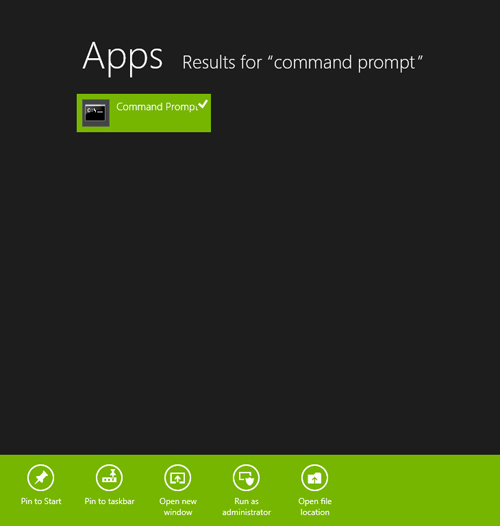
Step 1 : Open “Command Prompt” . If you cant find it , press Windows Logo key and search for “Command Prompt” in the search bar
Step 2 : Right click and run command prompt and choose “Run as Administrator”
Step 3 : Type in the following code into command prompt :
net user administrator /active:yes
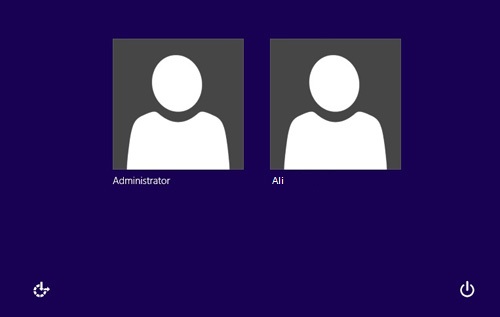
Step 4 : The built in Administrator account is now enabled . Log off your current account and you’ll see a new account named “Administrator” . Note : The built in Administrator account name cant be changed will remain as “Administrator” .
HOW TO DISABLE THE BUILT-IN ADMINISTRATOR ACCOUNT
Step 1 : Open “Command Prompt” by pressing the Windows Logo key and searching for “command prompt”
Step 2 : Right click and choose “Run as Administrator”
Step 3 : Once open , type in the following code into command prompt and press enter :
net user administrator /active:no
Step 4 : The built-in administrator account is now disabled .
CONCLUSION
By following the above guides , you can enable or disable the built-in administrator account . However I would advise that you create a strong password for the built in admin account as it doesn’t have any password set when enabled for the first time .

 Email article


