The user account picture is the one at the top of the Windows Start menu. Windows has a few default account pictures, and you can add your own as well. You can also add your own pictures to the list of default images, and delete those that you aren’t going to put on your user account.
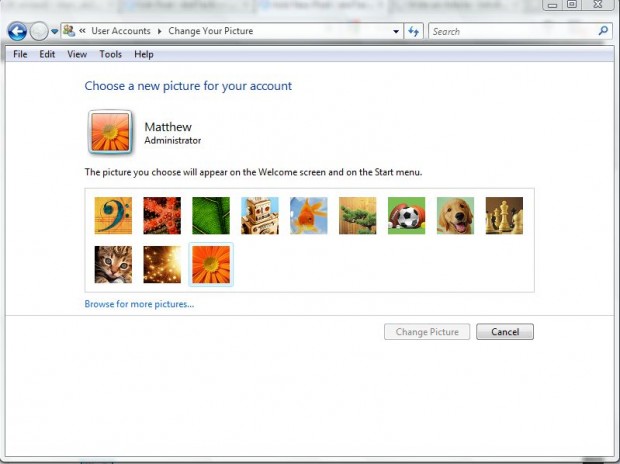
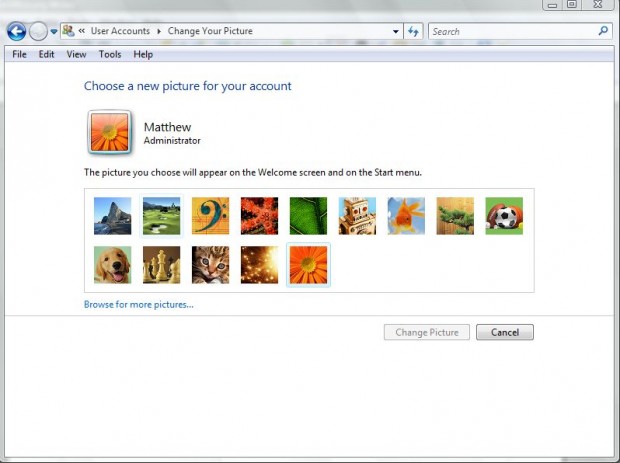
To change the user account picture, type user account in the Start menu search box. Then select User Accounts, and select the Change Your Pictures option. That opens the window below which includes the Windows default user account pictures.
To add new ones, click on Browse for more pictures to choose an alternative image. That then adds the selected image to your user account, and the default pictures as below. However, if you select an alternative the other image you added to the user account does not remain on the default list.
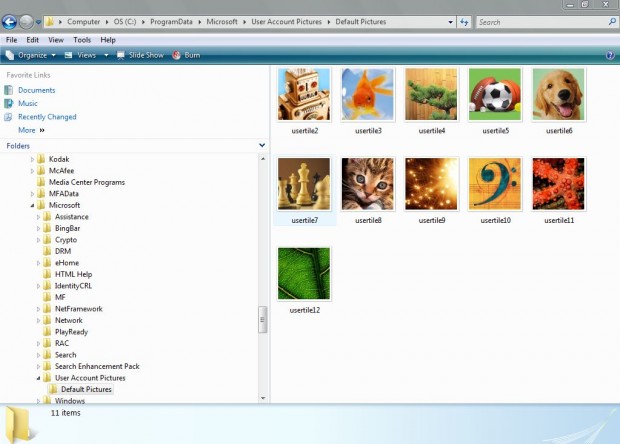
To keep your own account pictures on the default list, even when they’re not selected, type the following in the Windows Explorer address bar: C:\ProgramData\Microsoft\User Account Pictures\Default Pictures. That then opens the folder below which includes the default user account pictures. Now you can delete some of the default images by right-clicking them and selecting Delete.
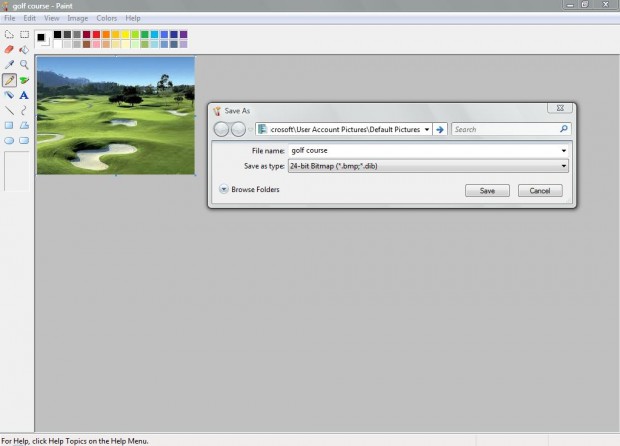
Now open a photo to add to the user account defaults with Paint. Click File > Save as, and type in C:\ProgramData\Microsoft\User Account Pictures\Default Pictures in the location bar. Also select a 24-bit bitmap file format from the Save as type drop-down list.
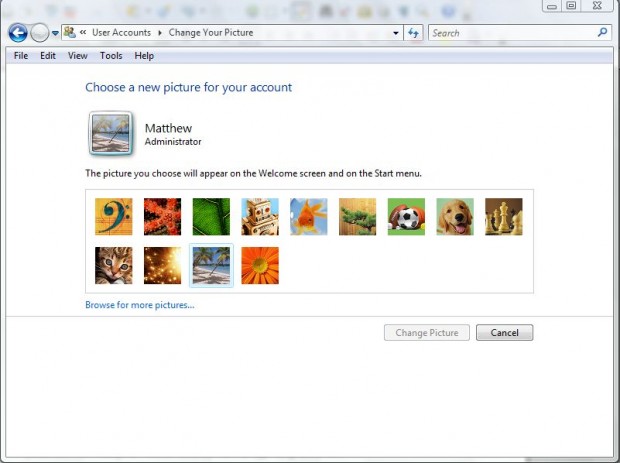
Then click Save, and close the Paint software. Return to the Change Your Pictures window below where you should find the image you saved included in the default picture list even if you haven’t selected it for your user account. In the shot below, I have added two new user account pictures to the defaults, and you can add many more.
Having customized the default picture list, your own pictures still remain there even if you revert back to one of the default alternatives. You can also change the Windows default user account pictures much the same.

 Email article
