Having two or more duplicate contacts is something that you cannot easily avoid especially if you’re transferring your SIM from one Android device to another. Of course, this can be quite a hassle since you need to manually edit and merge your duplicate contacts. Fortunately, there’s a way to make your task easier. All you need to do is to follow the step below.
Use an app to merge duplicate contacts on Android
- Download the app called “Merge+” from the Play Store. Install the app on your Android tablet or smartphone.
- Launch the app then press the “Find duplicates” button.
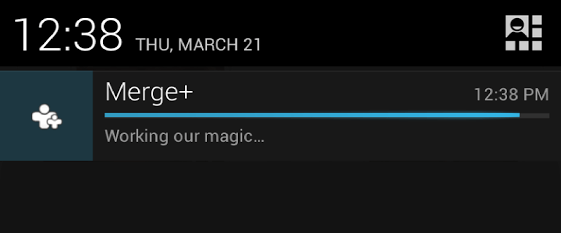
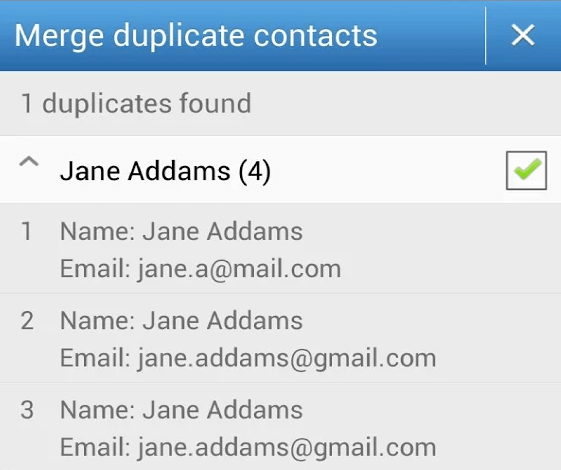
- Wait until the app finishes its search for duplicate contacts. Once the search is done, it will notify you with the total number of duplicates that it has found on your list of contacts. You can check its message in the notification area.
- View the message then select the contact/s that you wish to merge.
- Once you’re done selecting your contacts, tap the “Merge” button that is located at the bottom of the screen.
- You will be prompted to review all selected duplicates before merging. After which, confirm your action by pressing the “Merge” button in the message prompt.
- Just wait while the app merges your duplicate contacts. Once done, you will receive a notification that your contact duplicates has been successfully merged.
- Go back to your device home screen then go to “Phonebook” or “Contacts”. Review your merged contacts and if you have nothing to change or edit, then you’re all done.
Reminder: To ensure that all of your contacts are being displayed, go to “Contacts” then press the menu key. Select “Display Options” and then choose your desired preferences such as “Display Contacts by given name”, etc. After which, scroll down to “Select contacts to display” then tap each section to show the drop-down menu. Check the corresponding boxes next to the type of contacts that you want to show (ex. contacts from SIM, contacts from Phone, contacts from Google, etc.) then click “Done”.

 Email article


