If you go by the usual way of sending your Gmail attachments to Dropbox, then you’ll need to download and save the files first to your computer’s Dropbox folder. Of course, this would require you to install the desktop version of Dropbox. If you still haven’t, then you can manually upload the file attachment to your cloud storage.
Now, if you want to avoid the hassle, you can always opt to automatically send your Gmail attachments to Dropbox. Here’s how:
(Note: This method will only work if you’re using Gmail on Chrome.)
Step 1
Open your Chrome web browser then log in to your Gmail account.
Step 2
Open a new tab then go to the Web Store. Download and install the extension called “Kloudless”.
Step 3
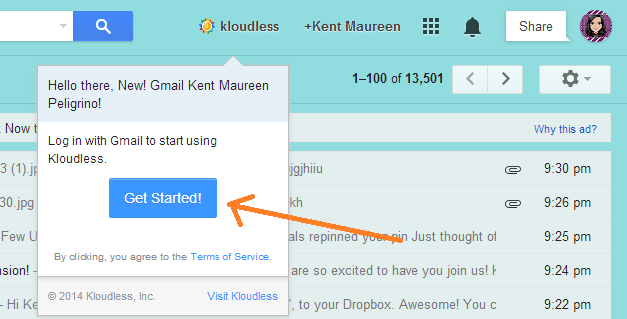
Once installed, go back to your Gmail account and reload its page. Notice the Kloudless link right beside your Google account name? Just click on it then click “Get Started”.
Step 4
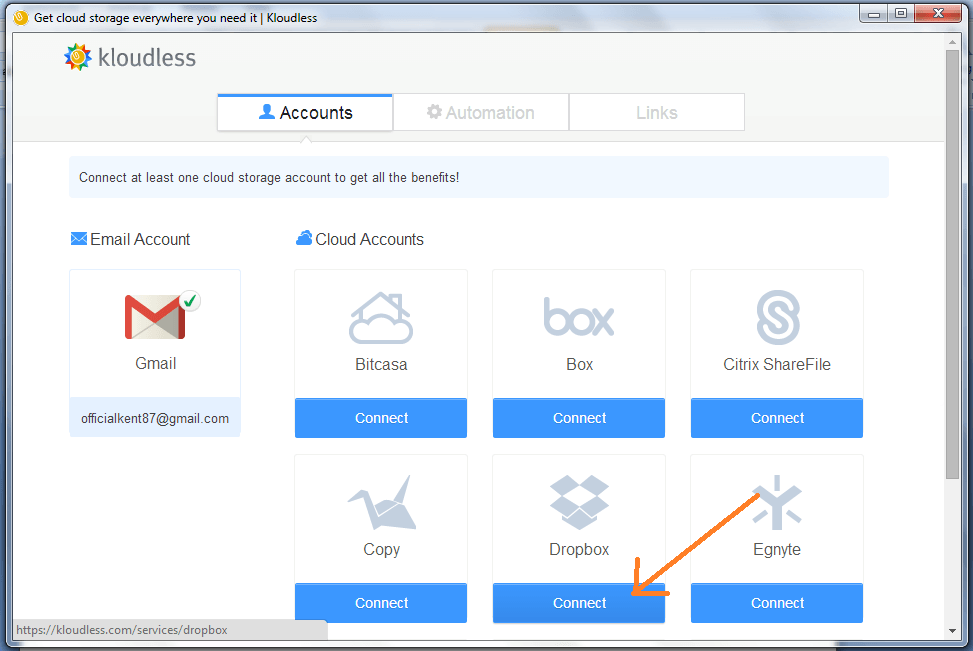
A new window will appear and it will ask you to connect at least one cloud storage account. Since there’s a couple of cloud storage services on the list, just find the one for Dropbox then click the “Connect” button right below it.
Step 5
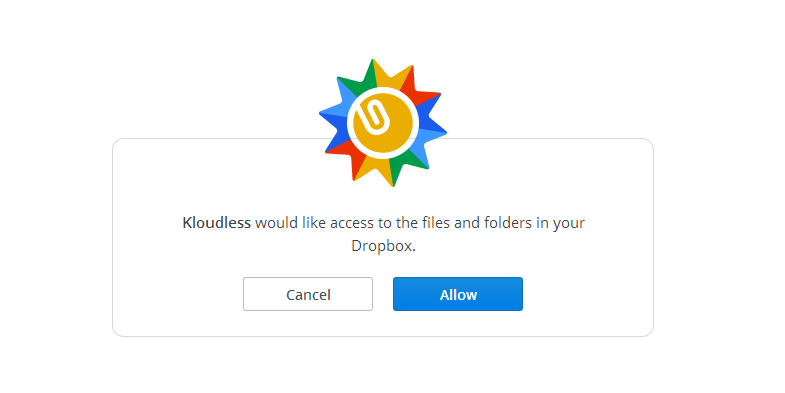
You will then be asked to authorize the app’s access to your Dropbox account. If you’re already logged in to Dropbox, then all you need to do is to click “Allow”. If you’re not yet logged in, then you need to log in first.
Step 6
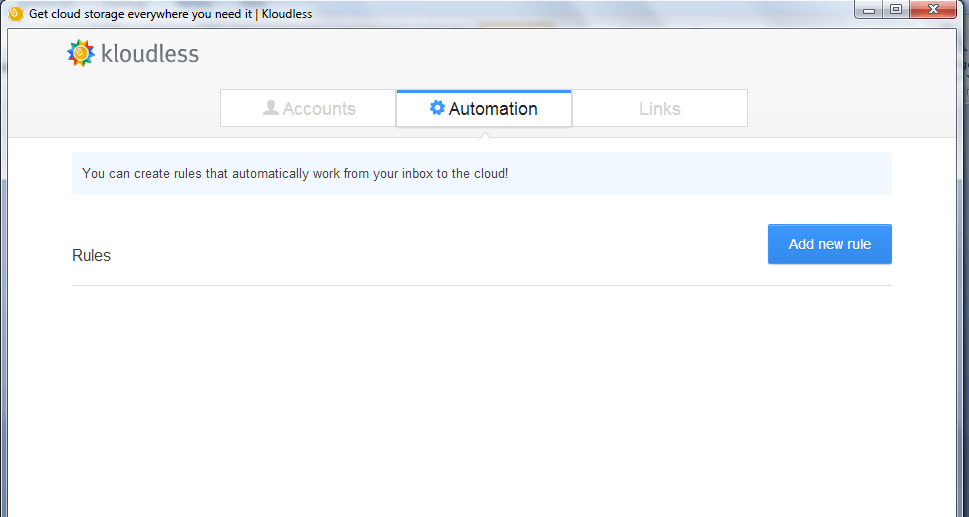
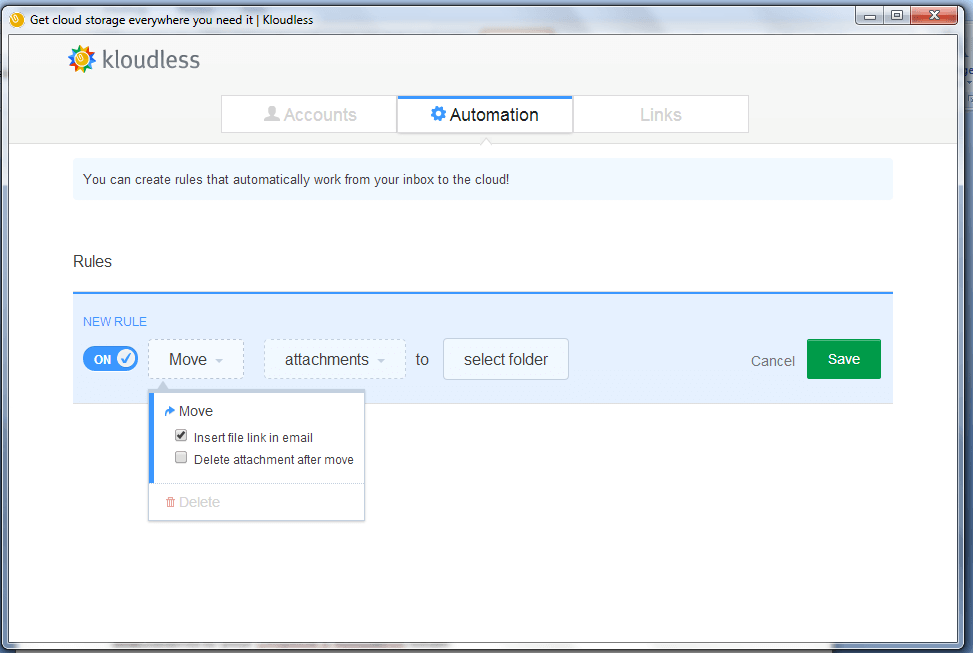
Once you’ve successfully connected the app to your Dropbox account, you’re now ready to set a new rule for automatically sending your Gmail attachments to Dropbox. To do this, just go to the “Automation” tab then click “Add new rule”.
Step 7
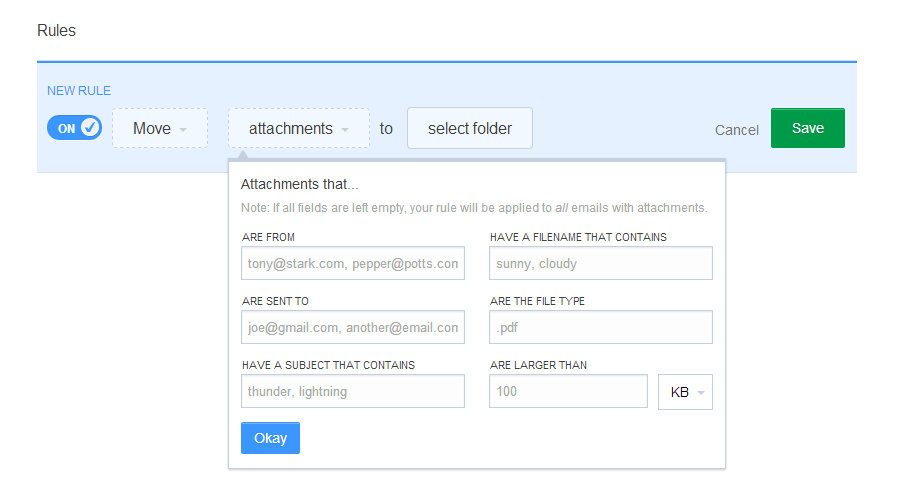
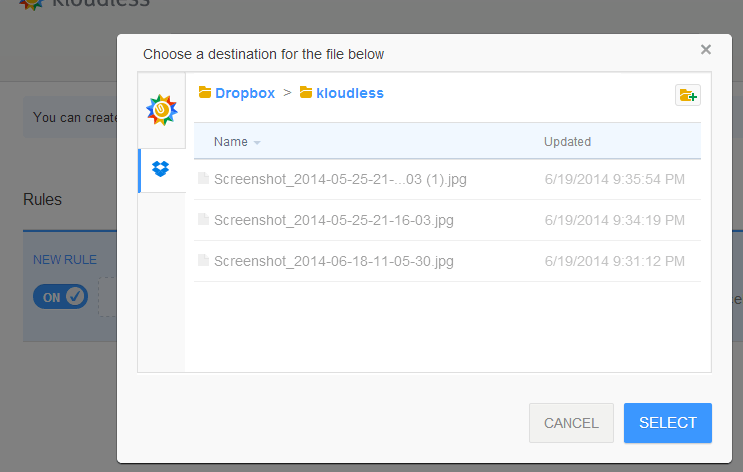
You will be asked to define the conditions for your new rule. First, you need to define the conditions for moving your file then you need to specify the type and details for the attachments that you want to move. After which, you must select a destination for your file.
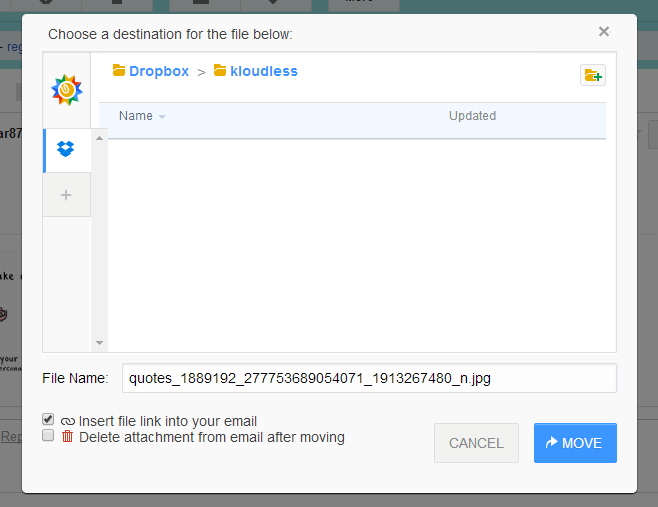
For example, you can set the app to send and store all of your Gmail file attachments to your Dropbox’s Kloudless folder. Once you’re done setting the rule, just click the “Save” button. You can also modify the rules according to your liking. Just close the app’s settings window once you’re done. (See images below)
Step 8
Now, every time that you receive a new email with a file attachment, Kloudless will automatically send the attached file/s to your designated Dropbox folder as per your rule’s guidelines. Just keep in mind that it could take a while (around 3 to 5 minutes) before the file appears on your Dropbox so you need to be patient.
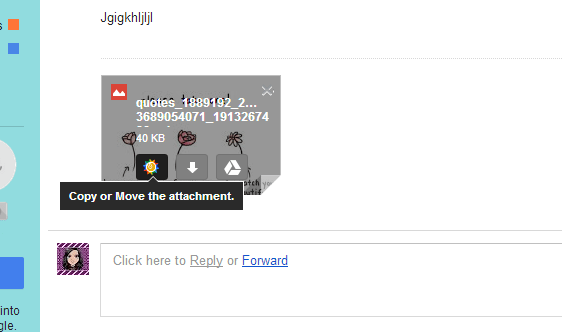
Anyways, you will know if the file has been successfully uploaded because it will be listed on your Dropbox files. If it doesn’t, you can manually move the file attachment to your cloud storage account. (See images below)
So that’s it. You’re done.

 Email article
