Did you know that you can create different text styles in Microsoft Word? This includes strikethrough texts, double strikethrough texts, shadowed texts, subscript texts, superscript texts, vertical texts, inverted texts and a whole lot more.
In this post, you’re going to learn how to do the following text styles:
- Strikethrough
- Subscript
- Superscript
- Vertical text
- Inverted text
So if you’re all set, let’s get started.
Five ways to format texts in Microsoft Word
Strikethrough
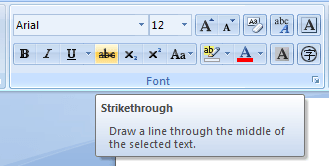
Highlight the text then click the strikethrough button in the Font box. The strikethrough style will draw a line in the middle of your selected text.
Subscript
For subscript, highlight the text then click the subscript button in the Font box. It is mainly intended to create small letters below the text baseline.
Superscript
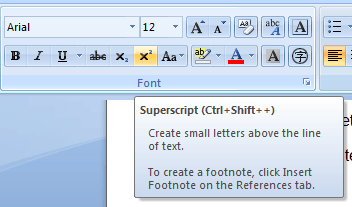
For superscript, highlight the text then click the superscript button in the Font box. It will give a style that is opposite to subscript texts.
Vertical text
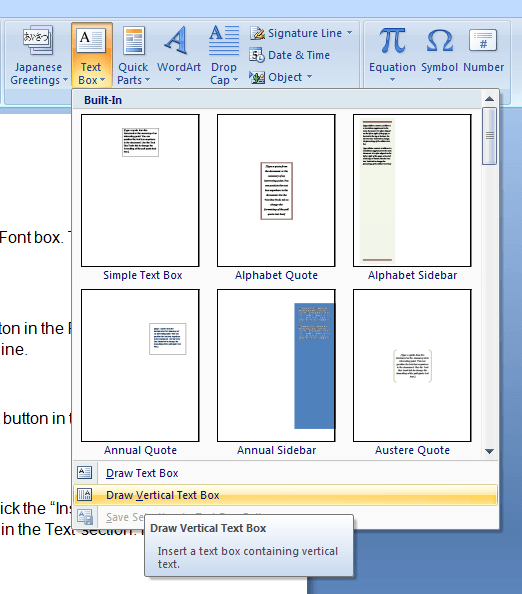
For vertical texts, you’ll need to draw a vertical text box. Click the “Insert” tab in the ribbon bar and then click the small arrow under “Text Box” in the Text section. In the Text Box menu, select “Draw Vertical Text Box”.
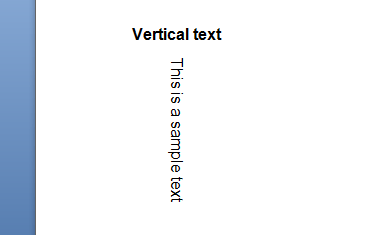
Next, left-click and hold your mouse to draw a vertical text box on your Word document. Enter the text that you want inside the text box. Adjust the text box according to your desired position and size.
Inverted text
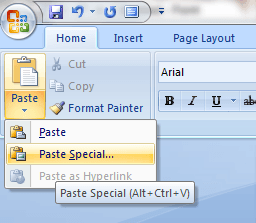
For inverted texts, you’ll need to copy your selected text and then select “Paste Special” from the Clipboard box.
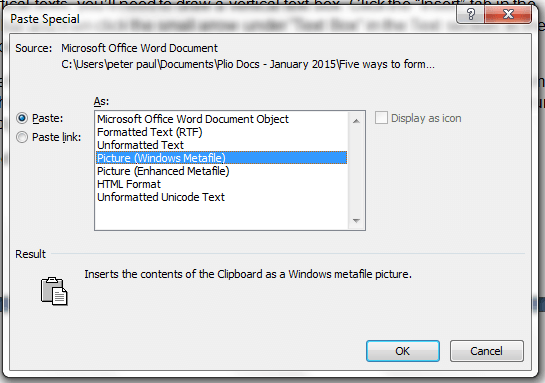
In the Paste Special menu, select “Picture (Windows Metafile)”. Click “OK” to confirm.
Click the text that you’ve just pasted then place your mouse pointer over the green circle. Left-click and hold your mouse to rotate your text in a 180-degree angle.
That’s it. You’ve successfully created an inverted text in MS Word.
If you want an alternate option to create inverted texts, you can use an online tool like InvertedText.com.

 Email article
