 Email article
To resize a photo in Windows, you’ll need to open it first using Paint. From there, you edit and resize the photo according to your preferences. If you want, you can also use a third-party image editing software like GIMP or Photoshop.
Speaking of which, most of these software will require you to do the resizing in another window or panel. You cannot just right-click on a photo to resize it. Well, that’s not really the case with “Image Resizer for Windows”.
How to resize multiple pictures at once in Windows
With Image Resizer for Windows, you can easily resize individual or multiple photos from their source folder. It will just add a new option for resizing photos in the context menu so there’s no need for you to drag and drop files, etc. It is also compatible with modern versions of Windows including Vista, 7 and 8.
- To batch resize photos, you must download and install the program first on your computer.
- After installing the Image Resizer for Windows software, it will automatically add a “Resize pictures” option to your file context menu.
- So what’s next? Just open the folder where your photos are located. To select a single photo, just click on it. To select multiple photos, just press “Ctrl” while you select each file. Alternatively, you can just highlight all of the photos in that particular folder.
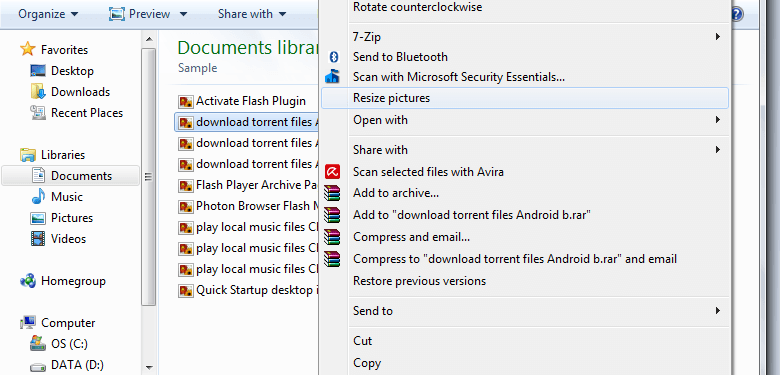
- Right-click on any of the selected photos then click “Resize Pictures” from the right-click menu.
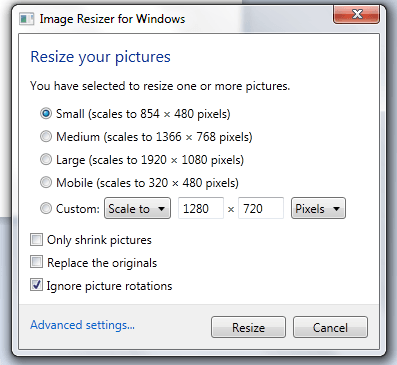
- In the Image Resizer window, select your preferred photo size then click “Resize”. With the said software, you can set a pre-defined scale for your photos. You can also set a custom picture size. You can also choose to replace the originals with the resized files.
That’s it. The resized photos will be automatically added to the source folder. You can easily distinguish them from the originals because they will be properly labeled.


