 Email article
If you’re using Blogger as your blogging platform, you can embed different kinds of objects and forms. It’s a versatile platform that’s not just limited to text, images and videos. If you want, you can even embed a map from Google Maps in your blog post. Just read the steps listed below to learn how to do so.
How to embed a Google Map in a Blogger post
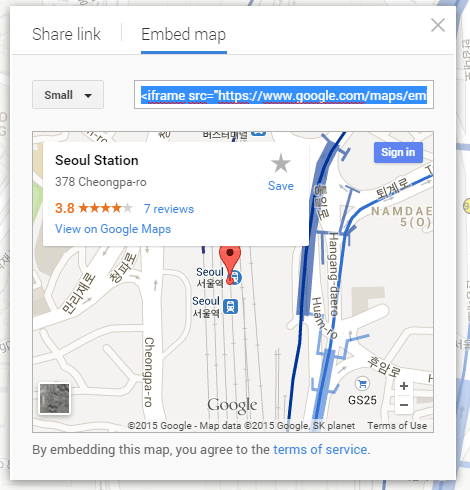
- First, you must search or create a map in Google Maps. After which, get the map’s embed code. You can learn more about sharing a map from Google Maps in this post.
- Copy the map’s embed code.
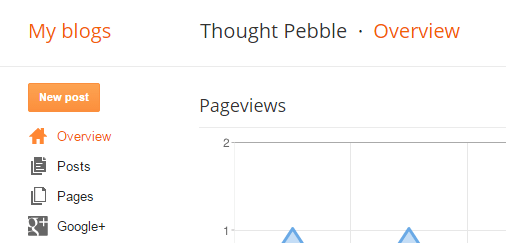
- Next, log in to your Blogger account and go to your blog dashboard. If you have multiple Blogger blogs under one account, just choose the blog where want to embed your map.
- On your blog dashboard, click “New post” to create a new post.
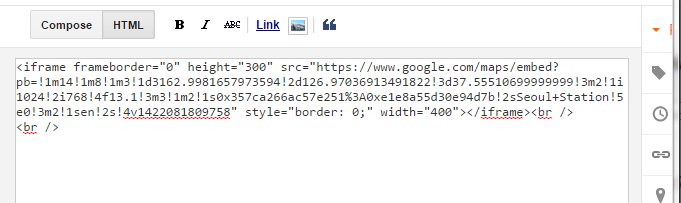
- In the post editor, switch to “HTML” view instead of the default “Compose”.
- Paste the embed code that you have copied from Google Maps in the blog post editor.
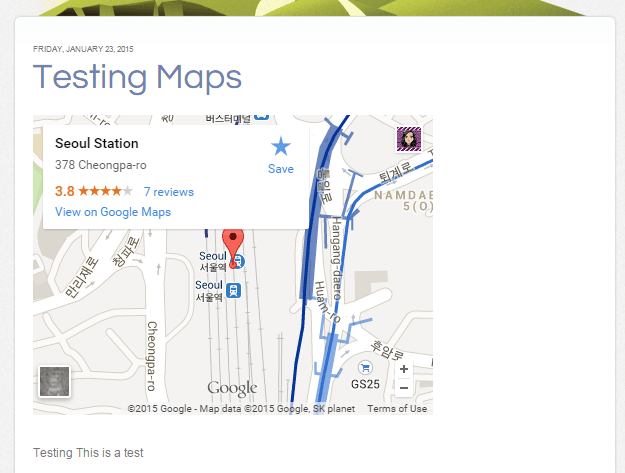
- Switch back to “Compose” view and complete your post. Do not forget to add a post title, label, tags, etc.
- Once you’re done, click “Publish” to publish your post.
- That’s it. Your embedded Google Map will be immediately displayed along with your post.
It’s a handy option especially if you are posting about places and directions.


