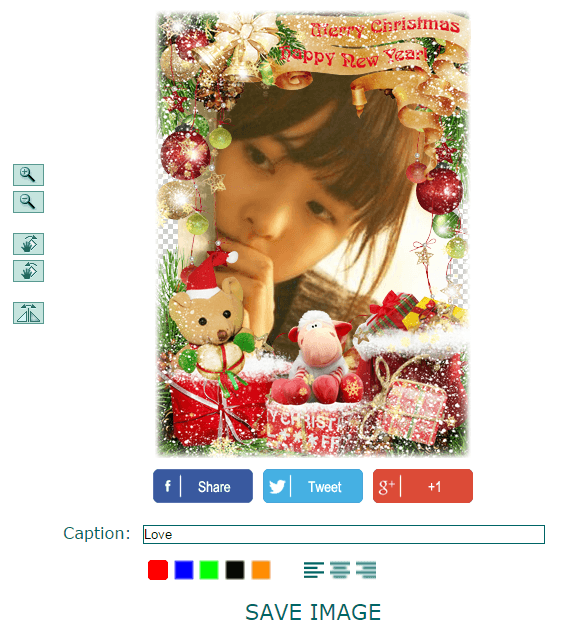
Do you wish to edit your photos by adding simple borders? How about adding frames? With frames, you can make your photos look more stylish and elegant. Frames are also great for sharing photos with themes.
Given today’s wide range of photo editors, you’ll definitely find it easier to add frames and borders to your photos. Even so, you might still prefer something quick and easy. If that is the case, then you can use certain online photo editing tools like Tuxpi and LoonaPix.
How to add borders to photos (the easy way) with Tuxpi
- Go to the Tuxpi homepage by clicking this link.
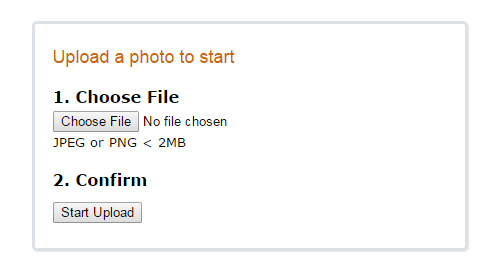
- On Tuxpi, click “Choose File” to upload your photo.
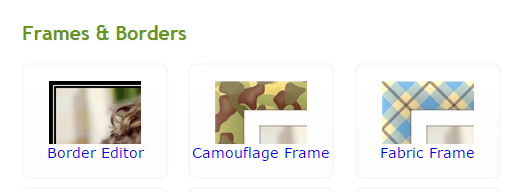
- Once the photo is uploaded, scroll down the page and look for the “Frames and Borders” section.
- Under “Frames and Borders”, select “Border Editor”.
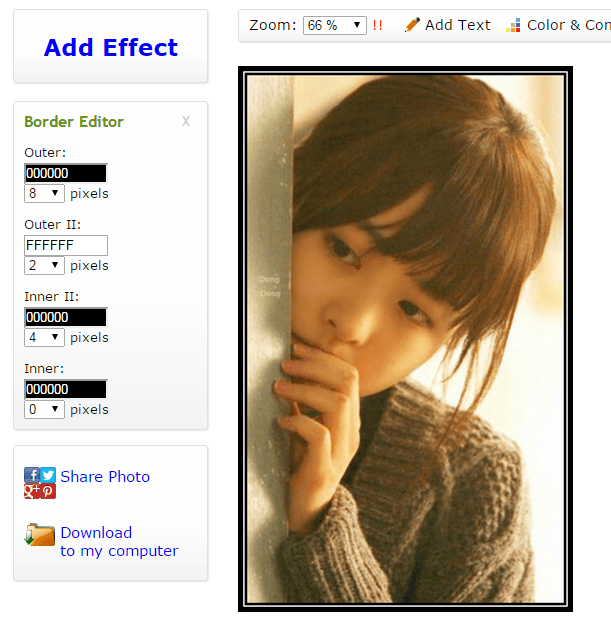
- The default border will be added to your photo. To edit the border, use the tools provided on the left sidebar. You can change the color and size for the inner border and outer border.
- Once you’re done, click the “Download to my computer” link and the edited photo will be automatically saved to your computer.
How to add frames to photos with LoonaPix
- Go to the LoonaPix Photo Frames page by clicking this link.
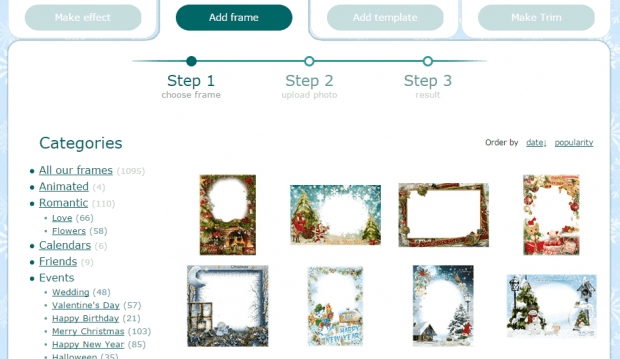
- Once you’re on LoonaPix, select a frame from the list. You can also search for more frames by category (ex. romance, calendars, events, seasons, etc.). The online tool has a wide range of cool photo frames so you will never run out of choices.
- Next, you will need to select and upload the photo that you wish to place inside the frame. You can upload the photo from your computer. You can also paste the URL of your photo from the web. Just don’t upload images that exceed the file size limit of 10MB.
- You will see a preview of your photo with your selected frame. You may adjust the position of your photo by moving it. Just click “Save Image” to save the changes that you’ve made.
- On the next page, click the “Download” link to save the photo to your computer.
That’s it. You’re done.

 Email article
