Suppose you’ve downloaded an animated GIF from a website but it has some frames that you do not want to include. Before you upload and share the GIF to others, you can opt to edit and remove some of its frames first. If you don’t have any tool on your computer that you can use for editing animated GIF images, you can choose to use a free online tool.
Just read the rest of this post to learn the steps.
How to remove frames from an animated GIF online
- First, click here to open the homepage of “Gif Frame Extractor (splitter)” on your web browser.
- Once you’re on the said page, click “Choose File” then select and upload your GIF image. Alternatively, you may copy the URL of your animated GIF online and then paste it on the field provided. Just make sure that your file doesn’t exceed the maximum file size limit of 12MB.
- Click “Upload” to proceed.
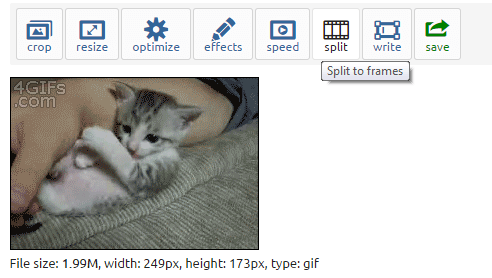
- Once you’re animated GIF image has been uploaded, select the “Split” tool from the toolbar. To confirm, click “Split it”.
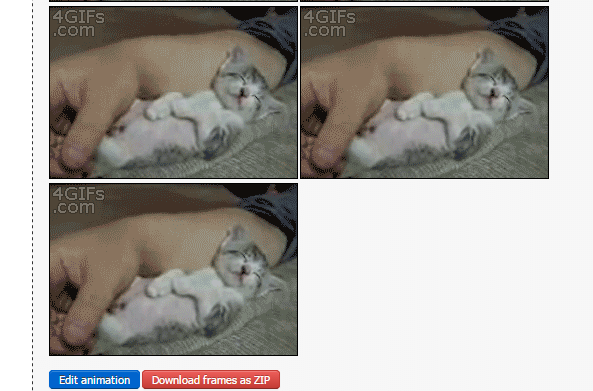
- On the file output section, scroll down until you see the button for “Edit animation”. Click on it and you will be able to view all of the frames that you can remove and edit.
- From the list of frames, select the frame that you wish to delete. To delete it, click “Skip”. You may also drag the frames to change their order.
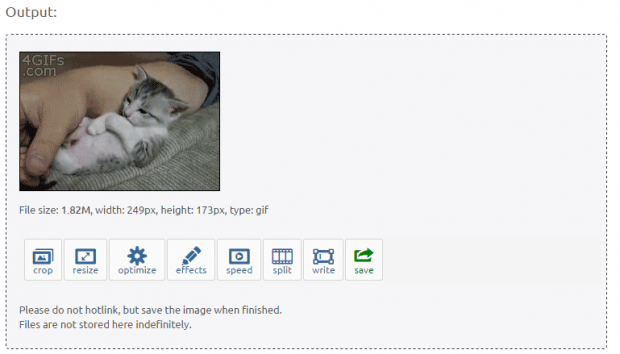
- Click the “Animate It” button to save your changes.
- On the file output section, click “Save” to download and save the edited GIF image on your computer.
That’s it!

 Email article


