 Email article
If you press “Ctrl + H” in Chrome, you will be immediately taken to your browser’s History page. The History page is where you can view and manage your browsing activity. It is where you can view all of the sites and pages that you’ve previously visited. The thing is Chrome only offers basic features for its History page so it’s difficult to search for specific entries by date, title, site, URL, etc.
If you want to use advanced search filters when browsing Chrome’s History page, this guide can help you out.
How to enable advanced search settings for browsing history in Chrome
- The first thing that you must do is to download and install a free browser extension called “eHistory”.
- After installing eHistory, you just need to make sure that it’s properly installed and enabled by going to your browser’s extensions page. Just go to Chrome Menu > More Tools > Extensions to do so.
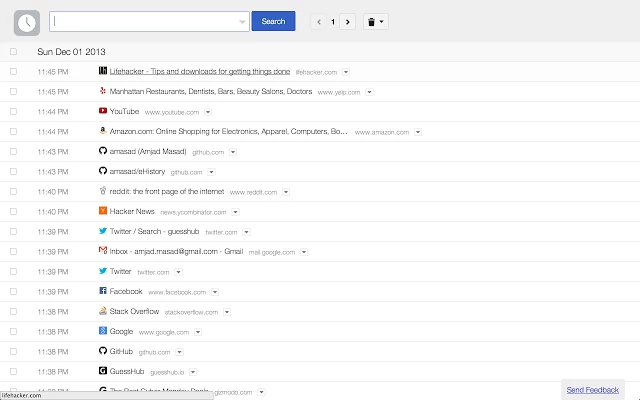
- Next, press “Ctrl + H” on your keyboard to go to Chrome’s History page.
- Once you’re there, you can immediately notice some changes on your browser’s History page. Aside from its layout, you can search your history using advanced search filters.
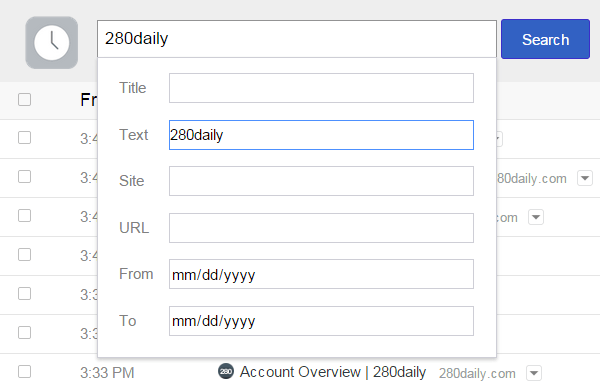
- Just click the small arrow inside the search bar and use the filters to search for specific entries. With eHistory, you can efficiently search your history page by title, text, site, URL and date. For example, if you only want to view pages from Wikipedia or Amazon, then you can use the URL or site filter.
- Just click the “Search” button to proceed with your search.
That’s it. With advanced search filters, you don’t need to go through troublesome steps just to delete specific sites and pages. You can also select multiple items at once so it’s really convenient.


