 Email article
Photographers can take photos in a variety of ways. It’s handy to find out exactly how you took some of your fave photos. Then you can take further photos with exactly the same settings as the other photographs. This is how you can check the camera settings of photos in both Windows and both Mac OS X.
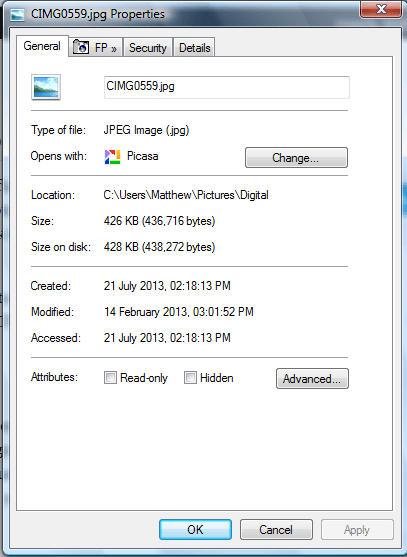
Open Windows Explorer and right-click one of your own photos to open its context menu. Then select Properties at the bottom of the context menu. That opens the Properties window below.![]()
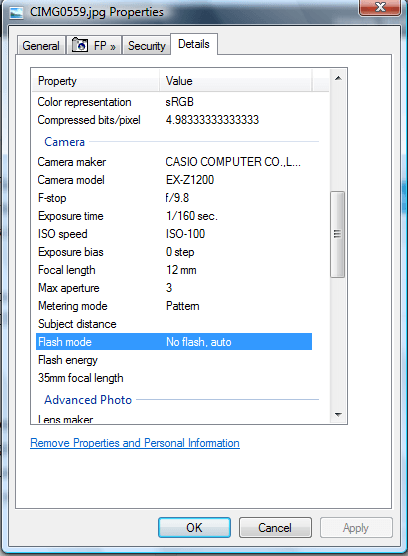
Now click the Details tab on that window. Scroll down to the Camera details in the shot below. That shows you a variety of details for how the photograph was taken. It tells you the camera model used to take the picture and settings such as ISO Speed, exposure time, focal length, flash mode, etc. So you can configure your camera and take more photos that match those settings.
The Properties window doesn’t include any options to print those details. However, that doesn’t mean you can’t print them. You could note those settings down with a word processor. However, a quicker way to print them is to snip the Properties window and camera details with the Snipping Tool, save the screenshot and then print it.
You can also find camera setting details for your photos with the Mac OS X. Right-click an image, and select Get Info on the context menu. Expand the More Info section to check out the camera settings for your photographs.
This probably won’t work on images taken by other photographers saved from the Web. Nevertheless, you can still check the settings for all your own photos. Then you can apply those settings to take comparable photographs and see how effective they are on alternative subjects.


