In Word, it can be difficult to figure out how to adjust the transparency or opacity of an image. As you can notice, there’s no adjust transparency option under the “Picture Tools” tab. The closest thing that you can do is to change the color mode of the image from dark to light or vice versa.
Now, what if your task really requires you to adjust the transparency of the image that you have inserted in Word? Well, if that is the case, then you can refer to this simple guide.
How to adjust image transparency in Word documents
- First, go to the “Insert” tab and then insert a shape (preferably, a rectangle).
- After which, go to the “Drawing Tools/Format” tab and then fill the shape with a picture instead of a color. Click the drop-down menu for “Shape Fill” and then select “Picture”.
- Select the photo that you like and then click “Insert” to confirm.
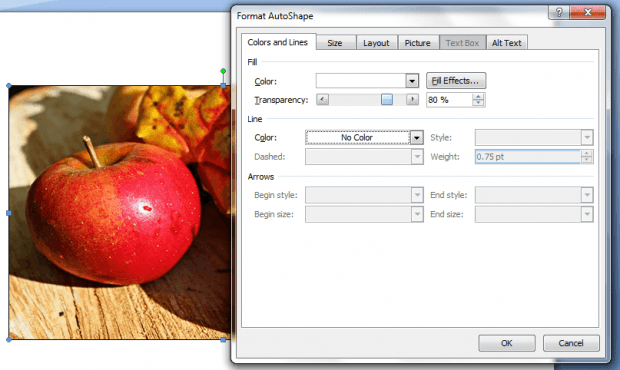
- Once the image is inside the shape, you may right-click on the shape and then select “Format AutoShape”.
- Under the “Format AutoShape” dialog, go to the “Color and Lines” tab. Make sure to keep the Fill Color to its default setting. Set the Line Color to “No Color” and once you’re done, you can start dragging the Fill Transparency bar to fit the transparency percentage that you want. Note that if you choose the 100% image transparency setting, then your image will be completely transparent. The best transparency setting lies within the range of 70% to 90%.
- After setting the transparency level of your image, click “OK”.
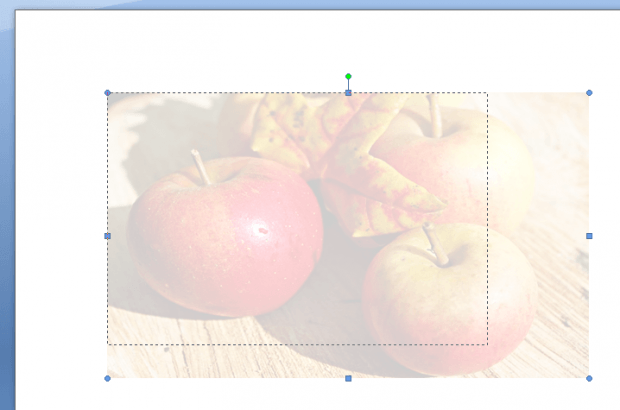
- That’s it! As you can notice, your image has become transparent. You can even drag and resize it in any way that you want. Now, it’s totally up to you to set your preferred image Wrapping Style. You can place the image behind text, in front of text, in line with text, etc.
Do note that this guide applies to MS Word 2007 versions or higher.

 Email article


