If you have a whole bunch of flash files that you want to save and play for later, then you might want to consider creating a playlist. By doing so, you no longer need to load the flash file that you want from its original source. You can just take the flash file, add it to your playlist and that’s it. You’re free to play it whenever you want.
By default, it cannot be done but there’s a simple workaround for Chrome users. If you want to learn how, simply read on.
How to save and add flash files to playlist in Chrome
- In Chrome, download and install “Flash Player +”.
- After the extension has been successfully installed on your web browser, just go to any webpage or site with an embedded flash file.
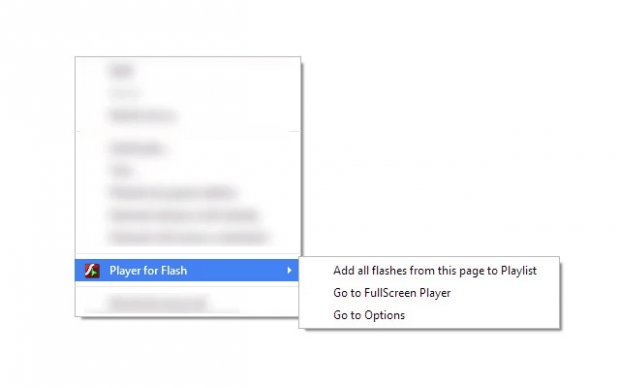
- To add that file to your playlist, you can either click the Flash Player + icon on the toolbar or click the “Add all flashes from this page” option from the context menu.
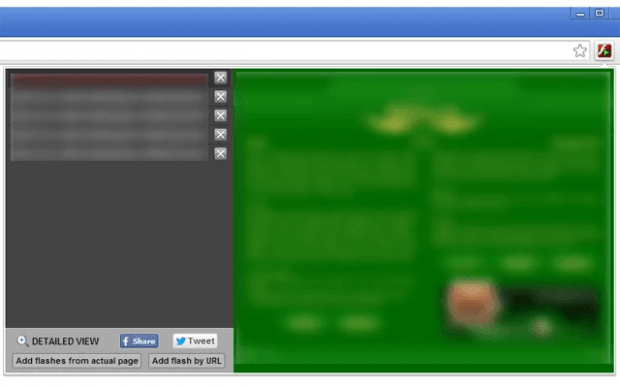
- Now, if you choose to click the Flash Player + icon on your Chrome toolbar, a popup window will appear and it will show a smaller version of your Flash Playlist and Player. To add a file, just click the “Add flashes from actual page” or “Add flash by URL” options right below the playlist. Anyways, just choose the “Add flash by URL” option if you actually know the flash file’s direct URL. Remember the direct URL must end in .swf and not in .html.
- Now if you want to add a flash file via context menu, just right-click on any empty area of the page (not on the flash file itself) and then select “Flash Player +” > “Add all flashes from this page to playlist”.
- If you want to view all of the flash files that you’ve added to your playlist, just click the Flash Player + icon again and select the file that you wish to load.
- The extension will immediately display the flash file on the popup window. On the other hand, you may also choose to load and play the flash files in full screen.
It’s that simple.

 Email article


