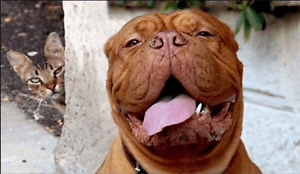
Do you need a single object from a picture, say, a beach ball or a dog? With GIMP (a freeware, powerful image editor) and a little patience, you can extract the object from the picture. Tell me, which of the following images is the original?
(It is the second one, in case you didn’t guess it already.)
To start, you’ll need to have GIMP open. If you don’t have GIMP, you can download it at Sourceforge.
Once you have GIMP opened and the picture loaded, duplicate the picture’s layer with Ctrl+Shift+D; then disable the new layer by clicking on the eye (if you can’t see this dialog box, press Ctrl+L):
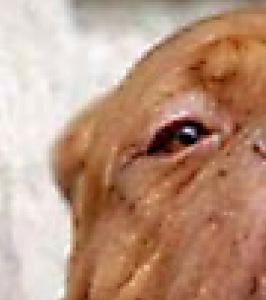
 Now zoom in a lot. You can do this with the + key (don’t need to press Ctrl this time):
Next you need to select the Free Selection Tool (![]() ). Slowly and surely go around the outside of the object while clicking to make points:
). Slowly and surely go around the outside of the object while clicking to make points:
If you’re not being terribly accurate, don’t worry. For one, you’re zoomed very far in, so it’ll look better once zoomed out; for two, you can always hit backspace to undo the last point.
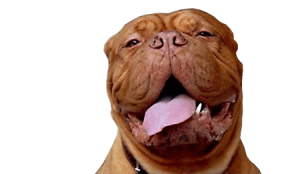
When you’ve gone around the entire object, press “Enter” on the keyboard to get an actual selection of marching ants. Now you need to reverse the selection so you’re selecting the background; go to”Select” ->”Invert”. After you’ve inverted it, press “Delete” on the keyboard to get rid of the background.
Press Ctrl+Shift+A to clear the selection, and congratulations–you’ve removed the background:
If you want learned how to put the object on a new background, continue reading this article; if not, go practice those background deletion skills!
When wanting to insert a foreign object into an image, the first thing to do is copy + paste the object from one image into the image you want to insert it to. You can copy + paste the object by pressing Ctrl + A to select it, and Ctrl + C to copy it; then go to the image that you want to insert the object and press Ctrl + V to paste in the object. Next you need to use the “Scale Tool” (Shift+T) to scale the background and the object so they match. Lastly, if the extraction of your object was a little sloppy, you can remedy this in a few ways:
- Use the “Fuzzy Select Tool” to select the transparent area of the object layer. Go to “Select” -> “Grow” and click OK (it should be on one pixel). Now go to “Filters” -> “Blur” -> “Gaussian Blur” and blur by five pixels (you can experiment with lower or higher).
- You can zoom in again and delete extraneous parts of the object–it’s the slowest and hardest, but it gives the best results.
- Use the “Fuzzy Select Tool” to select the transparent area of the object layer. Then go to “Select” -> “Grow” and grow by one pixel. Last go to “Layers” -> “Transparency” -> “Color to Alpha”. (This one will look great in some situations, and bad in others.)
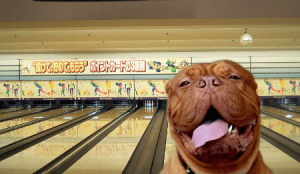
After some practice, you will (hopefully) get something like this:
If you have any tips on how to go about object extraction/background removal, feel free to share in the comments below.

 Email article
