 Email article
Here’s the fact: we all love free WiFi! But you always need to remember “we get what you pay for.” That means free public WiFi hotspots sometimes are just not safe to use. In Windows 10, there’s a setting that allow your computer connect to a WiFi hotspot automatically so you don’t have to worry about finding one. And gladly this setting can also be turn off for your own security.
How to turn off auto connect to WiFi hotspots
By default, Windows 10 connects you to a WiFi hotspot automatically. You can disable this behavior by doing the followings.
- Type “Network” into the search box on the Start Menu and select the first result.
- In Network & Internet setting window, select WiFi on the left and choose “Mange WiFi settings” link on the right panel.
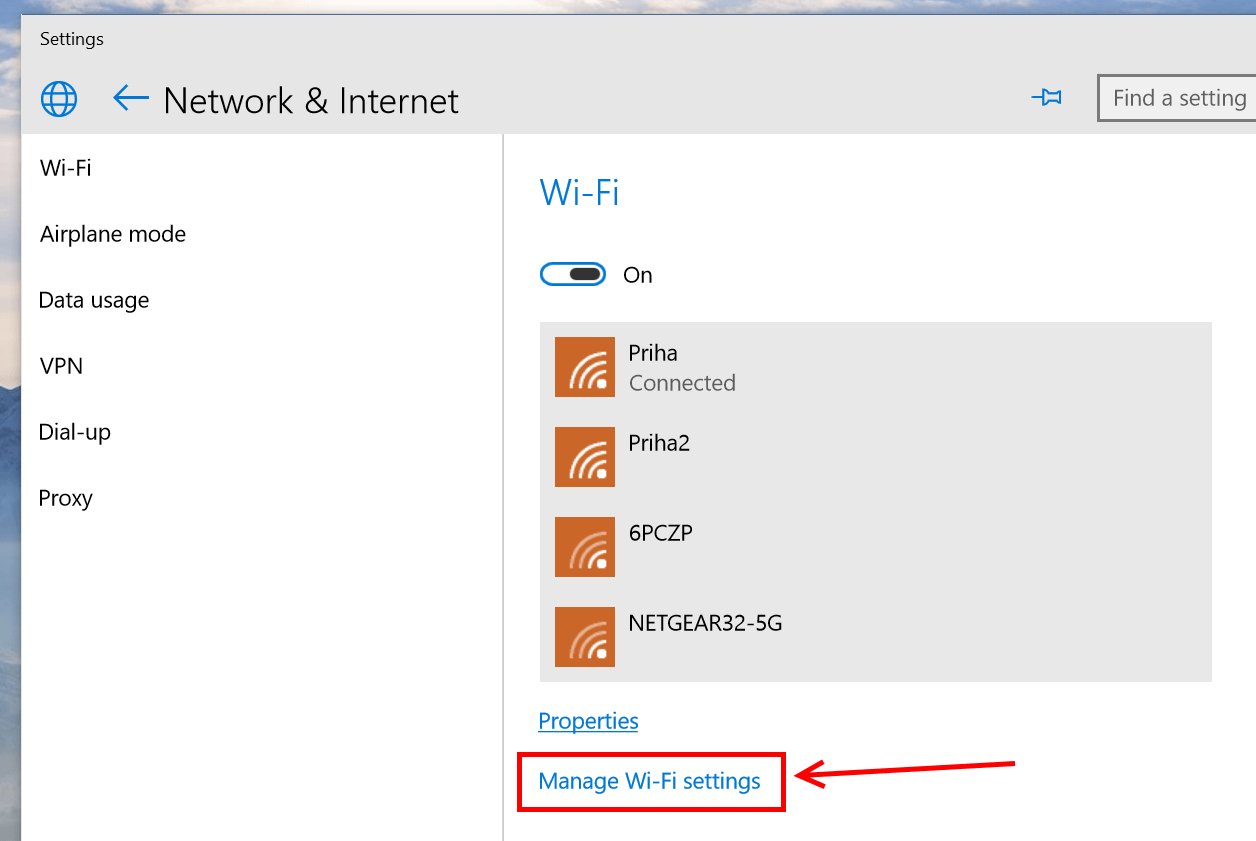
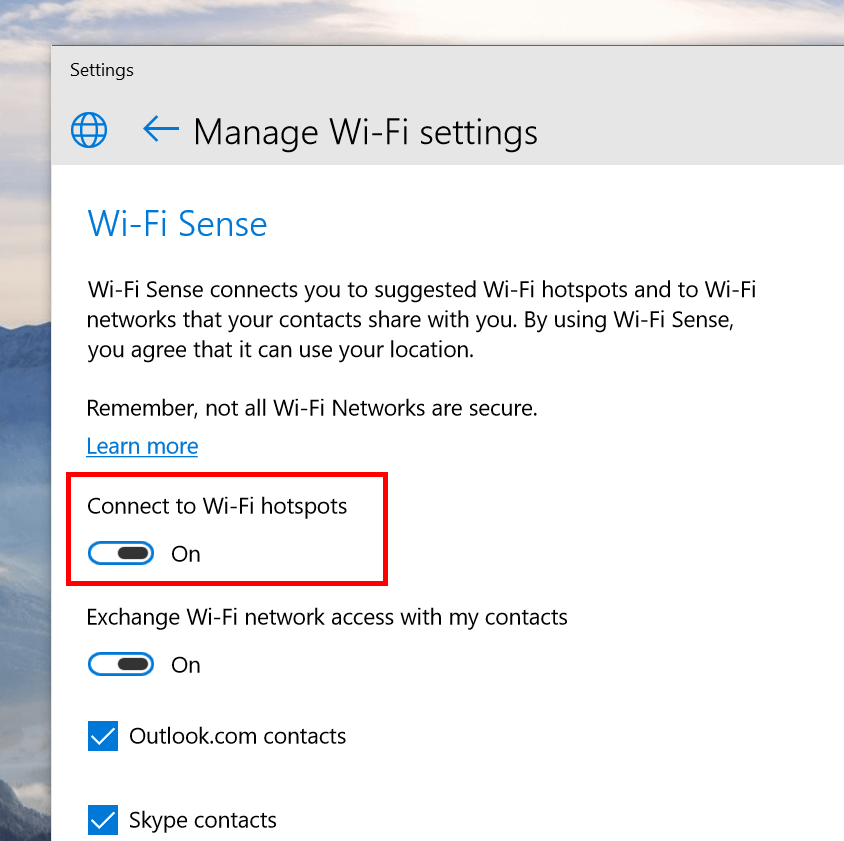
- Then just simply switch the toggle at “Connect to Wi-Fi hotspots” to the off position.
How to forget a WiFi network
Forgetting a WiFi network means you delete all the password and settings associated with the network. This is usually used as a great troubleshooting tip.
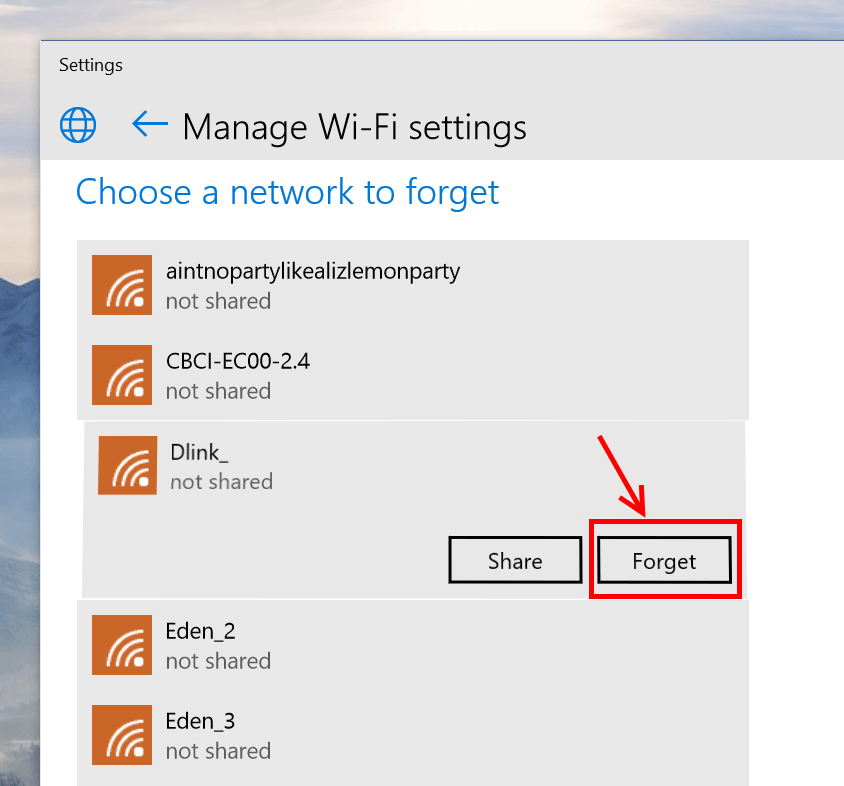
- To forget a WiFi network, in the Manage WiFi settings page, scroll down and you’ll see a list of known networks.
- Tap the network you want to forget and there will be a Forget button.
That’s it. You’re done.


