 Email article
Most office suites probably don’t include options to create barcodes with. OpenOffice doesn’t have any built-in barcode options, but you can add the Barcode plug-in to it. Then you can quickly set up a barcode with the Draw application.
Open this page to add Barcode to OpenOffice. Click the download option there, and select to open it with OpenOffice. That opens an Extension Manager from which you can add the plug-in to the office suite. Run Draw, click Insert and select Barcode to open the window below.
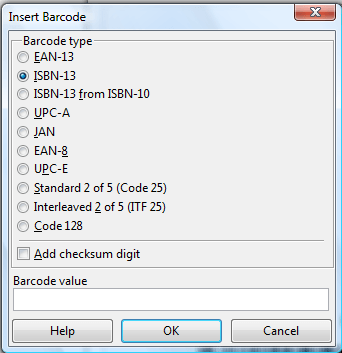 The window includes a variety of alternative barcode type options. You can select the UPC-A, which is the most standard U.S. barcode. Alternatively, select EAN-13 that is more standard in Europe. ISBN-13 is the barcode for books.
Next, enter a barcode value in the text box at the bottom of the window. Do not input any hyphens. Enter the numbers and press OK to set up the barcode as shown in the snapshot below.
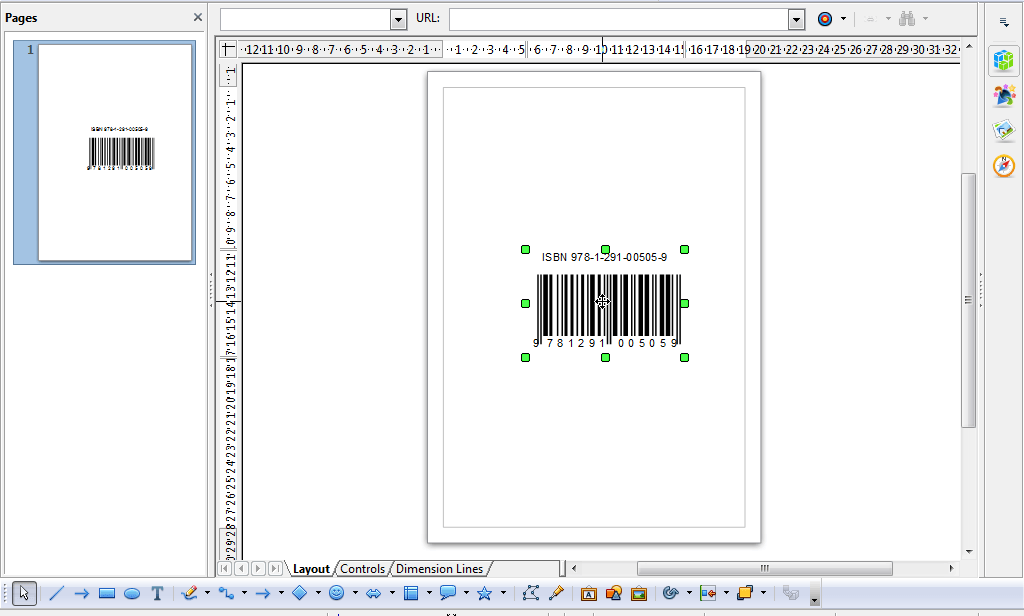 Now click that barcode to drag and drop it to alternative parts of the document. Click the green squares on the border to expand or reduce the barcode.
Press the Help button on the Insert Barcode window for further plug-in details. There it states: “Please keep in mind that this is an early version of this open-source product. The developers have made a good effort to make sure the barcodes are generated according to the specifications, but the product has not yet been extensively tested to verify this. It is recommended to use a barcode reader to verify the generated barcodes yourself before printing them on the packages of a million products.”
With this OpenOffice plug-in you can now quickly set up barcodes. Then you can verify the barcodes with apps such as NeoReader, covered in this article, if you have an Android. On the other hand, this post covers barcode apps.


