 Email article
If you’ve ever worked on a computer of any sort and lost data you spent a great deal of time creating, you’d know how important it is to take backups. While some people’s data is more important than others, it’s great practice for all of us to get in the habit of backing up or data. With Mac, you don’t even have it manually do that anymore. The Time Machine features allows us to set backup times such as hourly, daily, weekly and whatever option you prefer.
Apple’s ultra-handy backup utility for Mac OS X operating systems is Time Machine. Today, I’ll show you how to easily set up Time Machine on OS X so you can store data. Additionally, you can learn how to encrypt Time Machine backups so your data is safe if stolen or the drive is installed on another computer.
HOW TO ENABLE TIME MACHINE ON MAC OS X
1. Connect an external hard drive to the Mac computer.
2. Launch the System preferences option.
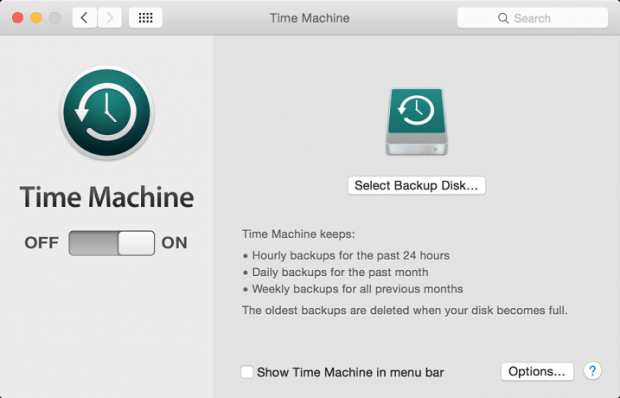
3. Choose the Time machine option from inside the preferences.
4. Toggle the Time machine switch over to the ‘on’ position.
5. Choose the “Select Backup Disk” and choose the external hard drive option.
6. Select the “Use Disk” option from the next screen.
7. You’ll now get the beginning of the backup screen.
8. One of the options on the display is for encrypting the backup. You can choose to encrypt the Time machine backup by following that guide.
9. Once you’ve chosen the encryption, you might be interested in excluding certain files.
10. As the backup begins downloading, you can read what Time machine keeps, how much space is available and how much space it will use up.


