A timeline can be really handy especially when presenting a list of events under a specific project or category. You can create a timeline of your travels, work projects, wedding, pregnancy and even some important historical milestones and events.
Speaking of which, there are different tools and methods that you can use to create a timeline. If you prefer making one online, then here are some simple steps that you can follow.
How to create an interactive timeline online
- Open your web browser of choice and then go to the homepage of “Tiki-Toki”.
- Once you’re on Tiki-Toki, sign up for a free account and then log in to your Tiki-Toki dashboard. Remember, free account users are only allowed to create one timeline at a time.
- On your dashboard, you can find your default timeline which you can edit or delete at any given time.
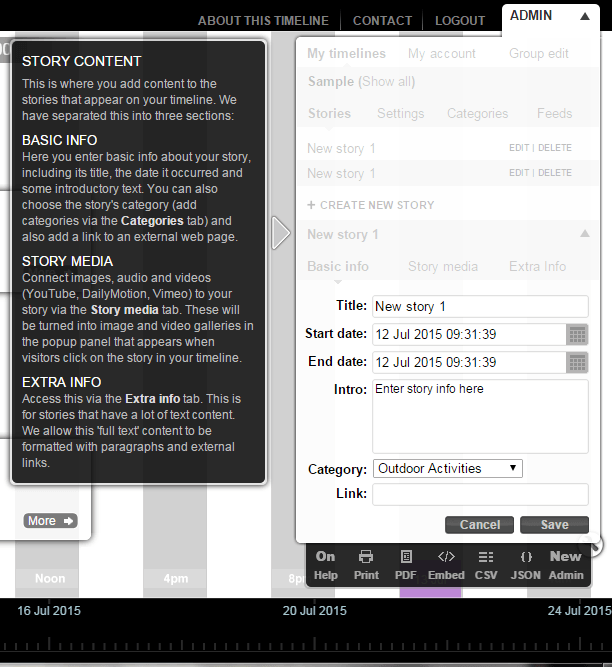
- On the top of the dashboard, go to “Admin” > “My Timelines” and then select “Stories”. Click “Create a New Story” to start adding a new story to your timeline.
- Set the story title, start date, end date, category, link and intro. After which, click “Save” and you can immediately see your new story or event on the timeline.
- Just keep on adding new stories until you fill your timeline.
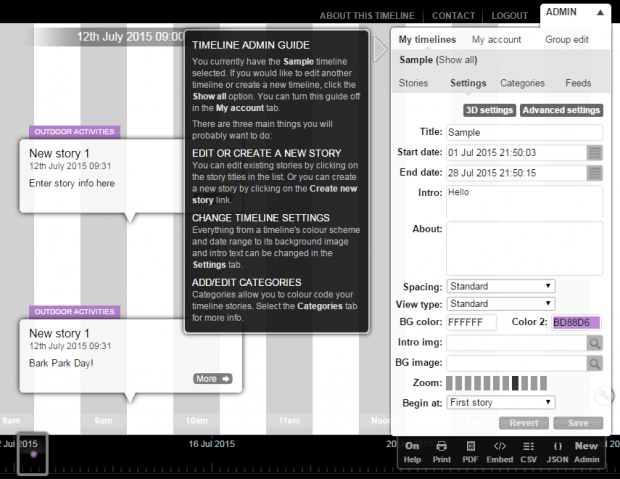
- Now, if you want to update your timeline’s start date, end date, spacing, view type, background color, zoom level and starting point, just click the “Admin” option again and then go to “My Timelines”. Select your timeline and then go to “Settings”. Fill out the form and don’t forget to click “Save” once done.
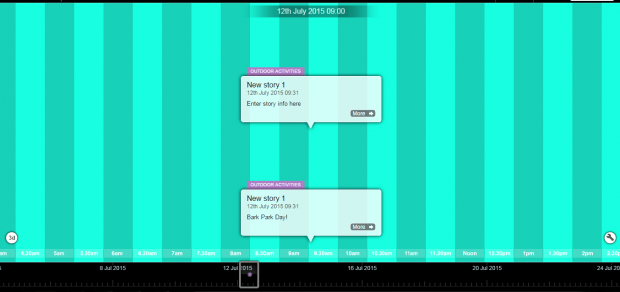
- When you’re done creating your timeline, you may share it publicly by simply copying its link on your browser’s address bar. You may also print or download your timeline as a PDF file.
Anyways, there are still so many things that you can do with your Tiki-Toki timeline. Just feel free to explore and test out its features. You may also upgrade to a paid account if you want. Nonetheless, a free account is already good enough if it’s just for personal use.

 Email article


