Coming with the November update of Windows 10 is a lot of new improvements and new features. The long-awaited Skype integration also is included in this update. Back when before the launch of Windows 10, Microsoft promised that Skype will be integrated deeply into the system just like how Apple does with FaceTime and iMessage. It finally happens this November, however, strangely enough, the “integration” comes with two separate apps: Skype video and Messaging.
Skype video is obviously for making Skype video call and Messaging is simply for sending Skype messages. Although these apps have received some updates, they still lack a lot of features. For example, Skype video can only make skype call, it neither has the ability to use your Skype credits nor a dial pad to call a real phone number. On the Messaging side, you can’t send a file yet. However, one noticeable advantage of these apps is that they can run in the background when you turn off the device screen. It’s a huge thing for tablets and many new Windows laptops that have Connected Standby because it can save you some battery juice for other use. The Skype desktop app can’t run like that.
So at this moment, there are several ways to use Skype on Windows: the fully-functioned Skype desktop app, and the Skype video and Messaging app (not to mention Skype Translator app).
How to set up Skype video and Messaging
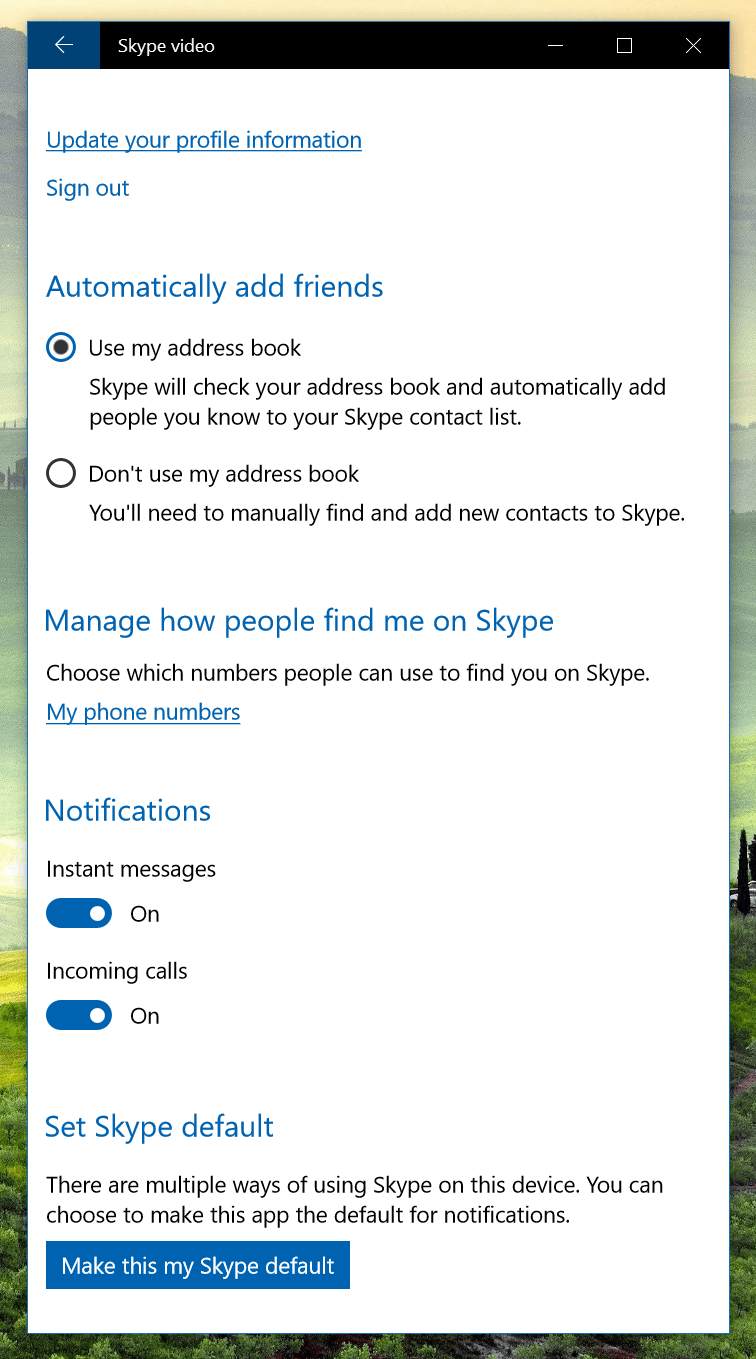
The first time you open Skype video, you’ll be asked to sign in with a Skype account or a Microsoft Account. Then you can choose to provide your phone number and you’re good to go.
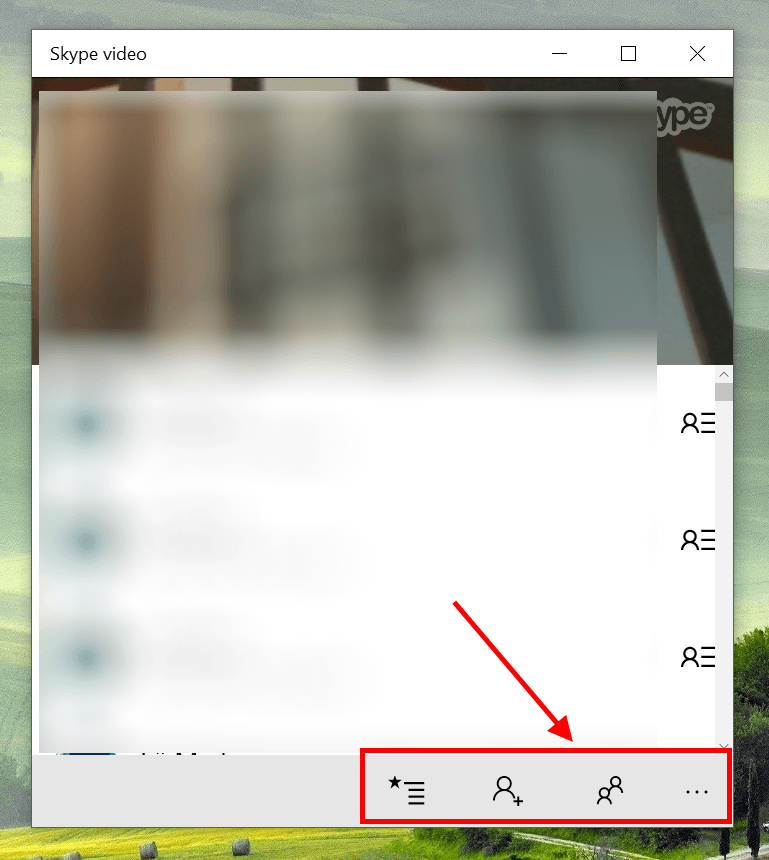
To make a call, you need to click the Phonebook button first and choose a contact to call to. Other settings like notification and default app can be found in the Settings menu when you click the ellipses button.
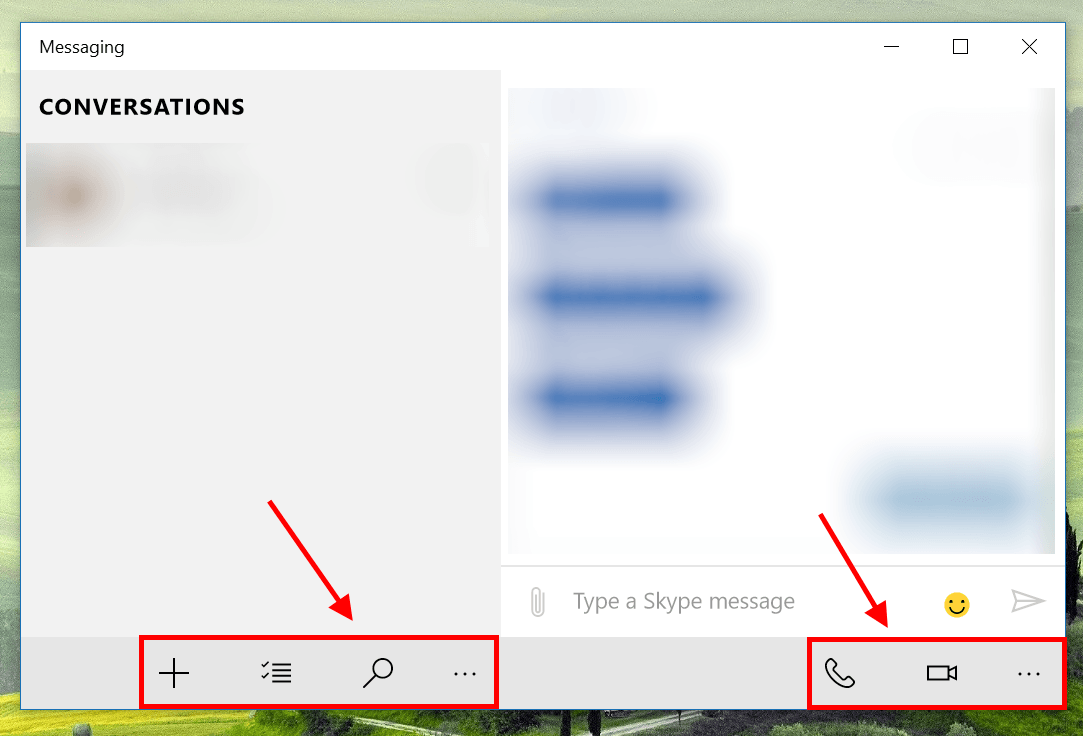
In the Messaging app, everything is straight forward. You can start a new conversation, delete conversations/messages and search for a particular message.
So there you have it! Have you already tried it out?

 Email article


