Email article
Mail app is one of revamped built-in apps for Windows 10. It’s completely rewritten and packed with features that help you manage e-mails easily. As a Universal app, it shares the bits with its mobile version. If you don’t know yet, the Mail app on Windows Phone has been known for its ability to link inboxes into a single inbox. That means whenever you open the app, you can see e-mails from all the linked accounts in one place. Now linked inbox has come to the desktop app via an update. Today I’ll show you how to use it.
First, you need to check update for the app to make sure you get the latest version. To do this, open Store, click on your account picture and select “Downloads and updates.” Then hit “Check for updates.” If you see an update for “Mail and Calendar,” go ahead and download it.
The version of Mail app that has linked inbox feature is 17.6515.64021.0.
How to link inboxes
Using linked inbox will save you many clicks and time for checking your e-mails everyday. You’ll get all the e-mails from different accounts in one place just as you have only one inbox. Here’s how you link inboxes.
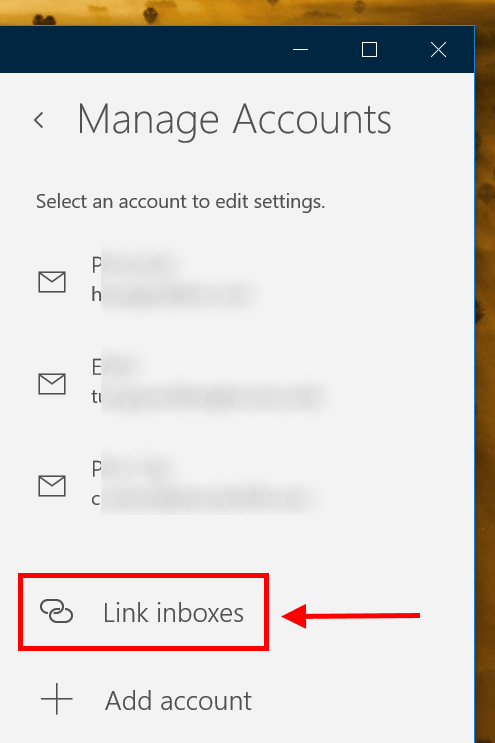
- Open Mail app and click Settings
- Select “Manage Accounts” and click “Link inboxes”
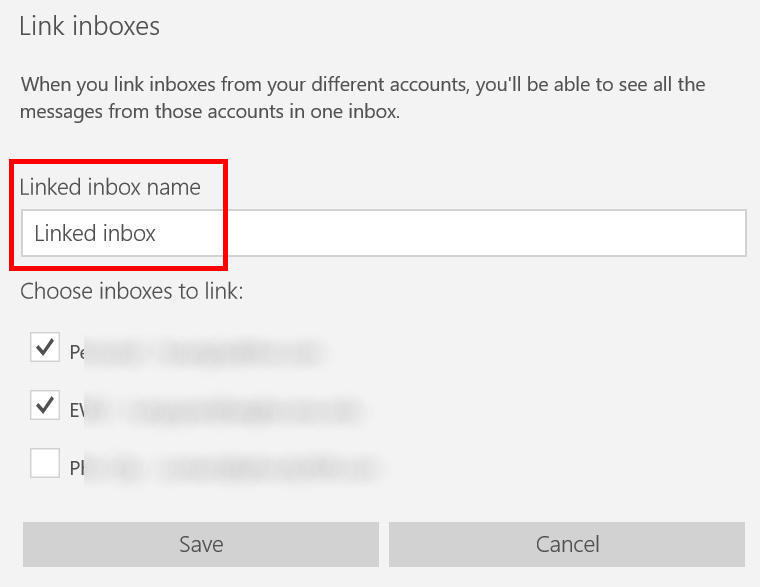
- In the window, just select which accounts you want to link and don’t forget to name your linked inbox. Otherwise, the default name will be “Linked inbox”
- Hit Save and you’re done.
How to unlink inboxes
It’s a little tricky to unlink your inboxes. Here’s how to just that.
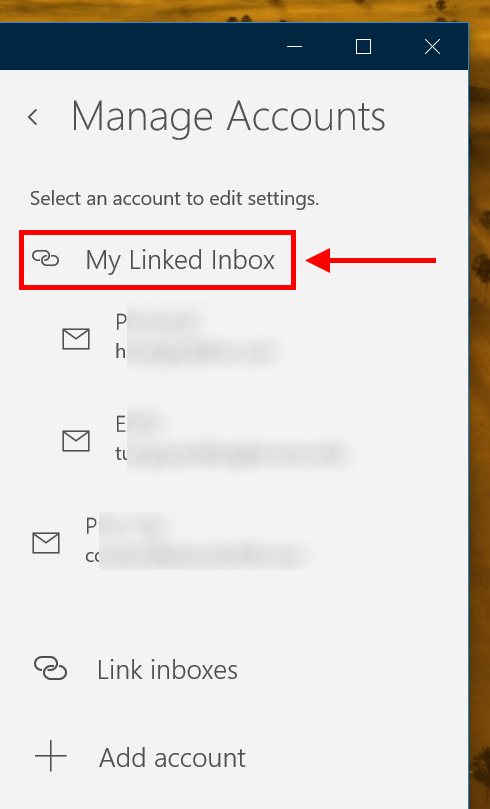
- Open Mail app and click Settings
- Select “Manage Accounts”
- Click on your linked inbox name. If you didn’t change the name, it’s “Linked inbox.” Don’t confuse it with the button “Link inboxes”
- Then just uncheck any account you want to unlink and hit Save. You’re done!