 Email article
Microsoft has put in lots of work to make updating Windows operating systems a breeze in recent years as they gradually attempt to help ease the burden of updating an operating system which it was apparent that people seldom do.
Those who are Windows fans appreciate the work that Microsoft developers do for Windows. Conversely, those who consider themselves against Windows find it easy to poke fun of Windows because inevitably sometimes things just don’t go how they should. Such is the way with all technology.
For anyone who has updated to Windows 10 recently, hopefully, it all went smoothly. Unfortunately, there are plenty of people who updated and things did not go so well. The following guide helps people learn how to stop Windows 10 from continually installing the same update over and over again because the update did not install correctly or there are some corrupt data files.
HOW TO STOP WINDOWS 10 FROM CONTINUALLY INSTALLING THE SAME UPDATE
1. Point your web browser to the Microsoft support website and download the troubleshooter.
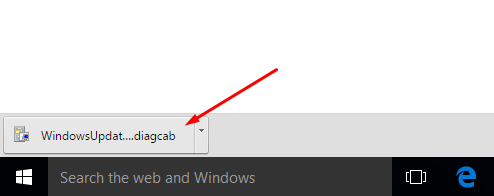
2. Click on the Windows Update file when it becomes available from directly above the taskbar.
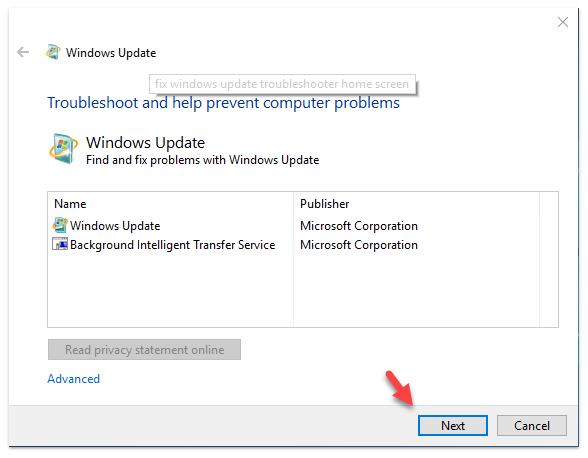
3. Click on the Next button at the bottom of the screen.
4. Choose to Run the Windows 10 Windows Update Troubleshooter to help diagnose the problem.
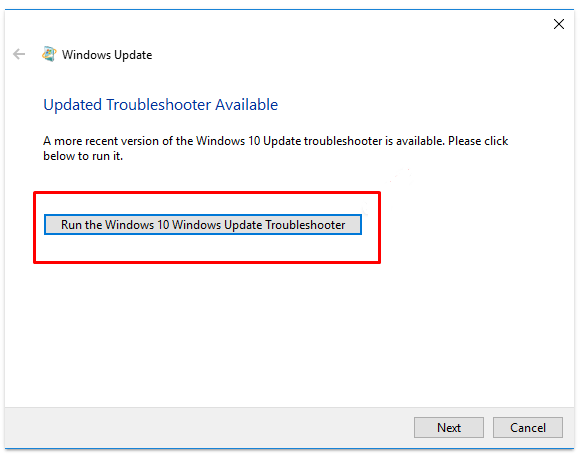
5. Click on the Next button to help resolve the problem.

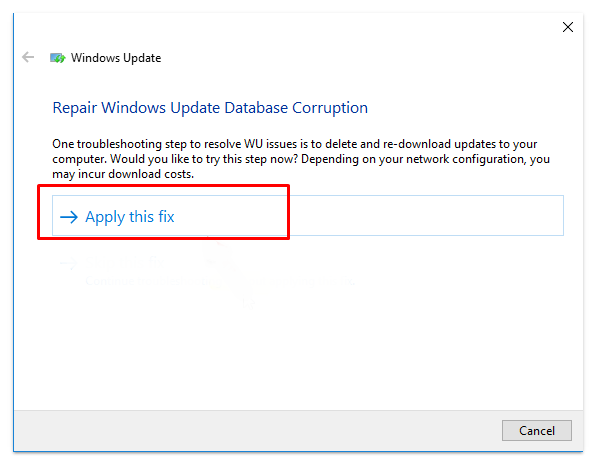
6. Once the issue is analyzed, click the button that says it applies the fix for the problem.
That should help fix the problems automatically that were making Windows update over and over again. For everyone who is still having problems, it is time to try fixing the problem manually instead.
STOPPING WINDOWS 10 FROM INSTALLING THE SAME UPDATE OVER AND OVER
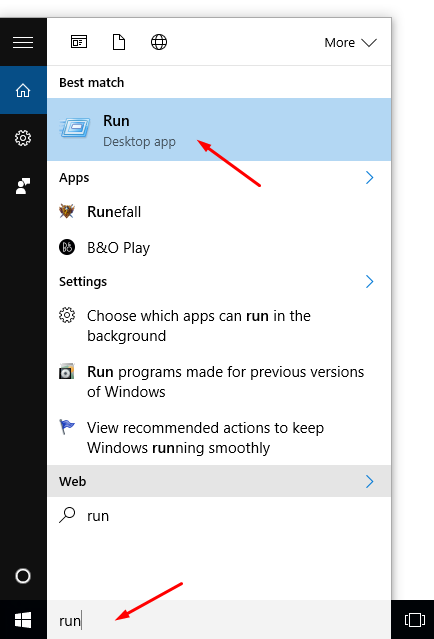
1. Type Run into the search box and then click on the Run desktop app.
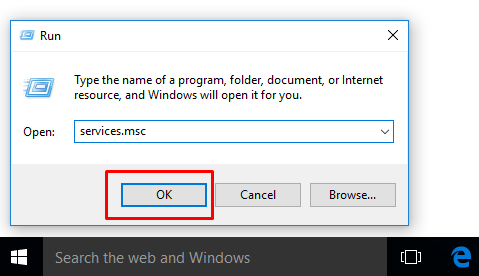
2. Type services.msc into the Run box and then click on the OK button.
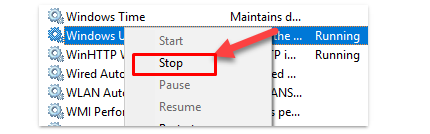
3. Scroll down the list until you can see the Windows Update and then right-click the mouse on Windows Update and choose the Stop option from the menu.
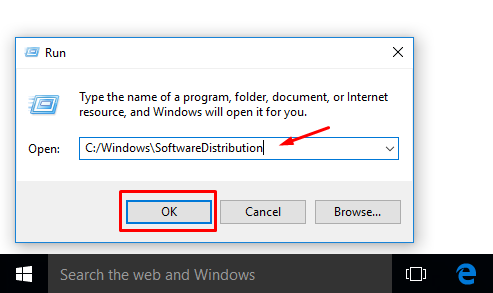
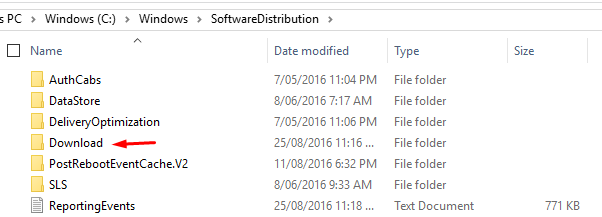
4. Navigate back to the Run box again and this time type C:/Windows\SoftwareDistribution and then click on the OK button.
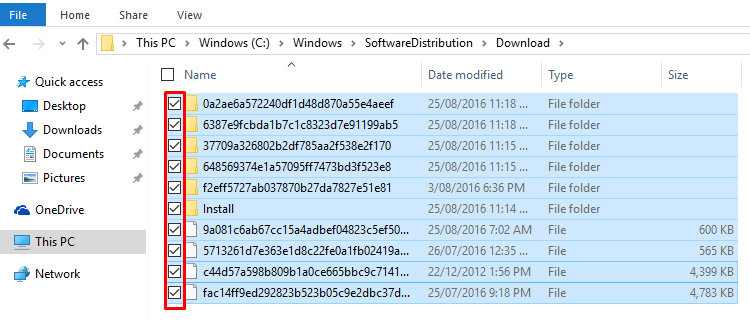
5. Click on the Download folder within the Software Distribution area.
6. Hold down the Ctrl key and then highlight each of the files and folders within the Download folder and then delete them by hitting the Delete key.
7. Go back to the SoftwareDistribution folder and then time click on the DeliveryOptimization folder and delete everything that is in that folder also.

Restart the computer once that is done and the Windows operating system will no longer have any problems updating the computer without it wanting to apply the same update continually over and over again.
In conclusion, that is how to use the Windows Update and manually implement the necessary changes to get the Windows 10 operating system to stop continually updating. If the problem persists, then try restoring Windows 10 instead.


