 Email article
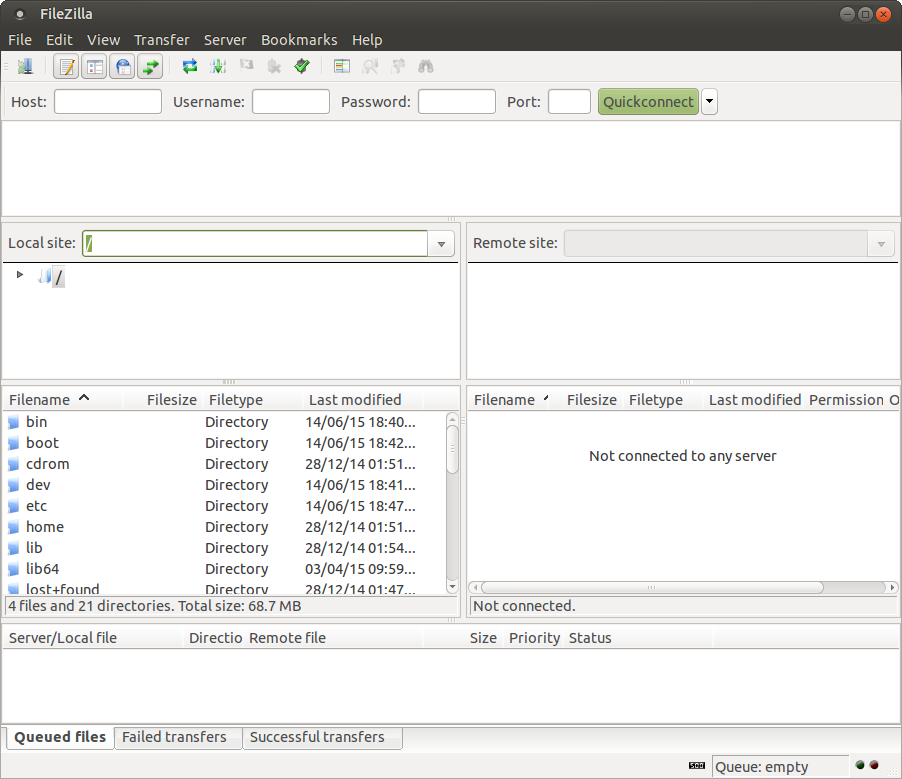 Would you like to host your own FTP server on Windows? With the help of FileZilla, it is possible to host your own FTP server on a Windows machine. Let’s see the steps to setup a FTP server using FileZilla.
Having a FTP server on Windows is really important as it helps you to transfer files and folders easily between computers. You can easily map an FTP server across multiple computers so that people can access files and folders with the help of the internet. Here we will see how to set up your own FTP server.
Steps to Host Your Own FTP Server on Windows with FileZilla
- Download and Install Filezilla: To start off the process, you need to first download the latest version of FileZilla. Now, install FileZilla in your Windows machine by keeping the default settings as they are. Filezilla installs a service that will start when your system starts. If you want to start it manually instead, you need to mention this when installing FileZilla. Once successful installation has been completed, click the OK button on the popup message displayed so that FileZilla is ready to run.
- Create a Username and Password: Go to Windows Explorer and create a folder that you are going to use as an FTP repository. Next, open the FileZilla screen and click on the option “Edit” > “Users.” Then, click on the option “Shared Folders.” Now, under the option “Users,” click on “Add” to create a username and password for the FTP server on Windows.
- Choose FTP Repository: After entering the username and password, click on the “OK” button and under “Share Folders” click on “Add.” A new popup window will be displayed and that is where you need to type in the FTP repository folder name that you created earlier. Once you’re done with selecting the FTP repository folder, click on the “OK” button to close the window.
- Add More Permission: The user will have permissions like read files, list directories and subdirectories by default. To add more permissions you need to go to “Files” and “Directories” and check options like “Read,” “Write,” “Delete,” “Append,” “Create,” “Delete,” “List” and “+ Subdirs” respectively. Now, click on the “OK” button to save the changes.
Secure Your FTP Server on Windows
- Change the Default Port: There are a few steps you need to do to make your FTP server on Windows more secure. Apart from a strong password, you need to change the default port used by FileZilla so that hackers have very little chance to hack your FTP server. Move to Edit > General Settings > Listen on these ports. Now, change the value to a 5 digit value that is not over 65535.
- Block and Allow IPs you need: Now, go to the IP filter and in the “The following IP addresses are not allowed to connect to the server,” put an “asterisk” so that it blocks all IP addresses from connecting to your FTP server on Windows. Now, in the next box, you can add some IPs that you need to allow connecting to your FTP server on Windows.
You need to make sure your antivirus software or firewall allows the port you’re using for the FTP server on Windows. That’s it. You have now successfully hosted a FTP server on Windows using FileZilla and you and your co-workers and others can share files and keep updated on what everyone is doing.


