 Email article
Changing power plans in all versions of the Windows 10 operating system running on desktop computers is still one of the more confusing and complicated areas of the Windows settings. To get there, you need to head to the Start > Settings > System > Power and sleep and then click on the “Additional power settings” which then takes you through to the business end of the power settings. It’s in the additional power settings section that you can change power plans and adjust power settings. There’s even an option to manually adjust the screen brightness here, which many people feel needs to be moved somewhere easier to access when you lose the icon from the Action Center—an issue many people have complained about happening.
The fact that these power settings haven’t changed through all the versions of Windows 10 to date suggests that perhaps Windows developers are out of answers with what else they could do to make it any more straightforward than it already is.
As long as you don’t mind having your power plan switching options available to you out of the Windows settings area, a third-party developer has come up with a pretty convenient solution where you can now click on a new icon to get access to the power settings from the system tray (on the right side of the taskbar.)
With the PowerPlanSwitcher application installed on the Windows 10 operating system, you can choose between three power plan options for your computer by clicking on the newly available icon in the system tray. One of those—and the default option—is the “Balanced” setting which aims to give a healthy mix between saving your power and having performance when you need it. It does this by adjusting the CPU usage to only ramp up when it senses that it is needed and then turns itself down again when it isn’t required. The other two options are “High performance” and “Power saver” which are both pretty self-explanatory. The high performance is referring to the performance of the PC hardware, and saving power is going to reduce all hardware tasks to preserve as much battery as possible.
Side note: the negative rants about the lack of battery navigation are to do with running Windows 10 operating systems on a desktop computer. If you run Windows 10 on a laptop, then things are actually pretty good. I’ll demonstrate what I mean in the guide below.
How to change power plans from taskbar on desktop in Windows 10
If you are using a laptop running any version of Windows 10, you can click on the small arrow typically located on the far left side of the system tray and then you’ll see a battery icon which lets you know how much battery you have left. That same battery icon can also do considerably more for you.
![]()
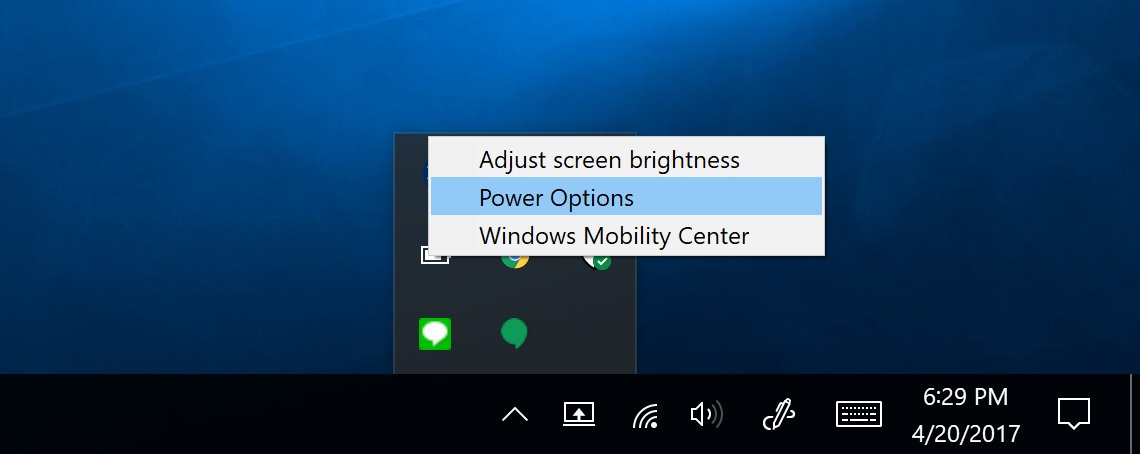
A right-click on the battery icon will bring up another menu that lets you get access to the “Power Options” and even “Adjust screen brightness” so you don’t need to go through the Windows Settings screen if you don’t have that available from the Action Center like you would from a desktop.
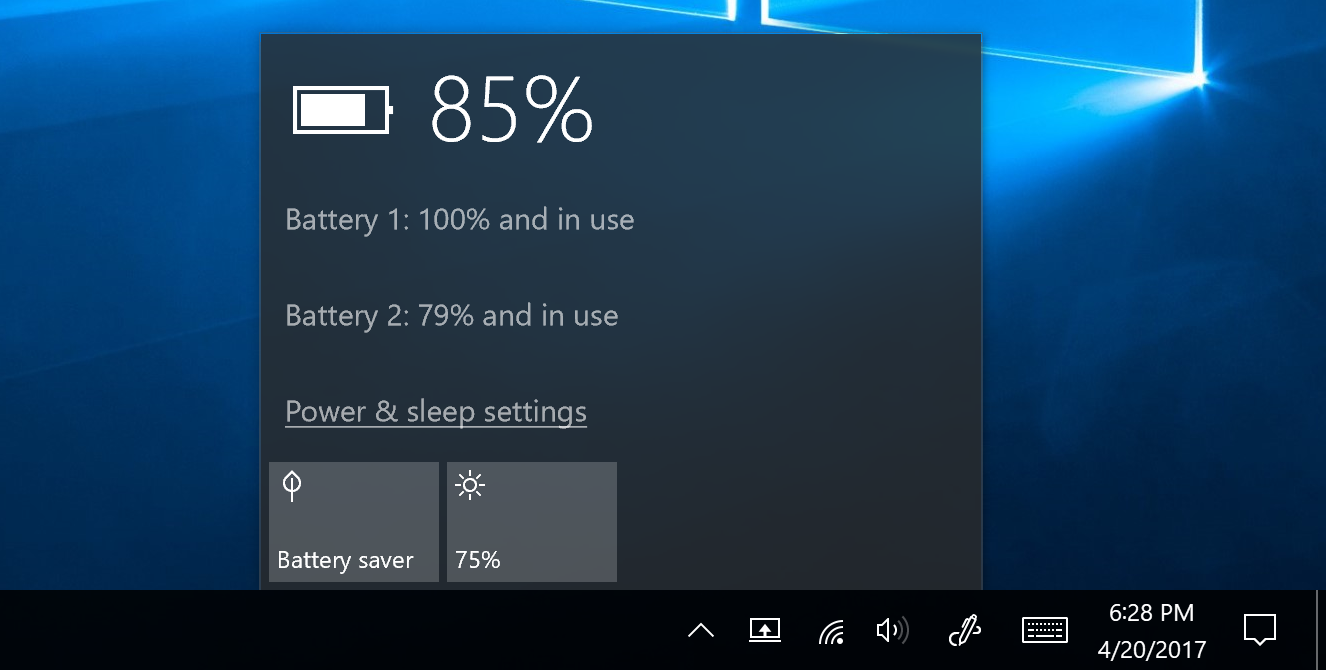
A left click on the battery icon gives you the battery usage stats and two tiles at the bottom you can click to adjust the screen brightness that way or get access to the battery saver. Additionally, there’s a link directly above the tiles that gives you access to the “Power and sleep settings.”
What Microsoft has done there for the laptops running Windows 10 is great and should be appreciated by most people, but that same detail is not available for desktops.
Since there is no battery icon available from the system tray when you are using a desktop computer (because you have a constant power supply) the Windows developers haven’t given any options for you to get quick access to anything related to the battery like they did for laptops. Here’s how to change that:
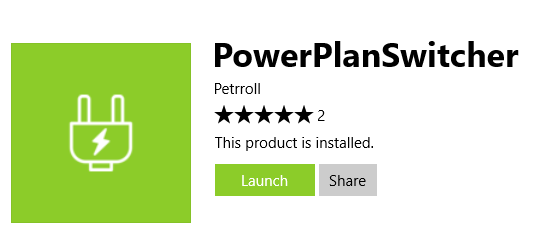
Visit the Windows Store and download the PowerPlanSwitcher application.

Launch the app from the same screen once the download completes.
Or open up the Start menu and then check for the new application under the “Recently added” section.

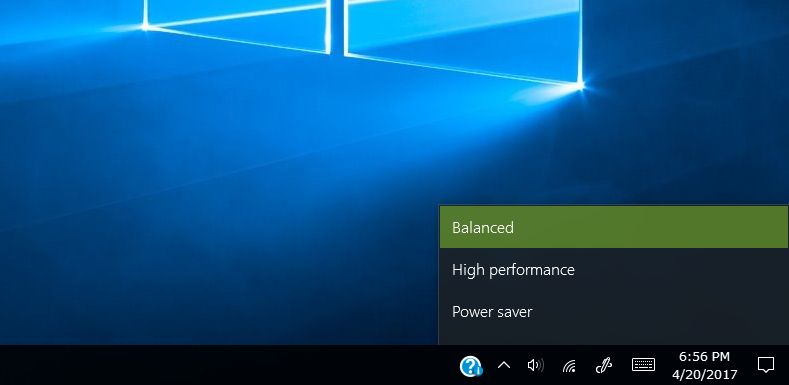
Click on the arrow in the system tray and then look for a new power supply symbol and click on it.
![]()
When you do, you’ll see the “Balanced” “High performance” and “Power saver” options from the menu that you can choose without having to do anything else.

The PowerPlanSwitcher application does what Windows should have tried to do for desktop computers that are running on all versions of the Windows 10 operating system. Maybe the Windows developers will do something about this in future updates of Windows 10, but until then, you can always use this app instead.


