 Email article
If you use the Windows operating system enough, there might come a time when a Windows image becomes unserviceable. For example, if you try executing the sfc /scannow command to try to fix corrupted or modified system files, and it doesn’t work. The DISM (Deployment Imaging and Servicing Management) tool is available for you to use in these situations to help rectify the problem.
Once the problem is fixed with DISM, you can then run the SFC scan again, and it should be able to repair the files afterward.

There are two ways you can use DISM to repair an image in all versions of the Windows 10 operating system: one with the Windows PowerShell and the other with the Command Prompt. Both the PowerShell and Command Prompt can run the same commands, so it doesn’t matter which one you choose—it just comes down to personal preference/availability.
How to Repair Windows 10 image using DISM
How to Run “DISM /Cleanup-Image” Tool in Command Prompt:
Open an elevated Command Prompt on your computer.
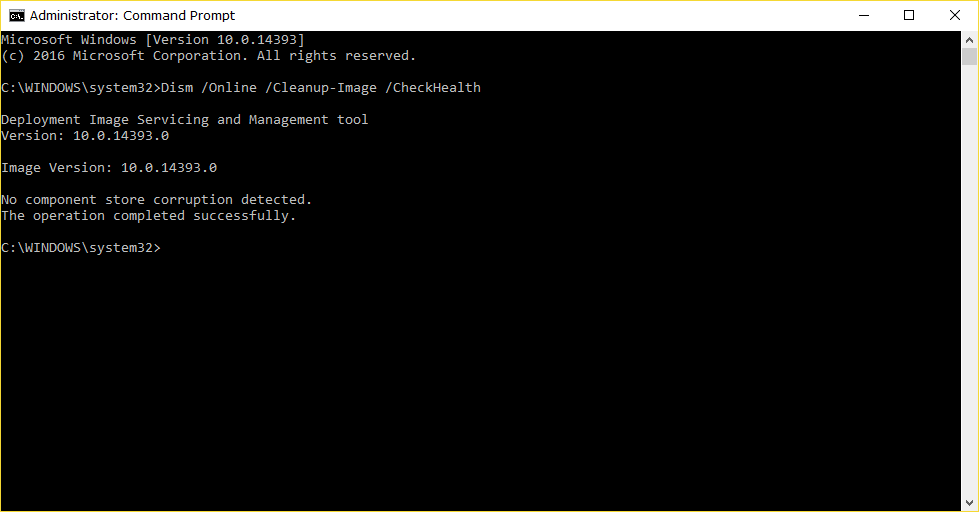
The first thing you need to do is check the health of the image so you can see whether or not is has been flagged as corrupted. The next thing it does is find out whether or not that corruption (if there is any) can be repaired.
Once you have the Command Prompt with administrator permissions open, type “Dism /Online /Cleanup-Image /CheckHealth” to check if there is any corruption.
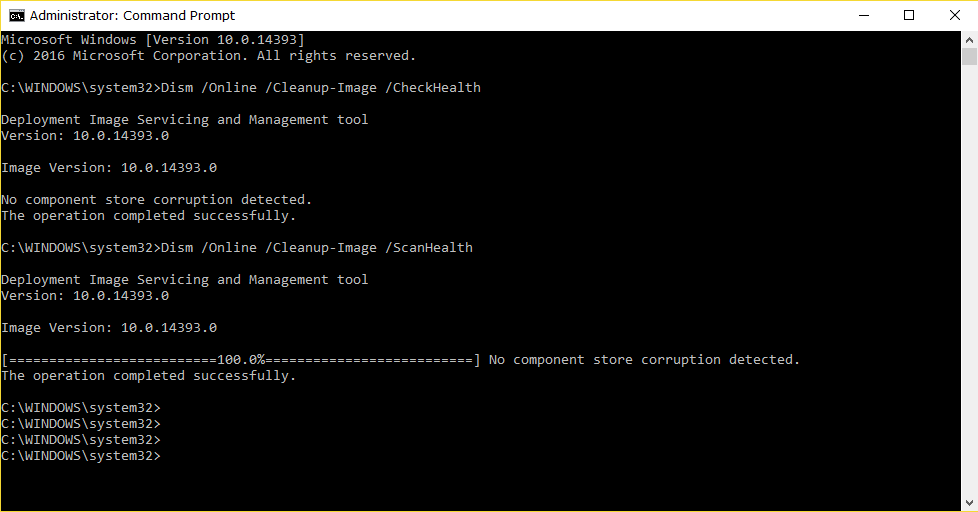
Another thing you can do is run the “/ScanHealth” command to check the image for component store corruption. Just like with the “CgeckHealth” command, this does not fix any corruption. It just checks for component store corruption, and then it records any corruption it may find and save it to a log file.
To do that, run the “Dism /Online /Cleanup-Image /ScanHealth” command.
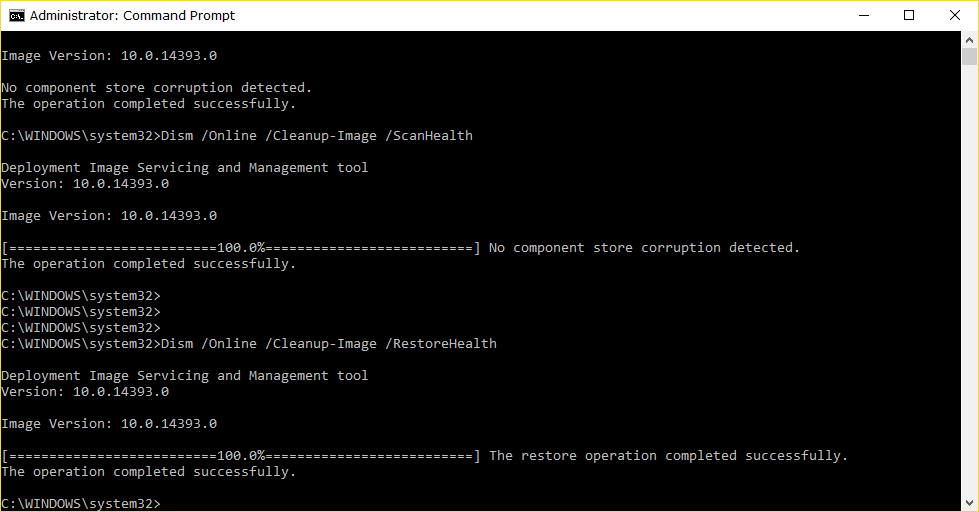
Using the “/RestoreHealth” scans the image and lets you know of any component store corruption. Once the scan is complete, it then repairs the images automatically and then records the things that it fixes and saves the information to a log file.
To do that, run the “Dism /Online /Cleanup-Image /RestoreHealth” command.
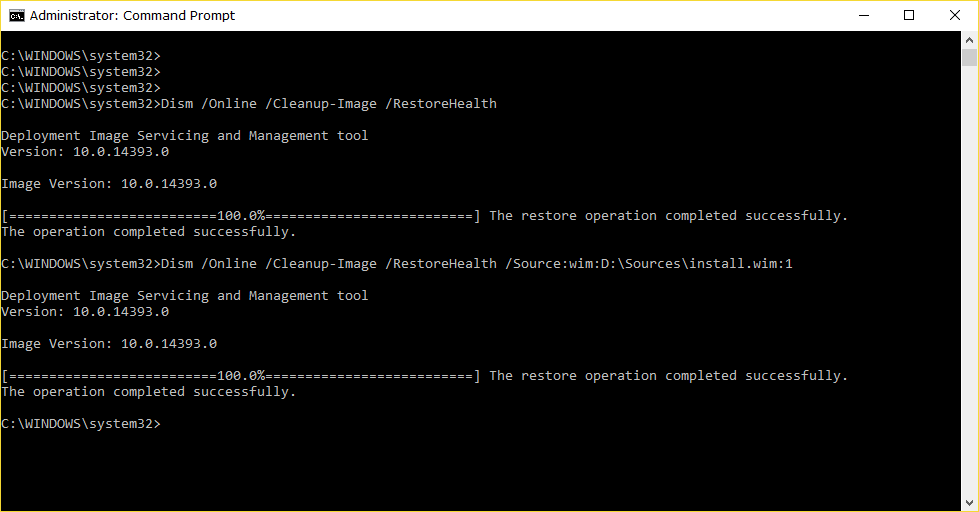
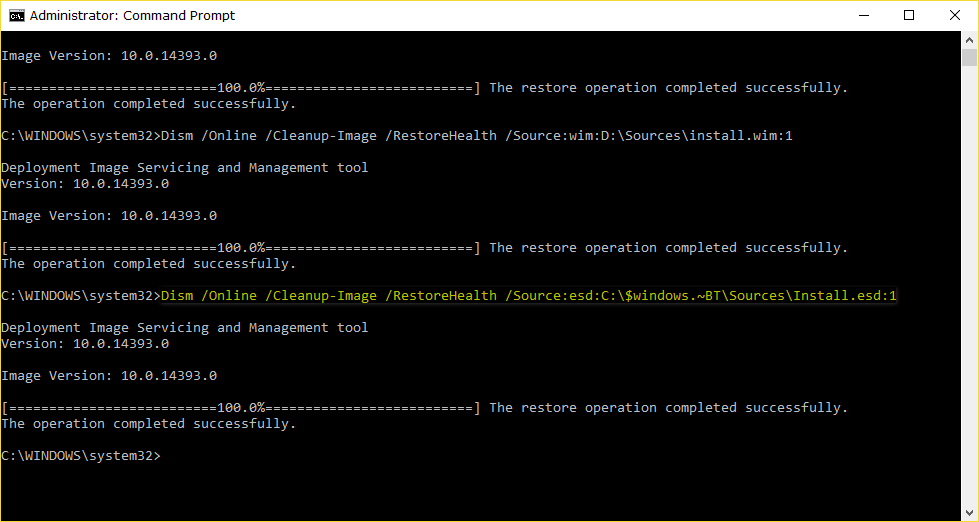
You can use the “/Source command combined with the /RestoreHealth” command to specify the location of an install.wim file. That can be used as the known good source of the file so that version can be used as part of the repair process.
To do that, run the “Dism /Online /Cleanup-Image /RestoreHealth /Source:wim: Path to install.wim file:1” command.
You can also use the “/Source command with the /RestoreHealth” command to specify the location of an install.esd file. Just like with the install.wim file above, it can also be used as the last known good source so that the version can be used to repair the corrupt image.
How to Run “DISM /Cleanup-Image” Tool in PowerShell:
Start by opening an elevated Windows PowerShell on the computer.
Use the “Repair-WindowsImage -Online -CheckHealth” command to find out if the image has been flagged as corrupted and whether or not the corruption can be repaired.

Use the “Repair-WindowsImage -Online -ScanHealth” command to scan the image for component store corruption.
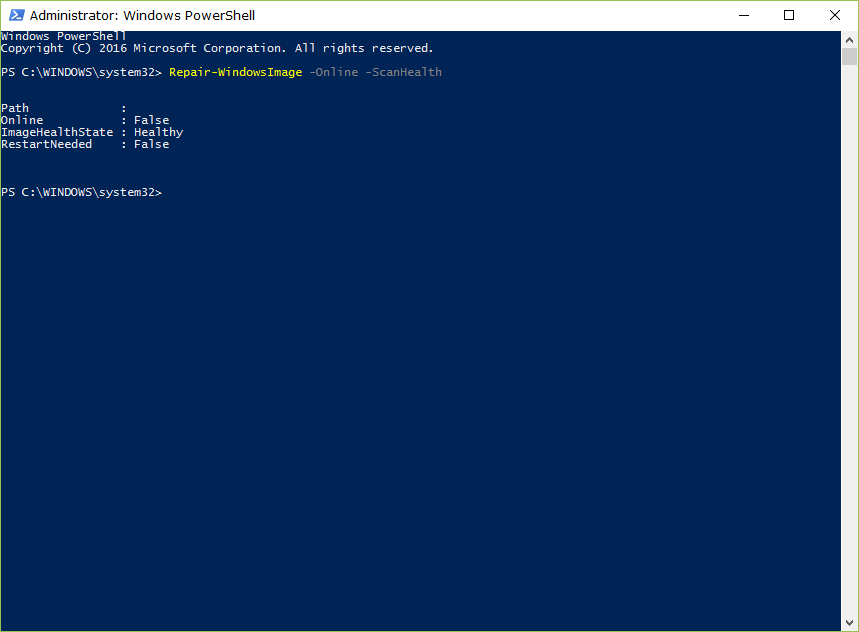
Use the “Repair-WindowsImage -Online -RestoreHealth” command to scan the image for component store corruption and then perform the necessary repairs to fix the problem automatically while you wait.

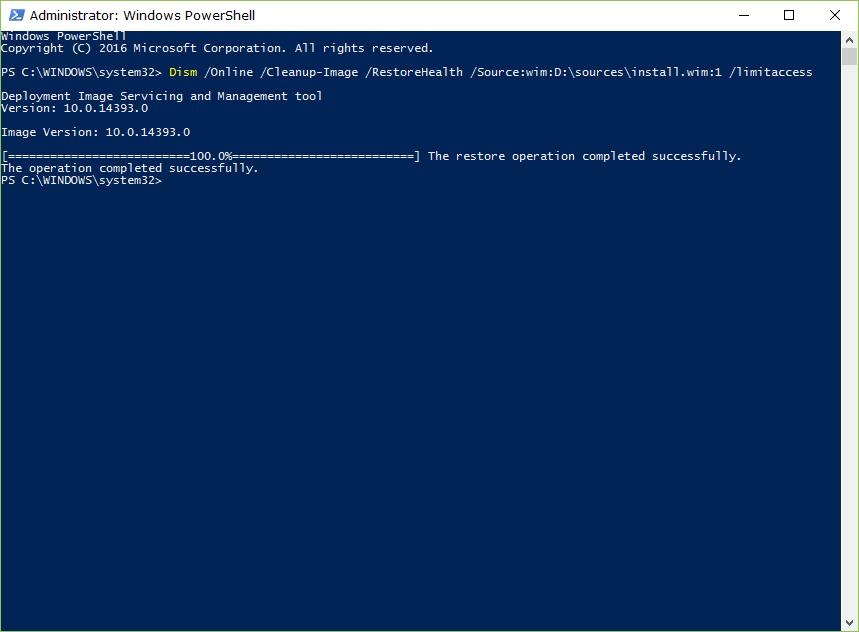
Use the “Dism /Online /Cleanup-Image /RestoreHealth /Source:wim:Full Path to install.wim file:1” to find out where the computer has last known good versions of the file so it can use them for the repair.
Hopefully, any of your unserviceable Windows images are now fixed and working again with the help from Deployment Imaging and Servicing Management (DISM) tool. You can use the commands in any order, and depending on what problem you have makes sense for you to run. Some of the commands take a while to complete depending on the command you choose to execute.


