 Email article
Since Microsoft’s new OS becomes official, I have heard many questions from Windows 8 users about how to change the Photos app’s background. In this article, you will find out the answer and I also show you some other cool stuffs to personalize the Photos app.
How to change background picture of Photos app
The first time you open the Photos app, a beautiful Ferris wheel is the background photo. However, many people want to replace that Ferris wheel with their own (hopefully more beautiful) photo. This job is very easy.
To change the background picture of the Photos app on your Windows 8 PC or tablet, first you need to use Photos app to navigate to which photo you want. Then right click anywhere on that photo (or long tap, if you are on a tablet) and choose “Set as” button:
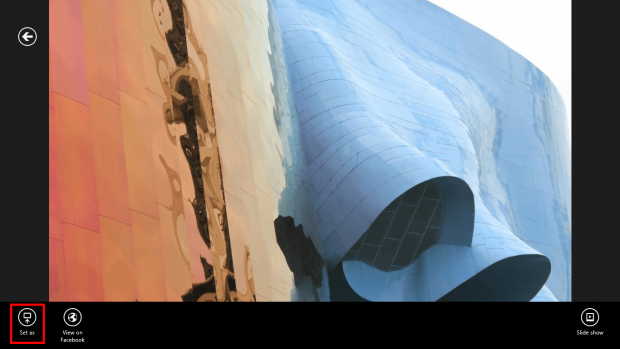
Once you select “Set as”, you will be prompted with three options; select “App background” to set the current picture as the background picture 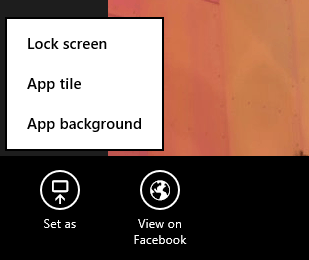 for the Photos app.
How to change Photos app’s live tile picture
In another post, I showed you how to turn off live tiles due to privacy (or annoyance) reasons. The consequence of turning off a live tile is that, of course, it becomes “a dead tile” and I don’t like that! If you went ahead and turned off live tiles for the Photos app, you can still modify the tile’s background photo to show a custom image — so it need not necessarily be boring.
To do that, the process is similar as described in the previous tip — you need to use Photos app to navigate to the photo you want to use as the background for the tile, right click anywhere on that photo (or long tap, if you are on a tablet), and choose “Set as” button, and then finally choose “App tile” from the menu that pops open.
How to make the Photo app tile on Start screen live again
If you disabled live tile for the Photos app tile on the Start screen, there is an easy way to reenable it.
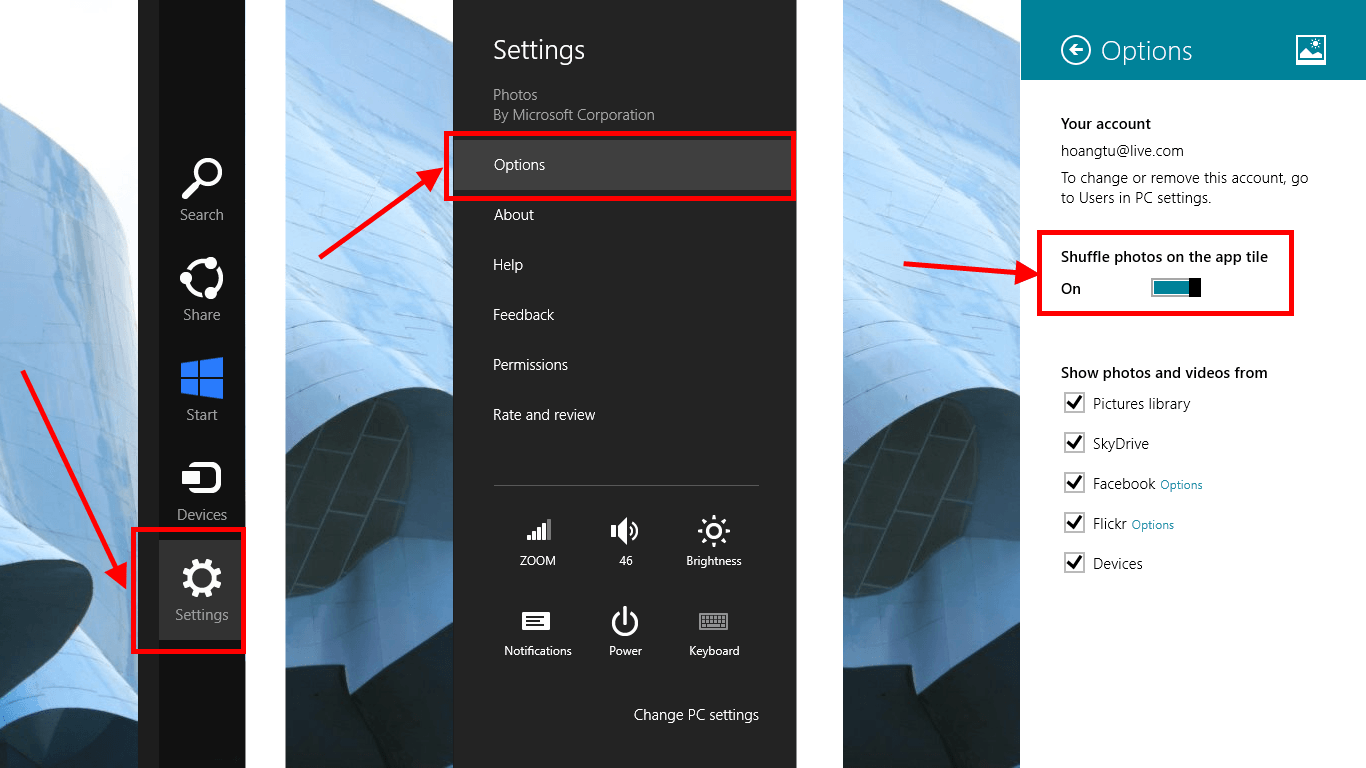
First of all, you need to open Photos app. Then you need to bring up Charms menu by using Windows + C shortcut key or moving your mouse to the Charms menu hotspot in the right edge (if you are on a tablet, you can swipe your finger at the right edge to bring up Charms). Next, select “Settings” button and choose “Options” in the new panel. Finally, you just need to switch the toggle for “Shuffle photos on the app tile” to the on position:
Conclusion
Those tips above are easy to do but the hard part is figure them out them, which leads people to think the Photos app is not usable as expected. But now you know. So don’t think that.


