A slideshow helps you preserve and present your best and precious moments. That’s not all. It also helps you present your designs and ideas to your customers. So instead of scrolling over a page that’s full of photos, you can just put all of these photos into one slideshow. It’s a refreshing way to capture the interest of your spectators.
If you would like to make a slideshow out of the photos that you’ve already posted on Facebook, you may also do so. If you want to learn how, just read the rest of this post.
How to create a slideshow from Facebook images
- Click here to open “PhotoSnack” on your preferred web browser. PhotoSnack is an online tool that you can use to create different kinds of slideshows for portfolio showcase, real estate showcase, web design and graphic art showcase, personal showcase and product presentations. You can use PhotoSnack as a free user but you can also opt for a paid subscription.
- Once you’re on PhotoSnack, click “Make a Slideshow”.
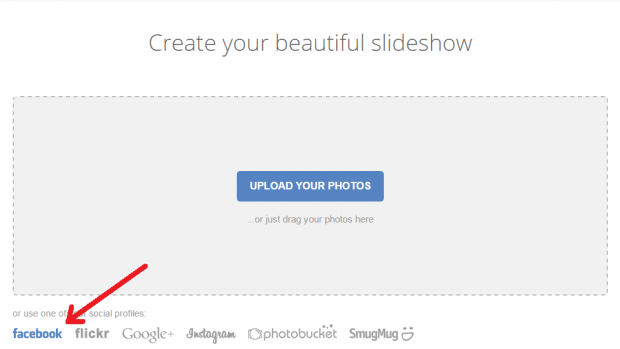
- On the next page, you will be asked to upload your photos. Since you will be uploading your photos from Facebook, just click the social network’s icon at the bottom section.
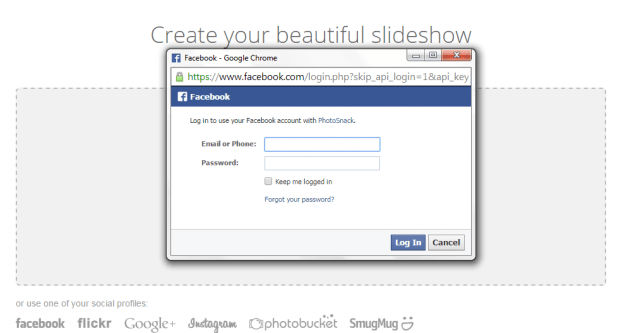
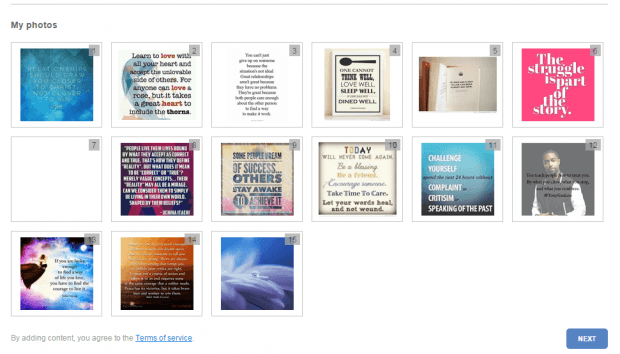
- After which, you will be asked to log in to your Facebook account. Just log in and then select the photos or albums that you wish to include in your slideshow.
- Click “Next” once you’re done.
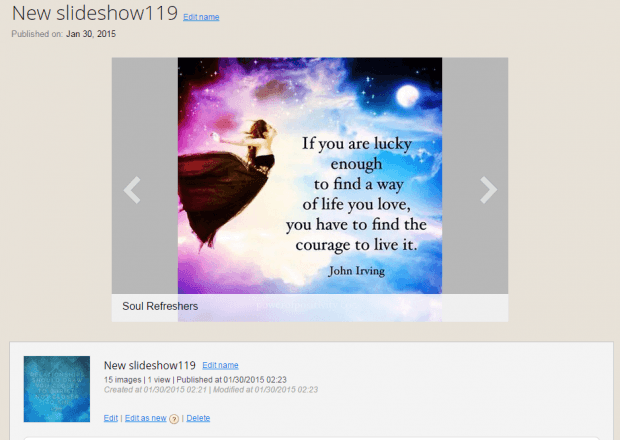
- On the next page, you will be asked to edit the slideshow title and description. You will also get a preview of your slideshow.
- Click “Connect with Facebook to Publish” to publish your slideshow.
- Once published, you may share your slideshow online via Facebook, Twitter, e-mail, etc. You may also edit it to add some music, templates and background photos. Just remember that if you’re a free user, you are only limited to uploading up to 15 photos per album.

 Email article


