Here in dotTech, we’ve already discussed how you can view and edit PDF files in Android. Now, how about creating a PDF from scratch using your Android tablet or mobile phone? How are you going to do it and create one like a pro? Well, that’s what you are about to learn in this post.
How to create a PDF file in Android
- Creating a PDF file in Android is simple. First, you must download a document or office app that supports PDF creation. Also, if you have WPS Office + PDF, then you don’t need to install any additional application. It may not look like it but the said app can also be used to create PDFs. If your device doesn’t have WPS Office installed, click here to download it from the Play Store.
- So once you have WPS Office, open it and then on its main menu (screen), select “New” > “Document”.
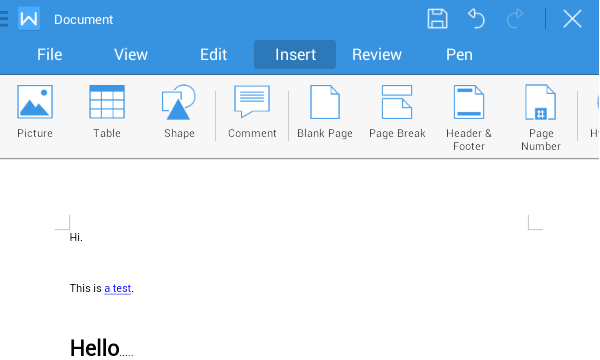
- Now, just like what you usually do when creating a document, type or paste some text and then format them to your liking. You may also insert some images and hyperlinks.
- Once you’re done, preview your document and edit some parts if needed. Don’t forget to spell check.
- When you’re fully satisfied with the outcome, you may save a copy of your document in .doc format. Do note that once your document has been saved as PDF, you won’t be able to edit it using the WPS Office app. Therefore, it’s best to save a copy that you can edit any time.
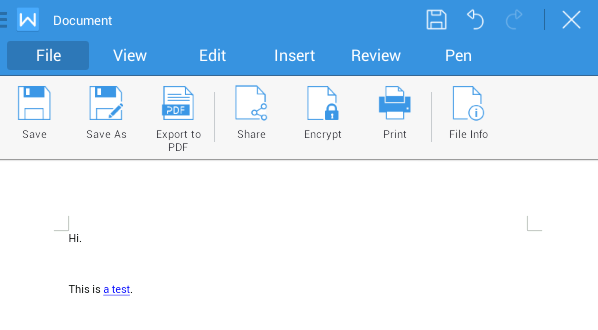
- So what’s next? Simply click the “File” tab for your document and then select “Export to PDF”.
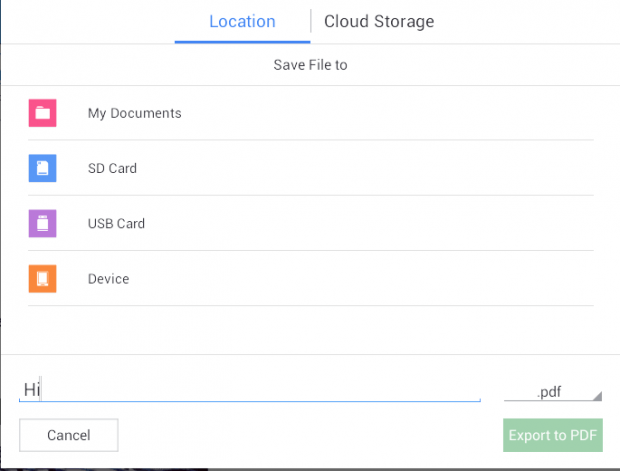
- On the dialog that appears, set the name for your PDF and then make sure that the file extension is set to .pdf.
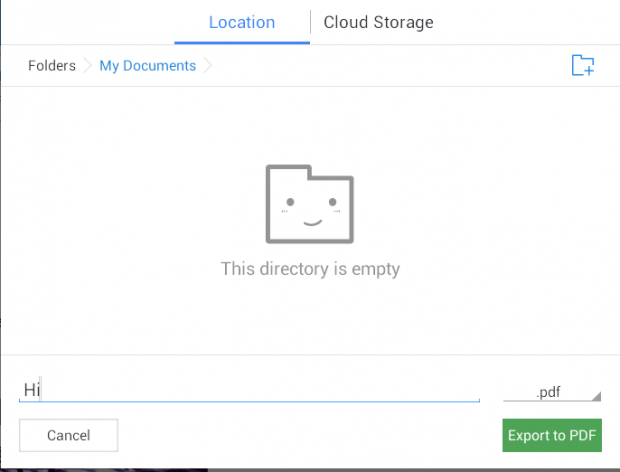
- Select your desired file location (ex. My Documents) and then confirm by tapping “Export to PDF”.
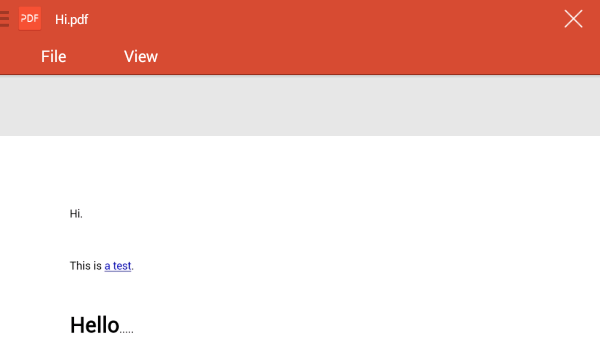
- Wait for the confirmation message and then tap on it to view your new PDF file. Alternatively, you may directly view your PDF from the folder or storage where it’s supposed to be located.
That’s it. You’re done.

 Email article
