Every time you create a new Microsoft user account you get a bunch of folders available by default from the File Explorer. It is possible to change the location of these personal folders to suit your needs better if the default layout isn’t working to your advantage.
One of the most common reasons people opt to change a folder location is when they have a lot of files in a particular folder (like the Pictures folder for instance), so they decide to move the Pictures folder away from the hard drive and put it on a different hard drive, so they aren’t running out of space anymore. When you do something like that, you are redirecting from the original folder location to the new folder location—i.e., you have changed where the folder is being stored. Restoring the default location of your folder is going to take that redirect that you once created away and have everything back where Windows initially put things in File Explorer, so you don’t have to work out how to do these things manually.
How to Restore Default Location of Folders for a User Account in Windows 10
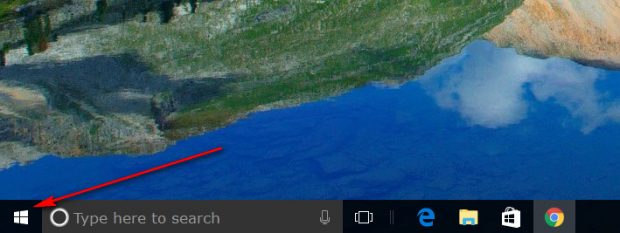
Click on the “Start” button to get access to the menu.
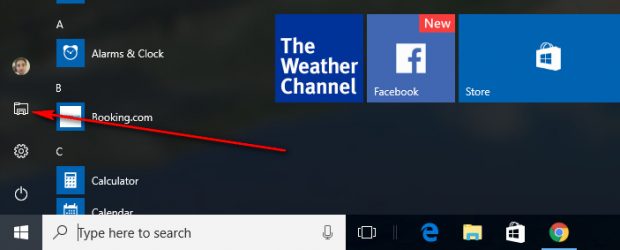
Click on the “File Explorer” icon from the Start menu’s left side pane.
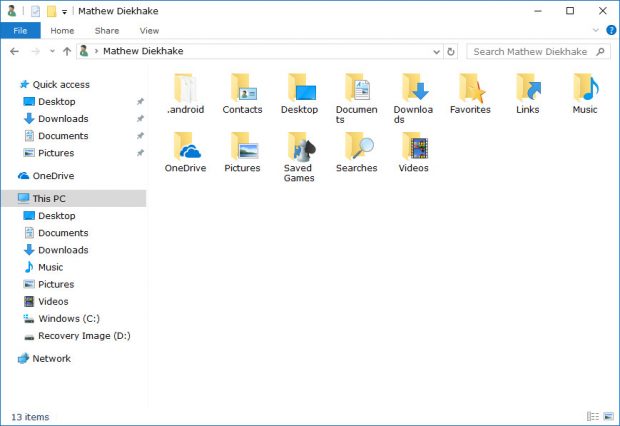
Type “shell:UsersFilesFolder” into the address bar and then hit the Enter key on the keyboard.
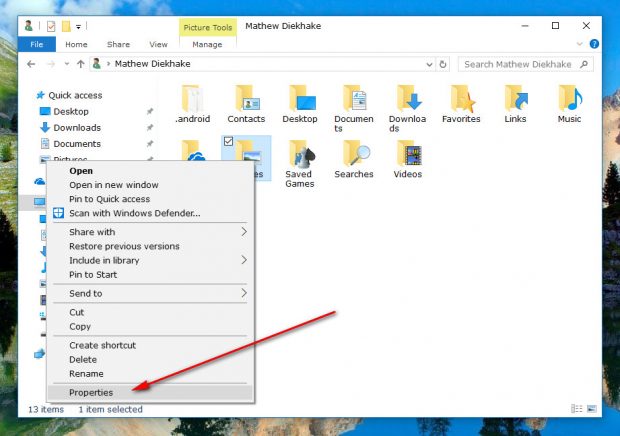
You now see all of your personal folders. Right-click the mouse or touchpad on the folder that you want to restore back to its default state and then click on the “Properties” from the menu.
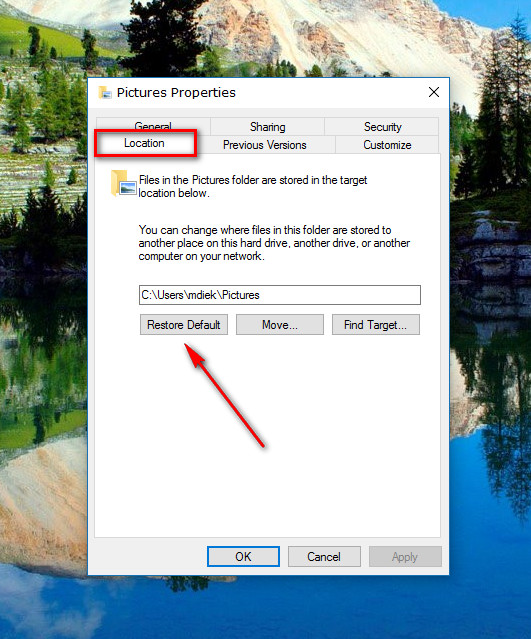
Click on the “Location” tab at the top of the dialog box and then click on the “Restore Default” button that is available under where it shows your folder path.
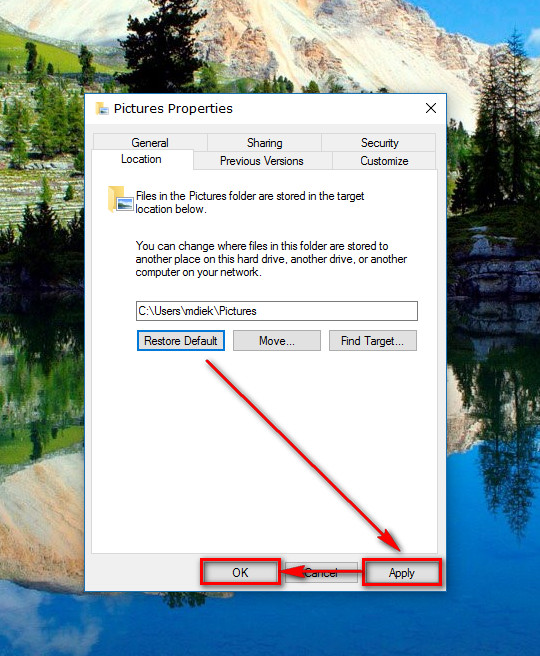
Click on the “Apply” and “OK” buttons at the bottom.
After a few seconds the folder will be restored to normal and available back in the default location which is the C:\Users\(username) folder. The only folder that this trick does not work for is the OneDrive folder because it cannot be redirected like all of the others.

 Email article
