Most sticky note apps share a similar functionality and that is to allow you to create and post all sorts of sticky notes. It’s just that the sticky notes that you’ve created can only be accessed through a specific tab or page. You can’t just post notes on any web page. Fortunately, Chrome users do not need to put up with this limitation.
So if you want to learn how to post sticky notes on any web page on Chrome, better read and follow the steps listed below. So, go ahead and read on.
Step 1
On your Chrome web browser, go to the Web Store then download and install the extension called “Note Anywhere”.
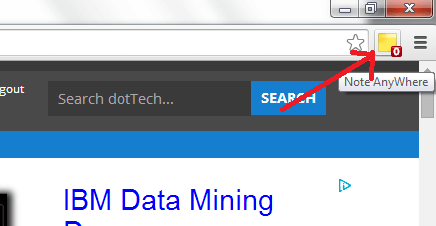
Once installed, the extension will add a small yellow icon on the right side of your browser’s address bar. Once you see the icon, simply proceed to the next step.
Step 2
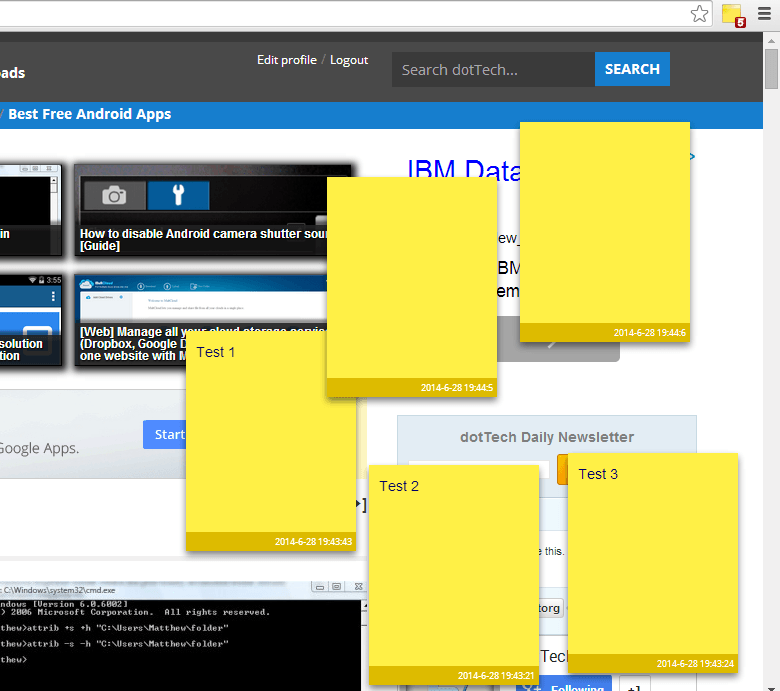
Open a new tab then go to any web page that you like. Once you’ve loaded the page, just click the yellow icon on the right side of your browser’s address bar. It will then add a new blank note on the page. Just write whatever you want then drag and place the note to your desired section.
Step 3
If you want to add more notes, just click the yellow icon again then repeat the second step.
To edit a note, just click inside its text area. If you wish to delete a note, just click on its top-left corner and that’s it. The note will be automatically deleted from the page.
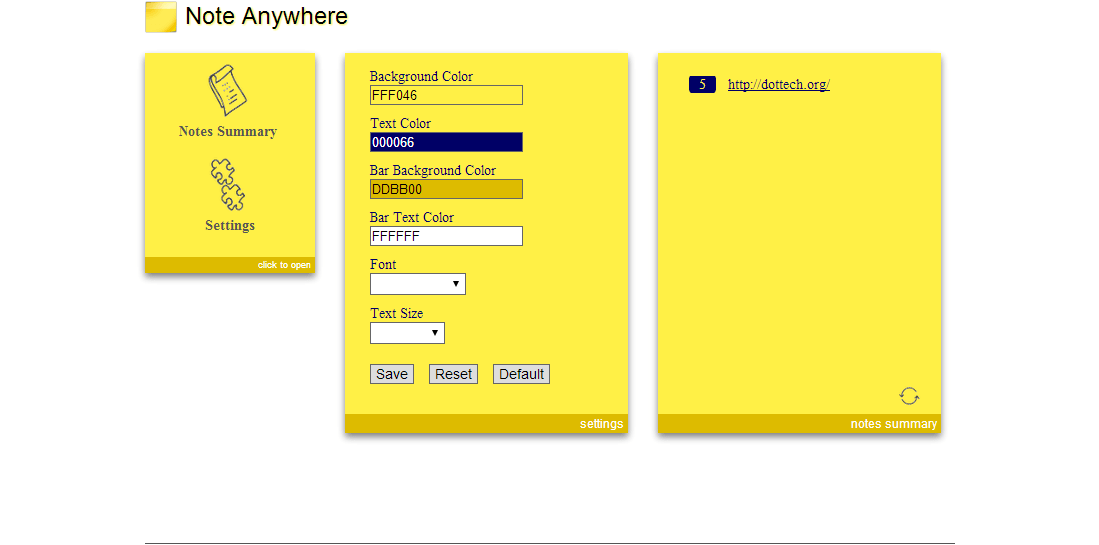
Furthermore, the notes that you have posted can be customized according to your personal preferences. You can change the note’s size, color, etc. To do so, just right-click on the yellow icon beside your browser’s address bar. Choose “Options” from the context menu and you will be immediately taken to the extension’s settings page.
The good thing about this extension is that even if you close and re-open the web page, the notes will remain on that page. They won’t disappear unless you decide to manually delete them. You are also free to post as many notes as you like. Just keep in mind that there’s no option for you to delete all of your notes at once.

 Email article


