If you are editing a document in Google Docs, you might want to consider adding some interesting images. You can insert photos of all sorts. You can even insert clipart images. Speaking of the latter, this post is meant to guide you with the steps on how to insert clipart images in your Google Docs document.
How to insert clipart images in Google Docs
- First, make sure that you’re already logged in to your Google account. This will allow you to easily access the Google Docs platform without being asked to log in or create a new account.
- Next, click here to download and install the “Openclipart” add-on for Google Docs. Just click the “+Free” button that you see on the download page.
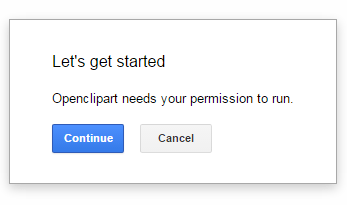
- After which, a new tab will open and you will be asked to grant permission to the add-on as it attempts to access your Google Docs account. Click “Continue” to confirm.
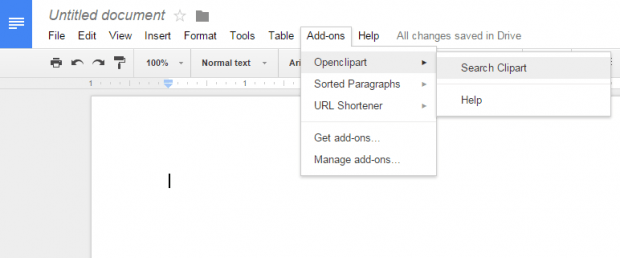
- In Google Docs, create a new document and whenever you want to insert a clipart, just go to the “Add-ons” tab and then select “Openclipart” > “Search Clipart”. This will display the clipart sidebar on the right portion of your Google Docs interface.
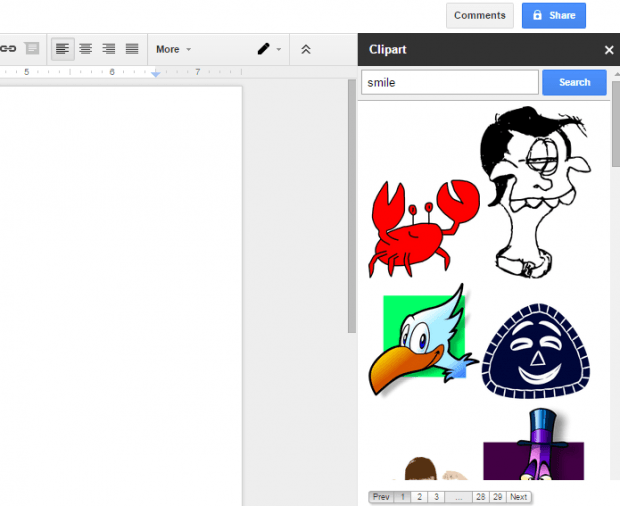
- On the search bar, type the keyword for the clipart that you want (ex. happy) and then click “Search”.
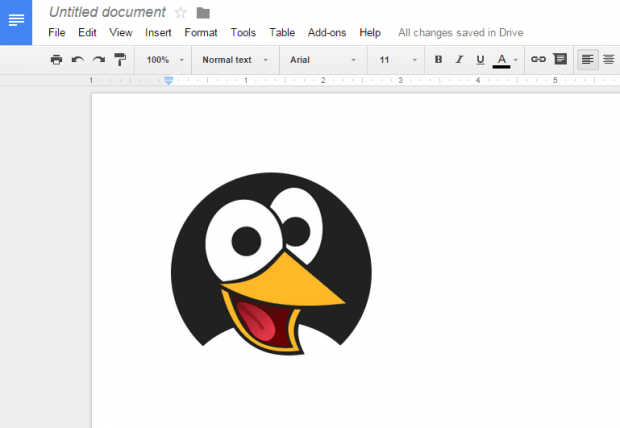
- A list of related clipart images will be displayed on the results section. Just click the clipart image that you want and that’s it. It will be automatically added to your document.
- In Google Docs, you can insert multiple clipart images. Feel free to use or insert a clipart in between paragraphs or texts.

 Email article


