 Email article
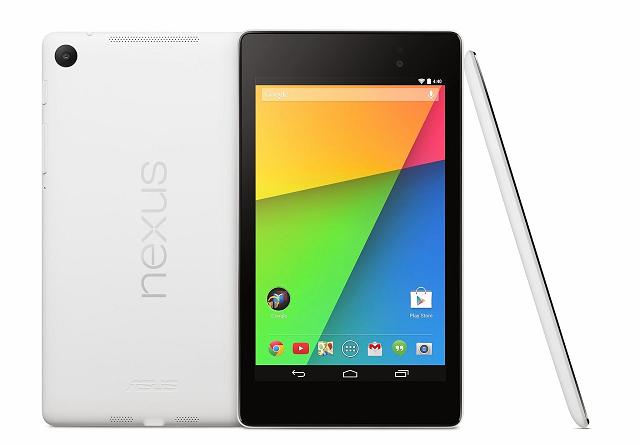 The Nexus 7 2013 edition is finding a new LMY47V firmware build of Android 5.1.1 Lollipop rolling out over the air. If you have already accepted the notification and installed the software update on your Nexus 7, you’ll need to root it again to start using custom ROMs and root-requiring apps from Google Play. Here’s how that’s done:
REQUIREMENTS
The guide is only for the 2013 variant of the Google Nexus 7 tablet and no other. Furthermore, you want it running on the Android 5.1.1 Lollipop update LMY47V firmware. We do not recommend following this guide for any other firmware version.
BEFORE WE BEGIN
- Turn on the tablet and navigate to the Settings > About Device menu and check that the build number matches with the one in the title.
- Download the Google USB Drivers on the computer for your tablet so you have no problems connecting.
- Download Android ADB and Fastboot on a Windows PC. You’ll need the Windows PC to complete this guide.
- Enable the USB Debugging Mode by heading to Settings > About Device > tap on the build number seven times. Now head back to the Settings menu and tap to enter the Developer Options. From inside the Dev option you must check the box for USB Debugging. Only then are you able to connect to the computer successfully.
HOW TO ROOT NEXUS 7 2013 ON ANDROID 5.1.1 LOLLIPOP LMY47V
- Download the rooting file you need to the desktop here. Transfer that Super SU file to the internal storage on the tablet.
- Download the ClockworkMod recovery here. Copy and paste this file to the platform-tools directory you created with ADB and fastboot on the computer.
- Switch off the Nexus 7 tablet and reboot to Fastboot Mode. Press and hold the Power + Volume Down buttons and keep them in until you enter the Bootloader Mode.
- On your Windows computer, head to the android-sdk-windows\platform-tools path you created when settings up Android SDK (ADB and fastboot). from inside that folder you want to right-click on a blank white space where there’s no file and hold down the Shift key at the same time and wait for a menu to pop-up.
- From the new menu, select to “open the command windows here”.
- Now you will see the command prompt where you are able to type commands.
- Type this command: “fastboot flash recovery recovery-clockwork-touch-6.0.4.7-flo.img”
- It will now give a new menu on your tablet. Choose to enter the recovery Mode from the fastboot menu.
- From inside recovery, choose the “flash zip from SD card” followed by “choose zip from SD card”.
- Browse for the UPDATE-SuperSU-v2.46.zip you transferred to the tablet internal storage SD card.
- You’ll need to use the Volume keys to browse and use the Power key to confirm the installation.
- Head back out of there and select to reboot the system now from the main recovery menu.
That’s it. Now you are ready to start installing the application from Google Play you couldn’t use before. Likewise, you can flash a custom ROM since you have the custom recovery installed.


