 Email article
If ever you find yourself caught up in a task wherein you need to extract multiple images from a Google Docs document, then there’s no need for you to fret. You don’t even need to use any add-on just to get things done. Just read and follow this step-by-step guide to learn how.
How to extract all images from a document in Google Docs
Method One
- In Google Docs, open the document with multiple images that you wish to extract.
- Switch to “Editing Mode”.
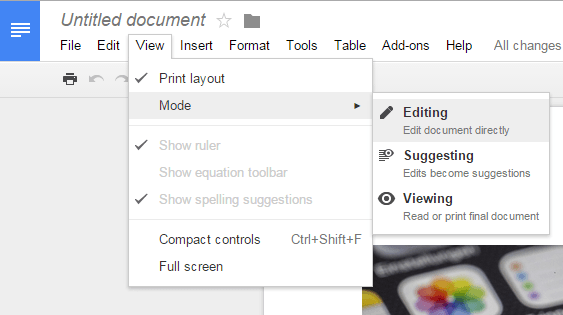
- Once on editing mode, go to “File” and then select “Publish to the Web”.

- On the dialog that appears, click “Publish” to publish your document to the web. By doing so, your document will be visible to anyone on the web making it appear like a standard web page.
- Click “OK” when prompted.
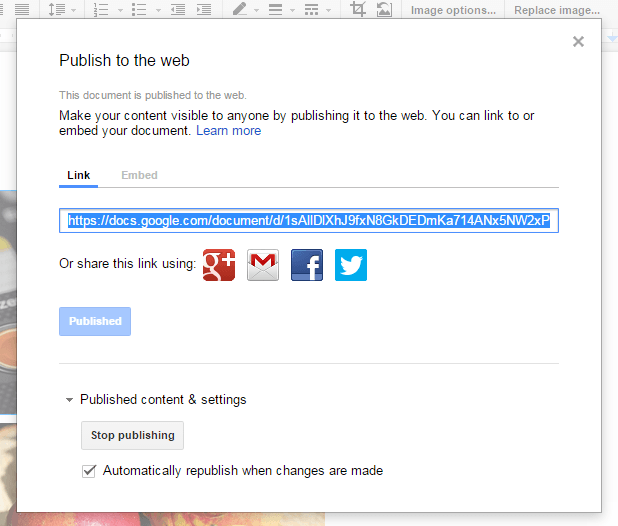
- Once your document is published, copy the link and view the published version of your document in a new tab.
- From there, you may download every image from the document using “Save image as”. If you want a quicker way to download all images, you can use a bulk image downloader tool extension or web app (ex. Image Downloader for Chrome).
Method Two
- Open the Google Docs document that you want and then go to “File” > “Download as”.
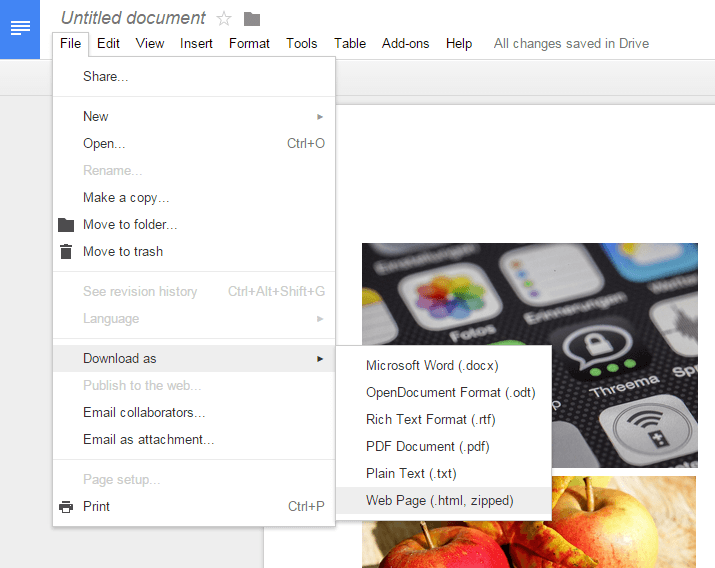
- On the Download as menu, you must choose to download your document as a web page (.html, zipped). By choosing this option, you will be able to download your document as a web page in a zip package.
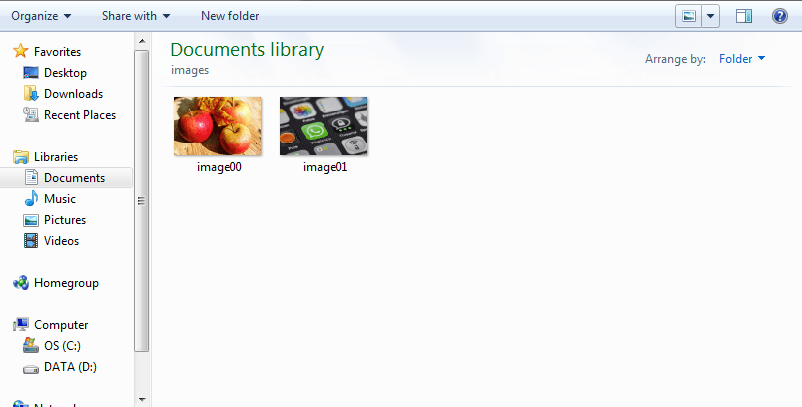
- After download, unzip the package and from the extracted files, find and open the “images” folder. There, you will be able to view all of the images that were included in your document.
It’s as simple as that.


