 Email article
Since I have become familiar with troubleshooting Windows problems, the scariest thing I sometimes face is that my Windows can’t boot up. What can I do in such a situation? In my experiences, using a bootable CD or USB to try fixing or reinstalling Windows is the only solution. But what if you even don’t have those devices? Then you are really stuck! To avoid this from happening, Windows 8 provides you with a tool to create bootable CD/DVD/USB in order to boot up your Windows and then perform recovery on your system. In Windows 8, a recovery drive helps you to use System Restore, Refresh, Reset, and Recover from recovery image feature. In this article, I will show you how to create a recovery drive to rescue your Windows 8.
HOW TO CREATE A RECOVERY DRIVE
Before we begin, take note you need to have a 256 MB or larger blank USB drive (also known as flash/thumb drive) or a CD/DVD disc. Once you have one or these, do the following:
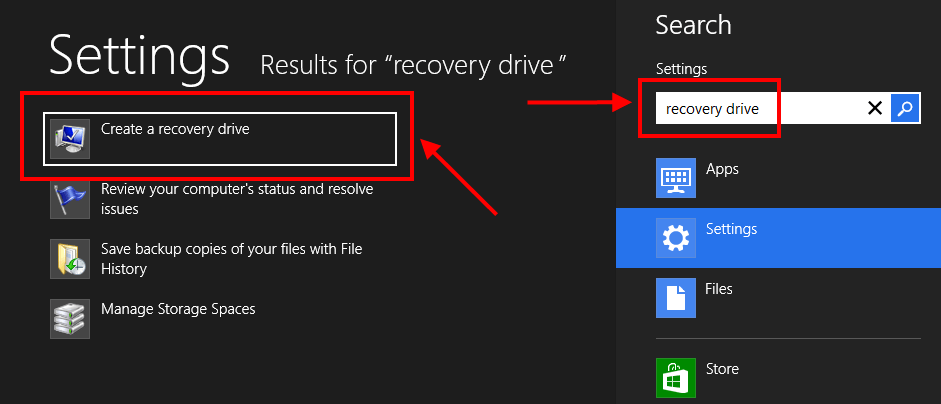
- Press Windows + W hotkeys, or swipe from the right edge of your screen, choose Search from Charms, and select Settings on the right panel to bring up Settings Search.
- Once at Search, enter “recovery drive” (without the quotes) in the box and select the result “Create a recovery drive”.
- Now insert your USB drive or CD/DVD into your PC or tablet.
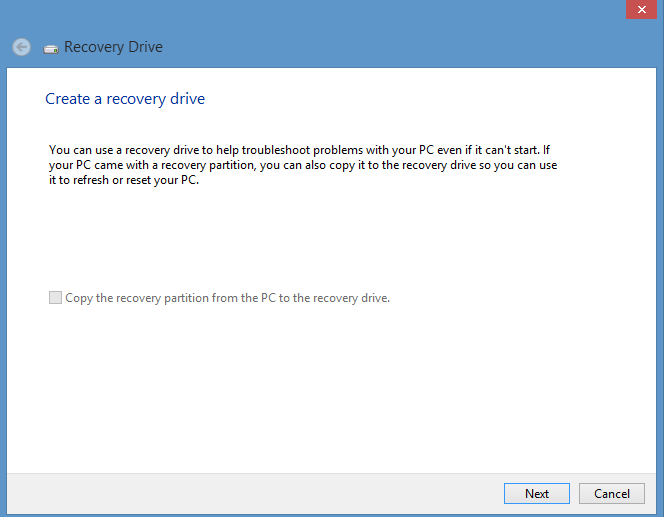
- Now, in the “Recovery Drive” window, you need to click “Next” and then choose your drive or disc from the list.
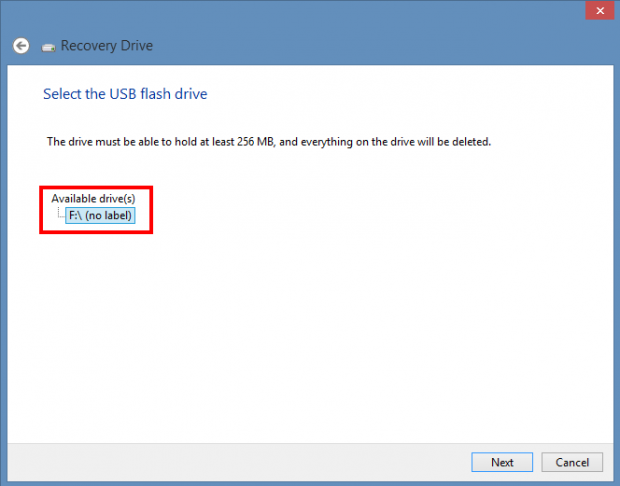
- You should know that the tool will format your drive or CD/DVD. That means all your current data on that drive or CD/DVD will be erased. After putting all of your data in a save place, click the “Create” button to start.
- You will wait for the process to finish. However, it runs very fast.
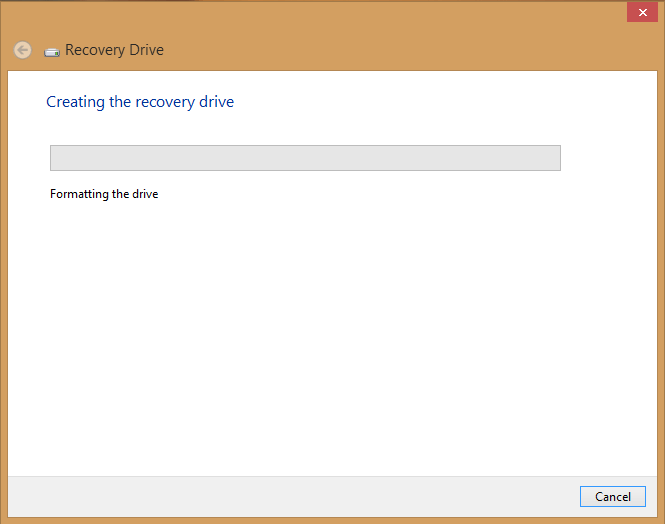
Once it finishes, you are done! You now have a bootable recovery USB drive or CD/DVD.
HOW TO USE A BOOTABLE USB DRIVE OR CD/DVD
Once you have created a bootable recovery USB drive or CD/DVD, you can use it to fix/recovery your Windows 8 device by booting from it. How do you boot from it? It actually varies from computer to computer and tablet to tablet.
The basic rule to use bootable USB/CD/DVD is insert it before you shut down your device, and then shut down your device. Once it is shut down, start it again. When starting your device, you need to be quick because you need to interrupt the boot process and tell your device to boot from the USB/CD/DVD and not boot normally.
This step often confuses everyone because each manufacturer has its own way to boot from USB/CD/DVD. Newer computers come with a boot order already defined in their BIOS to automatically give priority to bootable USB/CD/DVD. However, if your computer doesn’t, you need to modify BIOS settings to give priority to bootable USB/CD/DVD.
How to modify BIOS settings? Again, this varies from computer to computer. Generally speaking, you need to press an F key (e.g. F1, or F12) during boot to go to BIOS and change your settings. You can find out exactly which key you need to press by paying attention to the screen while booting because there is always instructions at the bottom (or top) of the screen during the first boot screen; it may say, “Press XX key to setup” or “Press XX key to choose boot drive.” Simply follow those instructions.
I really cannot tell you exactly how to boot from USB/CD/DVD because it varies device to device; you just have to figure that out on your own. Once you do boot from USB/CD/DVD, however, you will be promoted with many features to fix your Windows: Automatic repair, Refresh, Reset, System Restore, and Recovery Image and open Command Prompt (CMD). You should try as many of these as possible to see if you have fixed the issue; if not, then your final decision must be reinstalling Windows.

CONCLUSION
Bootable recovery USB/CD/DVD is a very effective way to rescue your Windows. I have often fixed my computer successfully by this method. Hope you can do it too!
[Recovery image via WinSuperSite]


