Email article
 Are you an avid Xubuntu user that just isn’t a fan of XFCE’s window manager? Want a different one? Enter OpenBox, one of the most popular lightweight window managers available for Linux today. This guide will show you how to get OpenBox on Xubuntu. Let’s get started!
Before We Begin
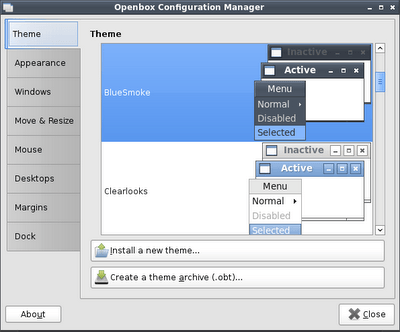
OpenBox is a lightweight window manager with many themes to choose from. Go check them out here.
Part of this guide is accomplished with a terminal. Open a terminal by pressing alt + f2, typing xterm and pressing enter.
OpenBox must be installed for you to use it. Enter sudo apt-get install openbox in the terminal to install it.
Though this guide focuses on Xubuntu, it can be accomplished with any Linux distribution in this same way. This will work on all versions of Ubuntu/Xubuntu running XFCE4.
How To Install OpenBox On Xubuntu
- Open a text editor (located in accessories) and paste everything below into it.
[Desktop Entry]
Encoding=UTF-8
Type=Application
Name=OpenBox
Comment=Automatically replaces XFWM4 with OpenBox at startup.
Exec=openbox --replace
StartupNotify=false
Terminal=false
Hidden=false- Save the file to your home folder and name it as openbox.desktop.
- After writing the Desktop entry file, go to the terminal that you opened previously and enter the command below. This will allow your newly written entry to execute.
sudo chmod +x openbox.desktop
- Once the entry has been written and the permissions are set, it’s time to make the autostart entry. Go back to the terminal below and enter the following command.
mv openbox.desktop ~/.config/autostart/
- Once openbox.desktop has been moved to
~/.config/autostart/, reboot your PC. The next time you log into XFCE, you’ll be using OpenBox as your window manager instead of XFWM4.
Conclusion
Though XFCE4 is an excellent desktop environment, it’s window manager isn’t as great. OpenBox solves that problem by being vastly superior in configuration options and versatility. Enjoy!