 Email article
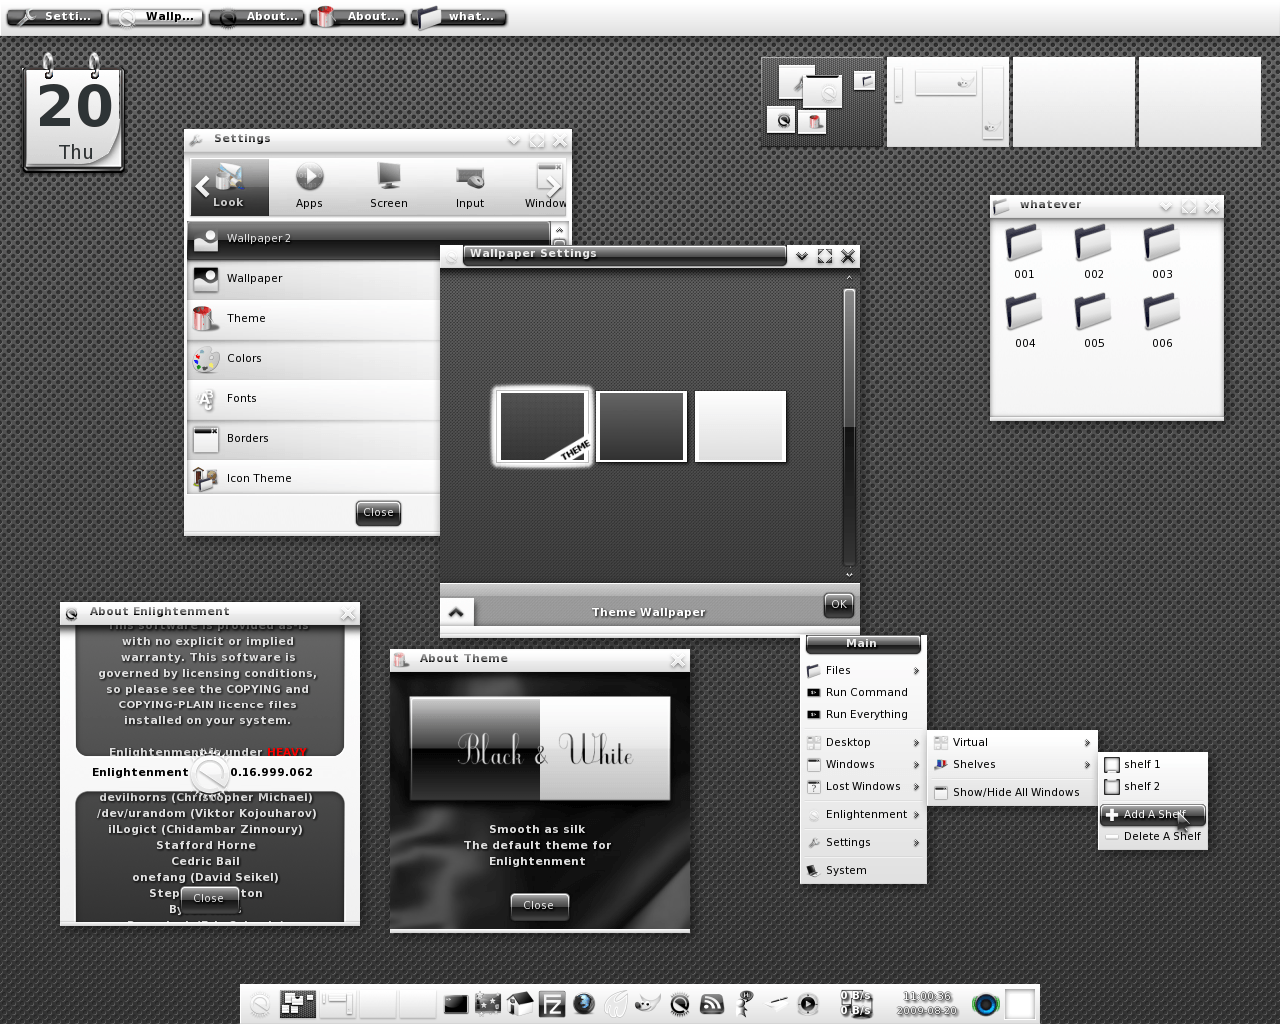 Can’t find a lightweight Desktop environment that suits you on Linux? Why not check out Enlightenment 17? Enlightenment 17 is an advanced window manager for Linux. Let’s get started!
Before We Begin
Enlightenment 17 is an advanced window manager for Linux. It is very customizable.
Though this guide focuses on Ubuntu, Enlightenment 17 can be installed on a myriad of Linux distributions. This guide will work on all versions of Ubuntu that meet the dependencies required to install it.
This guide is accomplished by using the terminal. Open the Unity dash and search for ‘terminal’.
How To Install Enlightenment 17 On Ubuntu
- In order to install Enlightenment 17, a software repository needs to be enabled (a server that holds software). Enable the software repository by entering the command below.
sudo add-apt-repository ppa:hannes-janetzek/enlightenment-svn
- After enabling the software repository, Ubuntu needs to be updated to reflect the changes we’ve made.
sudo apt-get update
- Once your Ubuntu software sources have been updated, Enlightenment can finally be installed.
sudo apt-get install e17
- When the installation has finished in the terminal, close it and log out. You’ll be greeted by lightdm (Ubuntu’s desktop manager). Click the Ubuntu logo and you’ll be shown a list of available Desktop environments to choose from. Select ‘Enlightenment 17,’ or ‘E17’, enter your password and press enter.
- You’ll soon be logged into E17 and it’ll be ready for use.
Done!
Conclusion
The mainstream Desktop environments aren’t for everyone, but luckily, projects like Enlightenment exist and offer a great alternative. Great for those not interested in the Gnome Shells and KDEs of the world. Enjoy!


