Google Picasa is a freeware image management photography package packed with options. With Picasa you can set up photo slide shows, videos, CDs and combine multiple photos in a collage. Google Picasa’s Picture Collage option will display multiple photographs wrapped into one collage. Let’s take a look at it.
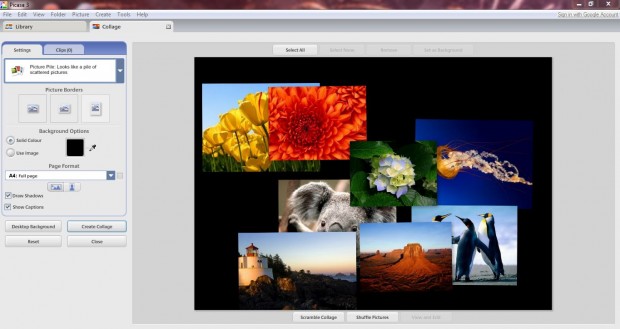
If you don’t already have Picasa download it from this website. It’s a multiplatform package compatible with both the Windows (XP, Vista, 7, and 9) and Mac OS X platforms. To set up a picture collage, you should first select a few photographs to include in it. Hold the Ctrl key, and select a few Picasa photo thumbnails. Then select Create and the Picture Collage option to open the window below.
I have selected a group of Windows 7 sample pictures for this picture collage. In the shot above they are included within a picture pile which displays them as a pile of scattered pictures. You can move the scattered photos to alternative positions in the pile by selecting them with them left mouse button and dragging them.
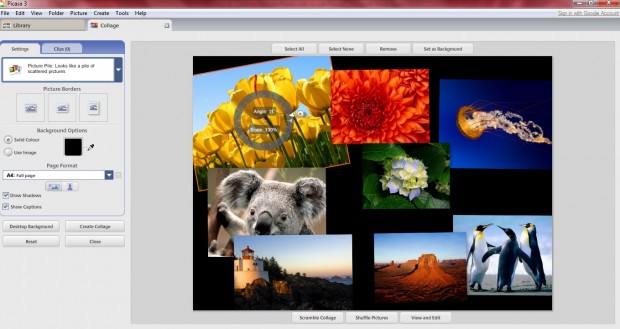
Click on one of the images once to display a rotational compass. Drag the compass point around the circle to alter the angle of the photo. When you select the compass point, drag the mouse point to the right and left to expand and reduce the image size.
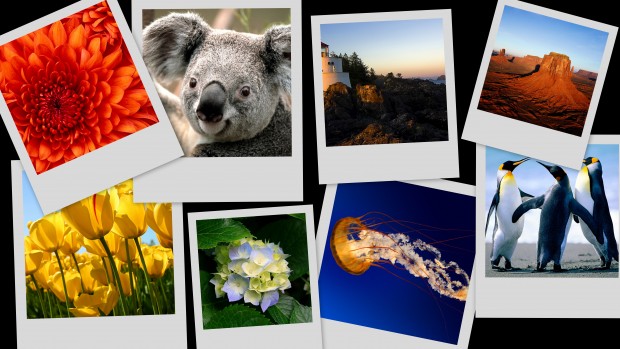
There are also options to add borders to the photos. You can add a border to all the photos in the picture pile by selecting Select All, and then the A plain white border option under Picture Borders. To the right of that is another option which adds an instant camera border when selected.
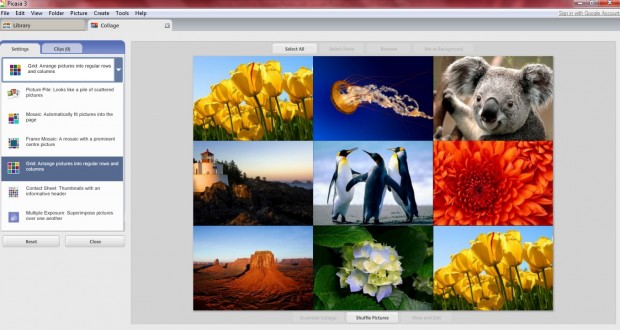
Of course, picture pile is just one of the photo collages that you can set up with Picasa. Click on the drop-down list to select one of the other alternatives which are Mosaic, Framed Mosaic, Grid, Contact Sheet and Exposure. If you want all the photos displayed, without any overlapping, then the grid picture collage is probably the best option.
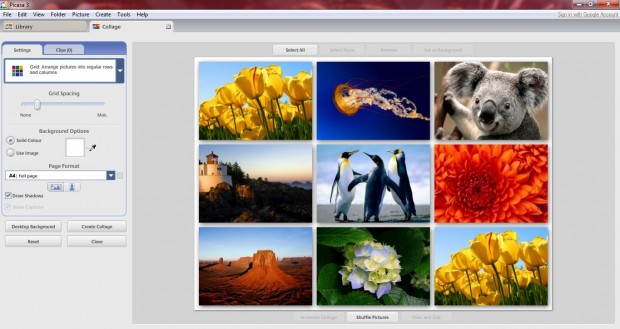
The grid doesn’t have that many customization options. However, you can add some grid spacing between each of the photos by dragging the Grid Spacing bar a little more to the right. Then the grid should be comparable to the one below. In that grid I also selected a white background, and added some shadows by selecting the Draw Shadows’ option. The photos’ position in the grid can be changed by selecting Shuffle Pictures.
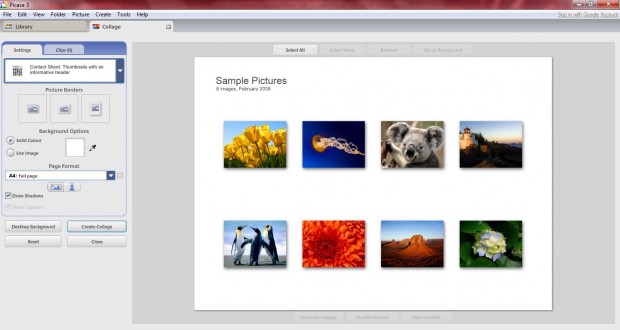
The contact sheet is similar to the grid. Although the photos are smaller, and there’s more background included. Like the picture pile collage you can add a couple of alternative borders to each of the photos included. Under the Page Format drop-down list there is also a Portrait option which, when selected, will orient your collage design vertically.
When you have finished your photo collage, select the Create Collage option. It will then be added to the Picasa Collages’ folder. To edit the collage select the collage thumbnail, and then click on Edit Collage to open the editing window. You can also add it to your desktop wallpaper by selecting the Desktop Background option.
Conclusion
Picasa’s photo collages are a great way to showcase your photos. With the picture collages you can set up some great desktop wallpapers and photo albums. Enjoy!

 Email article
