 Email article
 Have a shiny new Samsung Galaxy Tab 3 8.0 that you want to root? You have come to the right place. This guide shows you exactly how to root your Galaxy Tab 3 8.0 in a safe and effective manner!
Disclaimer: This guide is intended as a helpful “how to”. dotTech and its writers are not responsible for any gain or loss (including but not limited to bricked devices) incurred as a result of following this guide. Root your device at your own risk. Rooting may void your warranty.
REQUIREMENTS
This guide is intended for the Samsung Galaxy Tab 3 8.0 model numbers SM-T310 (WiFi Only), SM-T311 (3G) and SM-T315 (LTE), running Android 4.2 Jelly Bean firmware. Please do not try this with any other models of the Galaxy Tab. You can check your device model number by going to Settings > About Device on the tablet, or by checking the packaging labels.
BEFORE WE BEGIN
Before you can root your Galaxy Tab 3 8.0, make sure to do the following:
- Download and install Samsung USB drivers for Windows on your computer, if you don’t have them installed already.
- Download ODIN. Extract the zip to your desktop
- Download the CF-Auto-Root package from below, depending on which model you are using, and extract the zip file to your desktop. You get a folder which contains a file with a tar.md5 extensionCF-Auto-Root for Tab 3 8.0 Wi-Fi SM-T310
CF-Auto-Root for Tab 3 8.0 3G SM-T311
CF-Auto-Root for Tab 3 8.0 LTE SM-T315
HOW TO ROOT SAMSUNG GALAXY Tab 3 8.0
- Make sure your device is not connected to your computer via USB and turn off the device.
- Enter Download Mode on your tablet. This is done by pressing and holding Volume Down + Home + Power buttons. When you see a Warning screen on your device display, release the buttons, and then press Volume Up to enter Download mode
- Now put your tablet aside for a second and go to your computer.
- On your computer, open the Odin folder on your desktop and launch ODIN as administrator
- In ODIN is running, click the AP button and load the CF-Auto-Root tar file you extracted to the desktop previously
- Make sure Repartition is unchecked in ODIN. Make no other changes in ODIN and leave the Auto-Reboot and F Reset Time boxes checked.
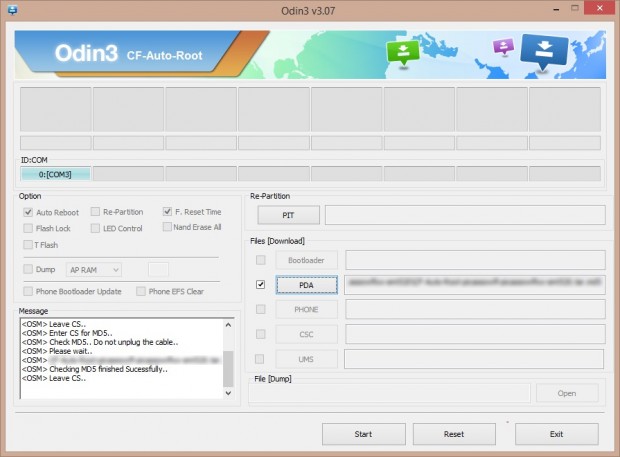
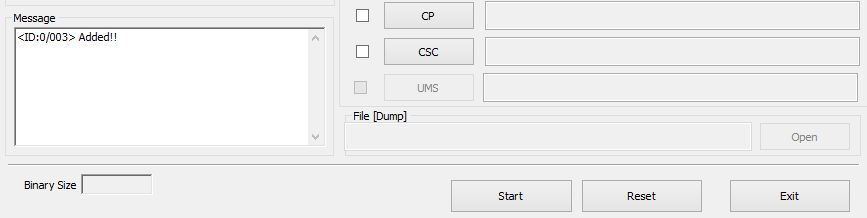
- Connect your tablet — which should still be in ‘Download Mode’ — to your computer via USB.
- You should see the message Added in Odin, and one of the ID:COM boxes will light up.
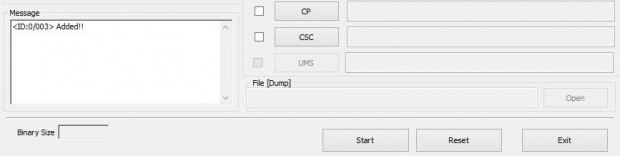
- Now hit the Start button in ODIN and wait while ODIN does its work. This may take a few minutes
- After ODIN is done flashing, your device will reboot automatically
- Once you are back at home screen, you are done — your Galaxy Tab 3 8.0 is now rooted!

CONCLUSION
Look for the SuperSU app on your tablet and launch it. Update the binaries if prompted. To verify rot access, download and run Root Checker from the Play Store. And enjoy your rooted Galaxy Tab 3 8.0.


